Introduction: 3D Print Light Switch Covers

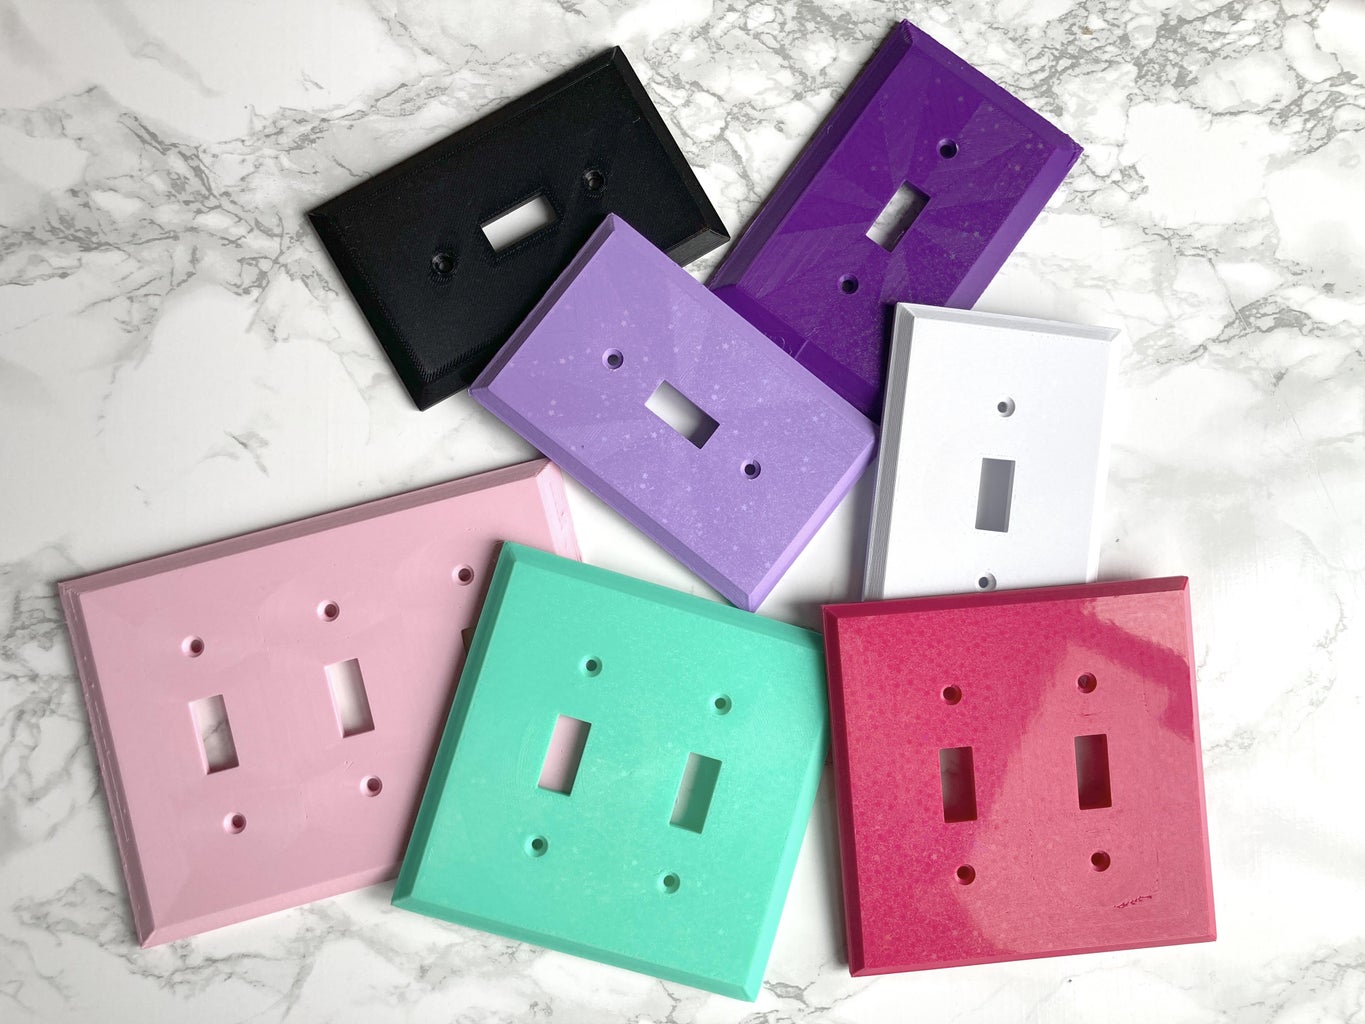


I've been working on making fancy light switch covers, but really, to do that you first need to understand the design of a basic light switch cover. Here I will share how I designed them as well as the files for Single, Double, and Triple toggle switches in Standard, Mid, and Jumbo sizes!
Instructable 389
Supplies

I used Tinkercad to design them and you just need a printer and filament to make them. I am also using a decorative bed* to give a rainbow reflective finish to my prints. Not necessary, but sure is fun! Glow in the Dark filament* can also be fun for light switch plates but remember that the glowing needs to "charge" to work. It doesn't just always glow all the time.
The STLs of the finished light switch covers can be downloaded on MakerWorld.
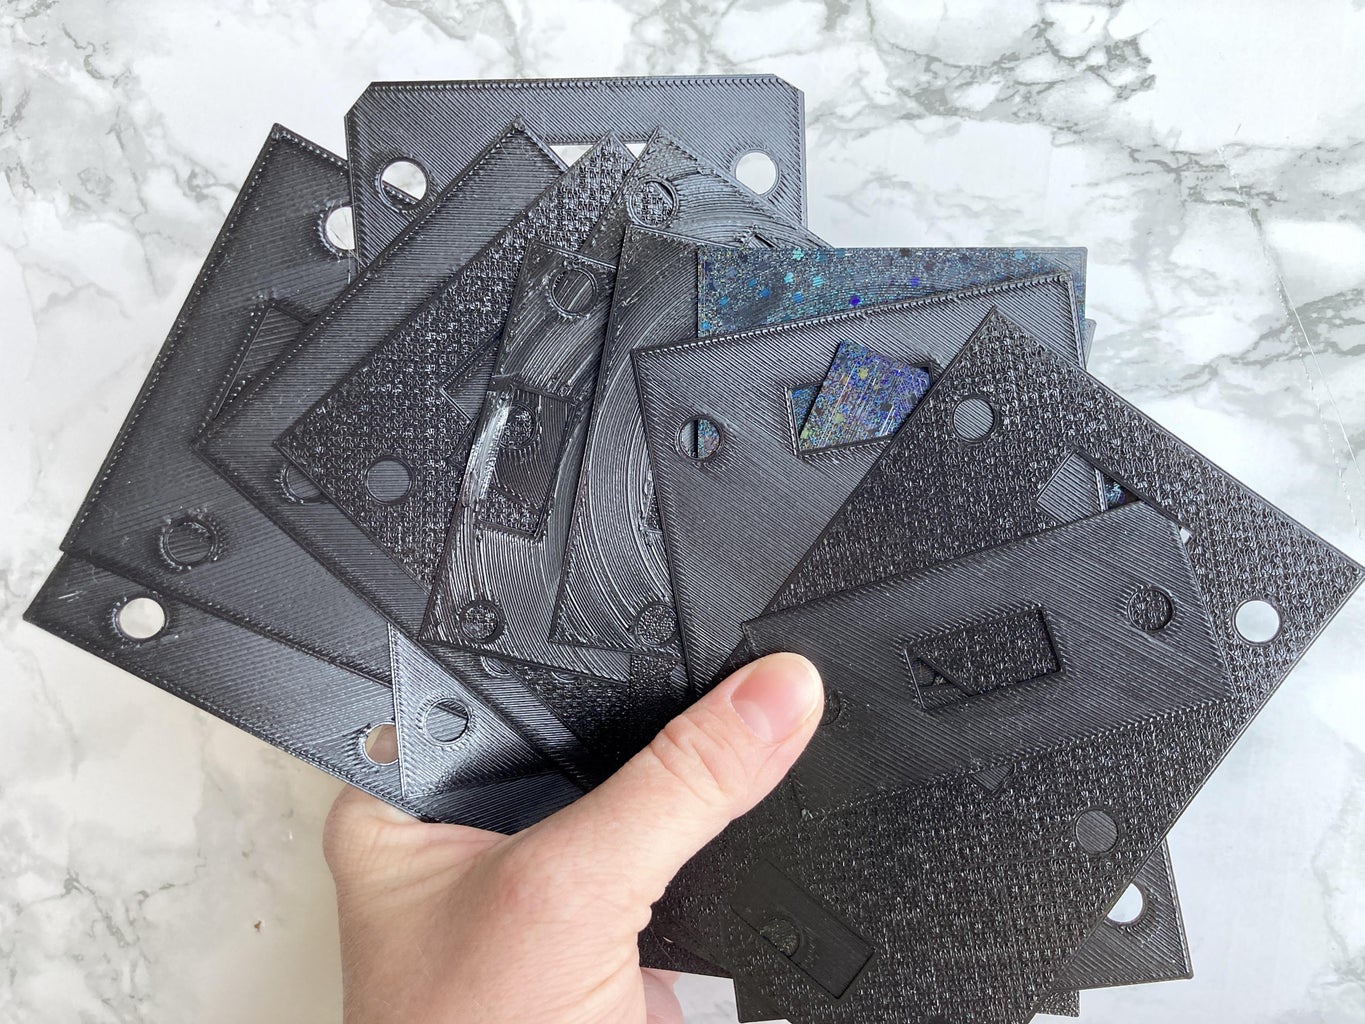
As you can see, I went through a lot of tests to get the spacing just right. Probably would have been less if I started numbering them sooner and keeping track of the changes better as I went. Ended up overcompensating many times.
*Amazon associates link
Step 1: Design - Size Front


I designed these to print simply in 1 piece with no support.
To start, you need the overall dimensions of the plate. Now you can go around measuring them or make it easy on yourself and look up what the standard sizes are. I found them on Home Depot and used the ones for Single, Double, and Triple toggle switches as that is what I mostly have in my house. To make this easy, I'll talk about designing a Single Toggle Mid sized plate.
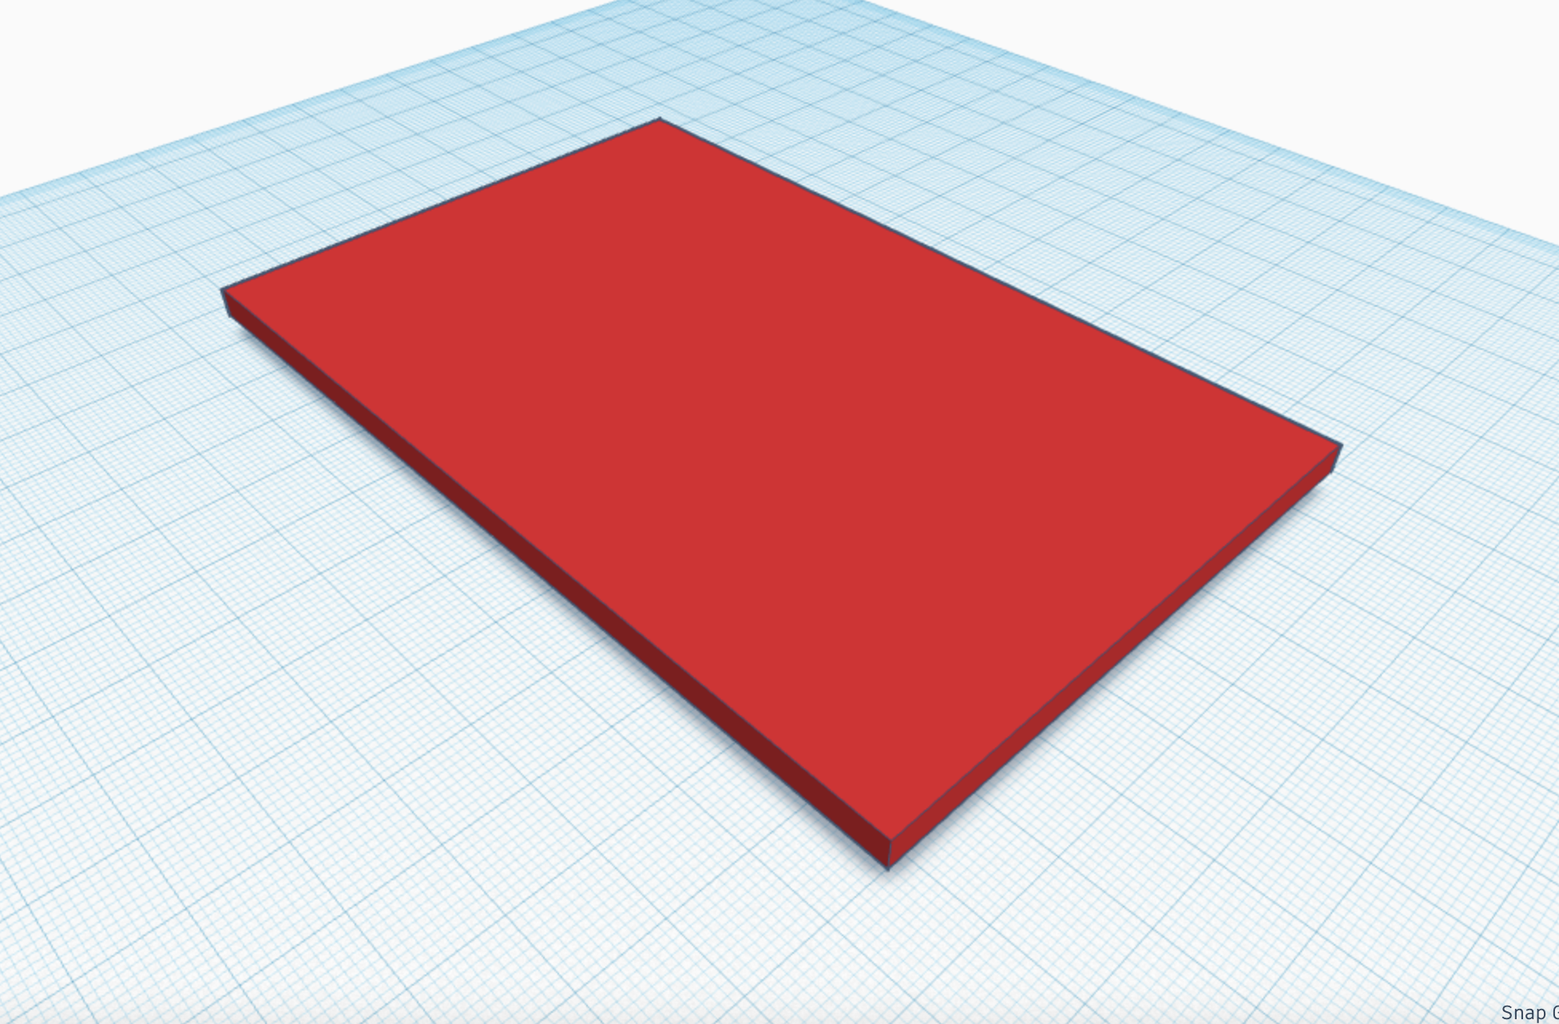
My plate will be 3.13" wide by 4.88" tall. I decided to make the front 4mm thick.
As you probably have noticed, light switch covers have edges that are sort of filleted and chamfered. I decided to keep it simple with a 45 degree angle cut on the side so that it would print well upside down.
I mostly eyeballed it and lined it up the best I could on each side. Then, once I grouped it, I double checked the dimensions to make sure I didn't cut too much off.
Now you have the front and we can move to the back.
Step 2: Design - Back

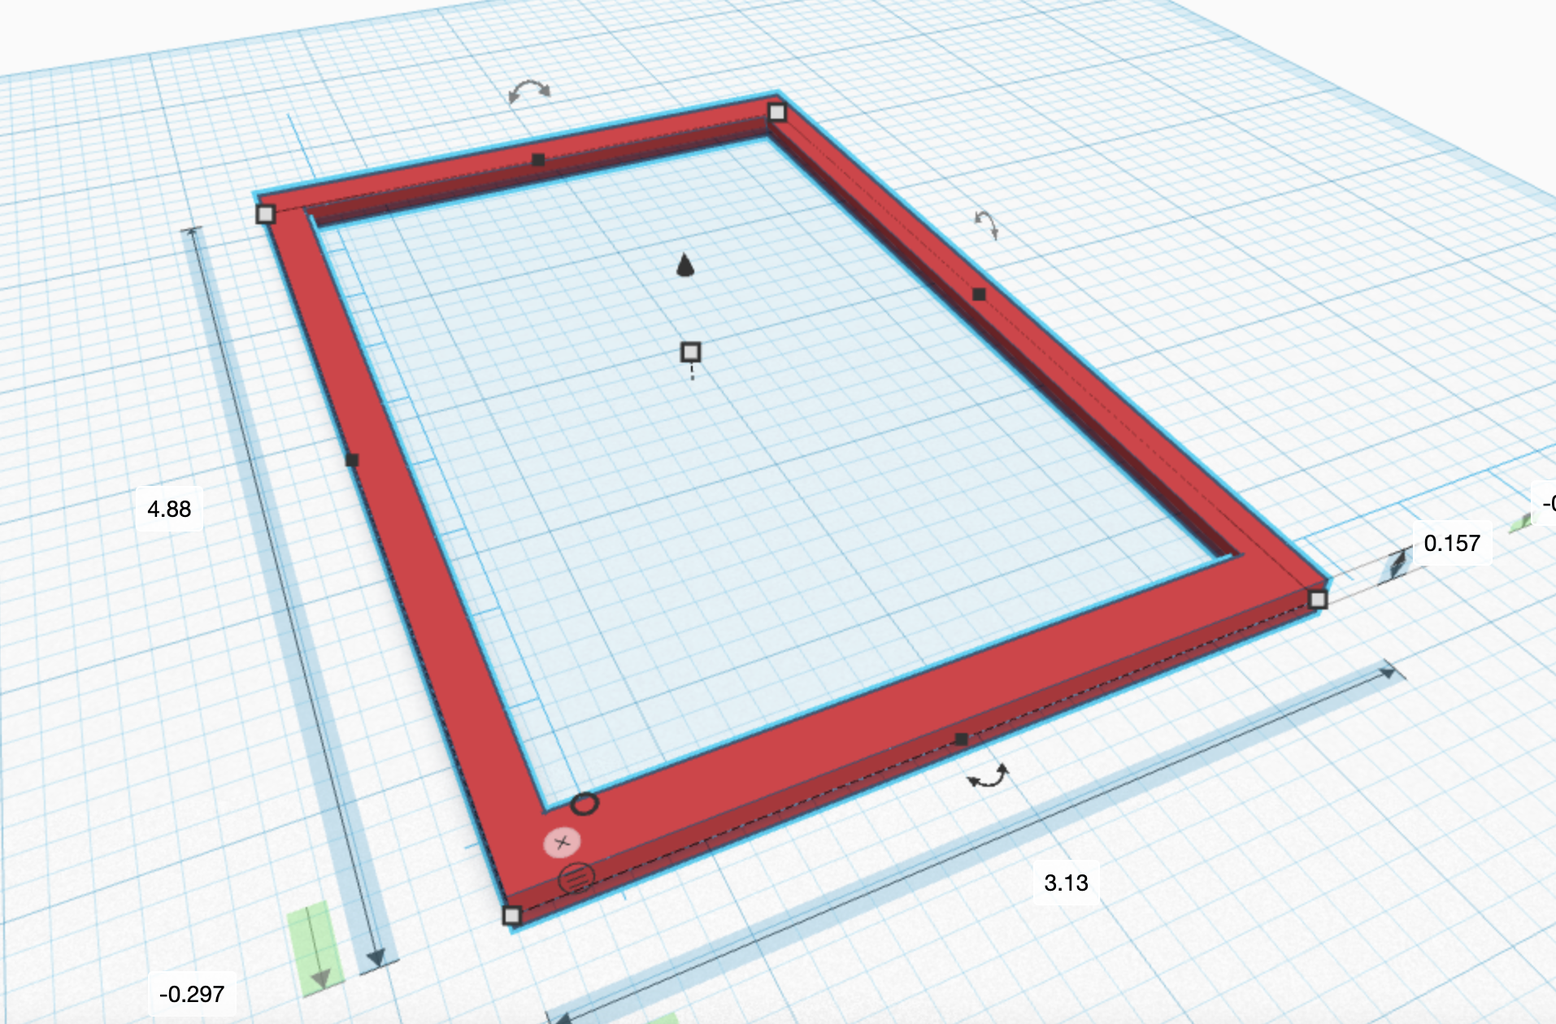

I decided to make the back also 4mm thick, but you can do a bit less if you want.
This was pretty easy. I did a rectangle in the same dimensions as the front but cut out the center with a pyramid so that it would be wider on the side that touches the plate, and narrower as it went away. Similar to how a light switch cover looks.
Step 3: Design - Switch and Screw Holes


Lastly, you need the switch design.
This caused me the most grief with many tests. The first part is easy. Measure the toggle opening and the opening for the screw which is smaller in the back of the switch and flares out in the front.
The toggle cutout was a simple cube and the screw holes were created with cylinders and a paraboloid where the screw insets.
Get it all lined up PERFECTLY, and then center it on the plate and group it.
This will be printed upside down.
Something to keep in mind, is if you are doing double or triple, you also have to get the spacing right between these cutouts.
Step 4: Slicing and Printing

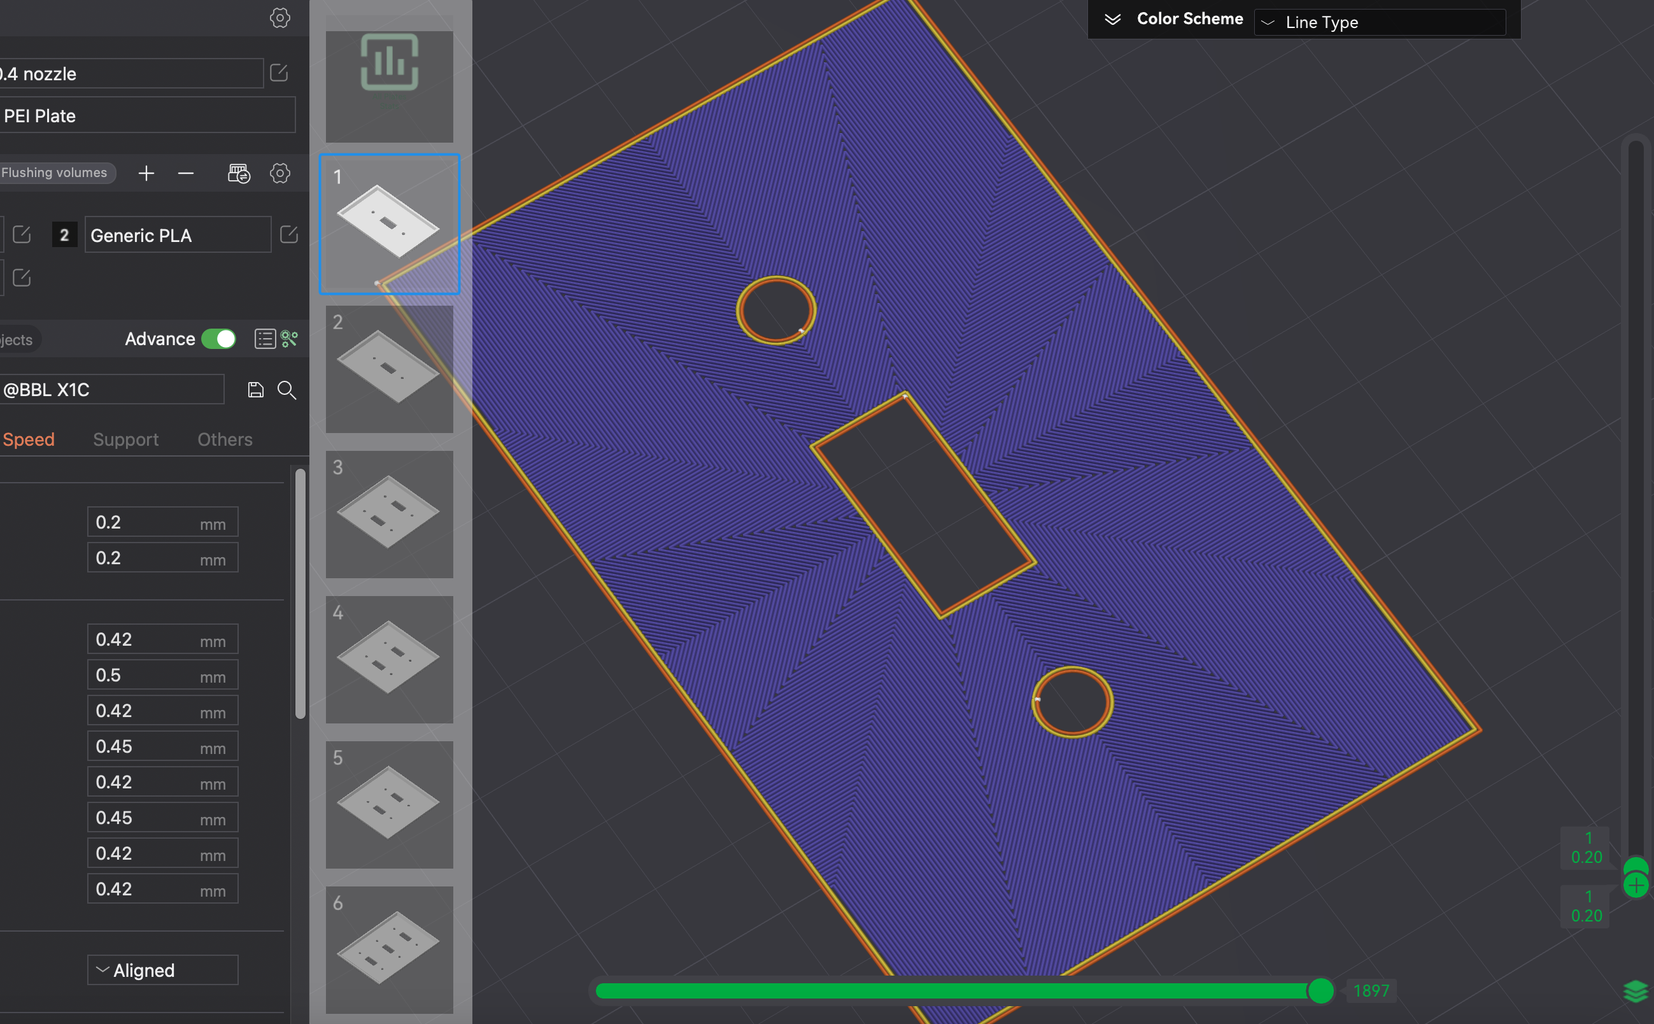
I found using normal settings works fine for this, but you can play around with the surface design by changing the Bottom Surface Pattern since that will actually be the front after it's printed. I tried out regular Monotonic, Hilbert Curve, Concentric (actually did this one on accident, turned out okay tho), Octagram Spiral (looks like a star!), and Archimedean Chord which makes a spiral coming out from the center.
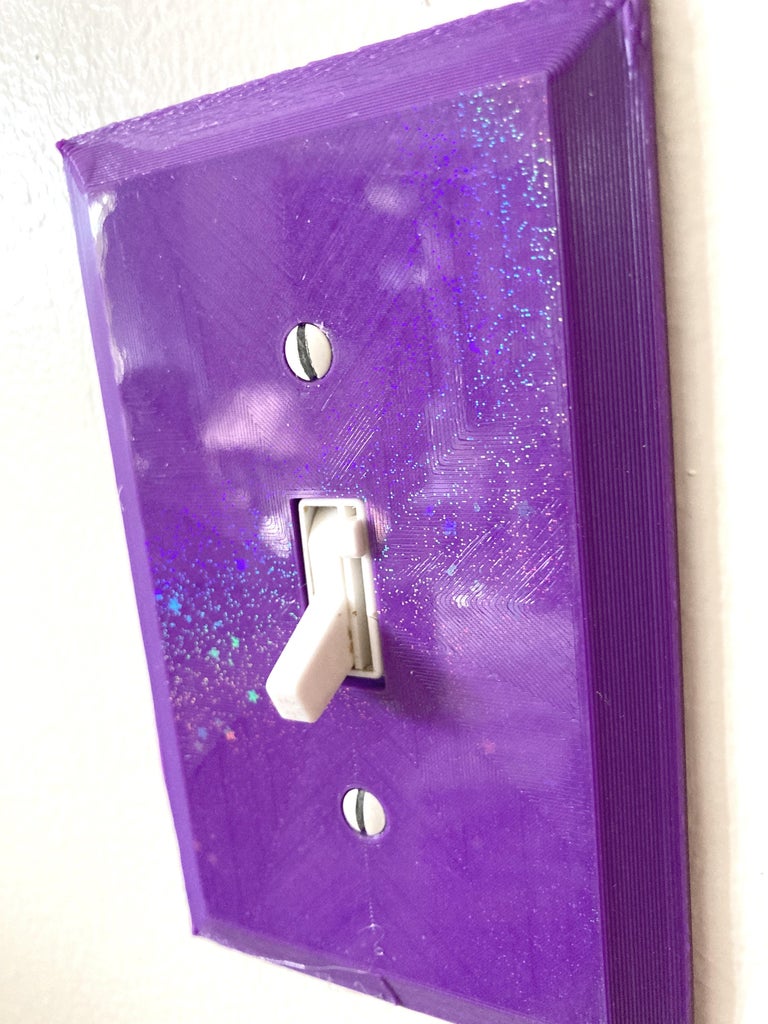
Step 5: Finished


Enjoy your finished light switch cover!
WARNING: PLA, as far as I know, isn't an approved material to use to make a light switch cover so you use it at your own risk. Also, changing out your cover has the risk of electric shock. Changing out a switch plate/cover can be dangerous, turn off power to the switch before removing and replacing the cover.