

Introduction: Changing Brake Pads


The process for changing Toyota brake pads is one of the simplest because it often doesn't even require removing the caliper.
Anyone can. If you can change a tire you can change brake pads.
The Vehicle. 2006 Toyota Corolla, under 100k miles
Background. During a recent oil change I was told the brake pads needed replacing. As they typically tell you they won't touch the pads without replacing the routers. Pads + Rotors + Service typically runs a couple hundred dollars in Chicago and SE MN. That's way too much. Especially considering I hadn't heard any scratching of the routers and expected they were in good shape.
Supplies
Tools
Here I list the 'hack' free options vs the recommended.
- Tire Blocking - scrap wood VS tire chocks
- Lug Nut Wrench - stock wrench VS cordless impact wrench
- Jack - Stock screw jack VS hydraulic floor jack
- Jack Stands - stacked 2x6s just under the jacked support VS proper jack stands
- Brake Pad Removal - screw driver and pry-bar
- Caliper Cylinder Compression - clamps and scrap metal VS disk brake spreader set
Materials
New Brake Pads - easy to find for your vehicle. Amazon allows you to compare parts for your vehicle.
I went for the least expensive which was just about $25 for the front brake
Step 1: Setup. Tools. Materials.


Setup
These are general tips for safely doing any work around a tire.
- Block Tires - sure they sell blocks but I scrap wood works fine
- Loosen Lug Nuts
- Jack - here I use the stock screw jack that has specific instructions. Also very handy is a hydraulic jack. One day!
- Jack Stands - while I left the screw jack in place weight was shifted to the more stable jack stands. Not 100% necessary but I wouldn't want to do the work without them...
- Remove Lug Nuts
- Remove Tire - in my case the tire had seized up. I had to use a sledgehammer to get the tire free. I wouldn't have used the sledge without jack stands.
Step 2: The Calipers


Removal. Here I was fortunate to only have to remove one of the bolts. I used a wrench and the bolt came free easily. It only needs to be 'finger tight.'
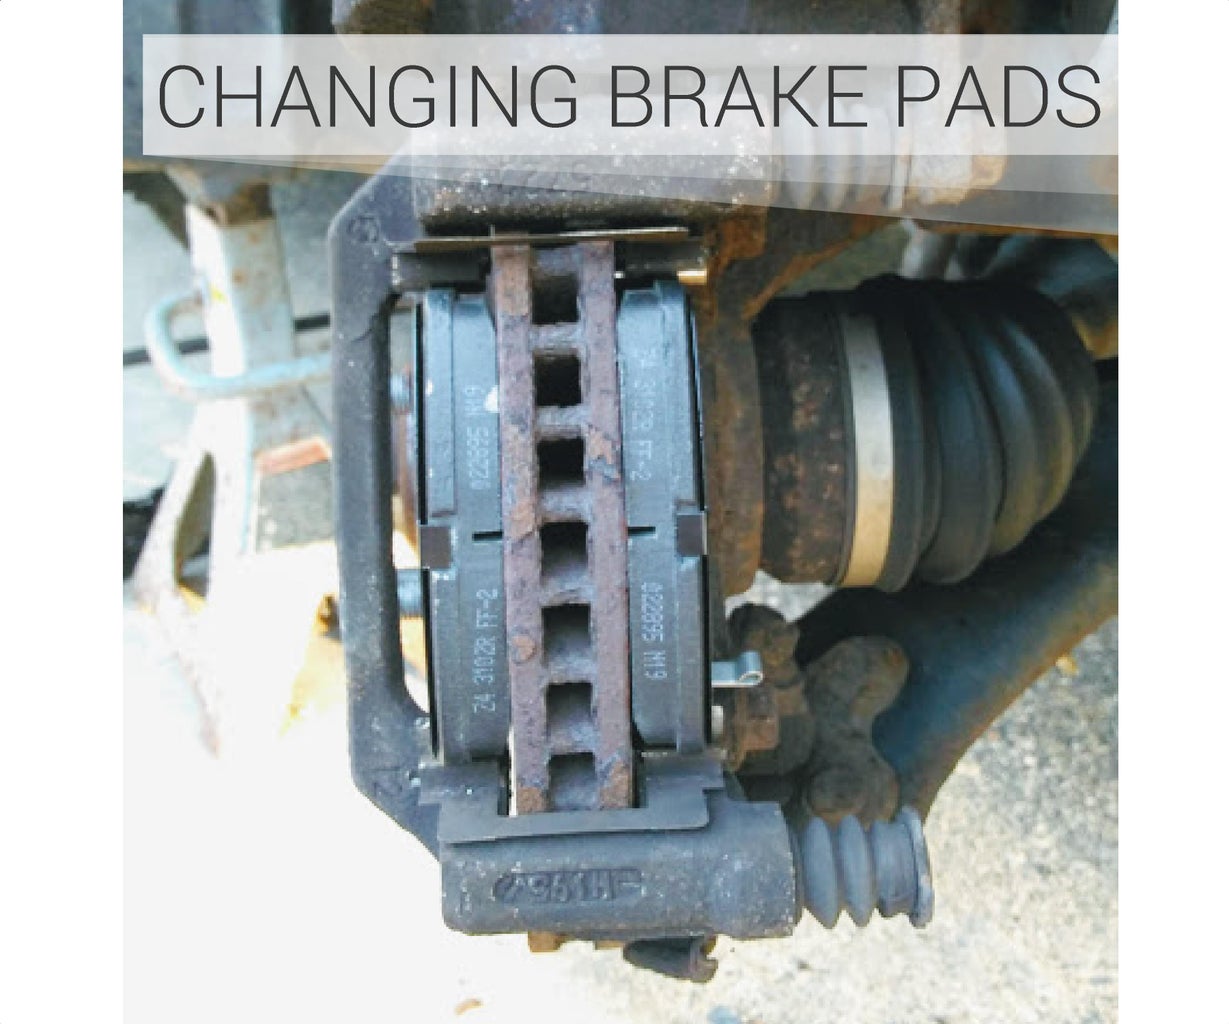
Step 3: The Pads


Pad Removal. With the pads exposed they can be removed. I found it difficult to remove with just a screw driver. It took me just about a minute to work the prybar... it felt like too long but was fine.
Pin/Clip Orientation. Keep track of any/all pins. Most brake pad sets come with new pins that are used to scratch the pad router when the pads wear down. There are a few pins in place that align the pads. If these are lost they will have to be replaced. Mine stayed in place throughout.
Step 4: The Cylinder

Cylinder Compression. To get the caliper back in place over the brake pad you'll have to compress the cylinder. This is pretty simple but you want to be careful not to damage the rubber seal. This would be bad and require replacement.
My approach. I used a simple clamp and some scrap metal to compress the cylinder. I was careful to go slow and apply balanced pressure.
Pro approach. They sell a tool set for compressing the cylinder. The tool, with it's various size plates, almost guarantees you wont cause any damage.
Loose Brakes. After the change. Your brakes will be loose. Allow the car to warm up and tap the brakes a few times before driving.
Brake Lines. Throughout the process avoid applying any pressure to the brake fluid line that runs to the caliper. If damaged that would also require replacement. Easier on the toyota that doesn't require the caliper to be fully detached.
Step 5: Pads: New Vs Old


Pad Comparison. Very satisfying to see how warn down the old pads were. They were just about to start scratching. I was glad the tech let me know they were ready to change.
Pad Installation. Very simple and required just a little force to get them in place. Not a problem to reach for a hammer or mallet to get them in place.
Front vs. Rear. Know that the front pads wear more quickly. Not a bad idea to ask the tech next time you have an oil change but know they are more likely to tell you to change them if they think they can sell the service. --my general skepticism
Hope this was helpful and can save you some time/money/headache!
Cheers, Jeff
Here are a few other recent instructables:
- Homemade Stock - how to use a strainer to simplify making stock.
- Budget Meals: Cooked Ham - how we meal plan with cooked ham.


