

Introduction: Concrete Calendar With Dedicated Phone Stand
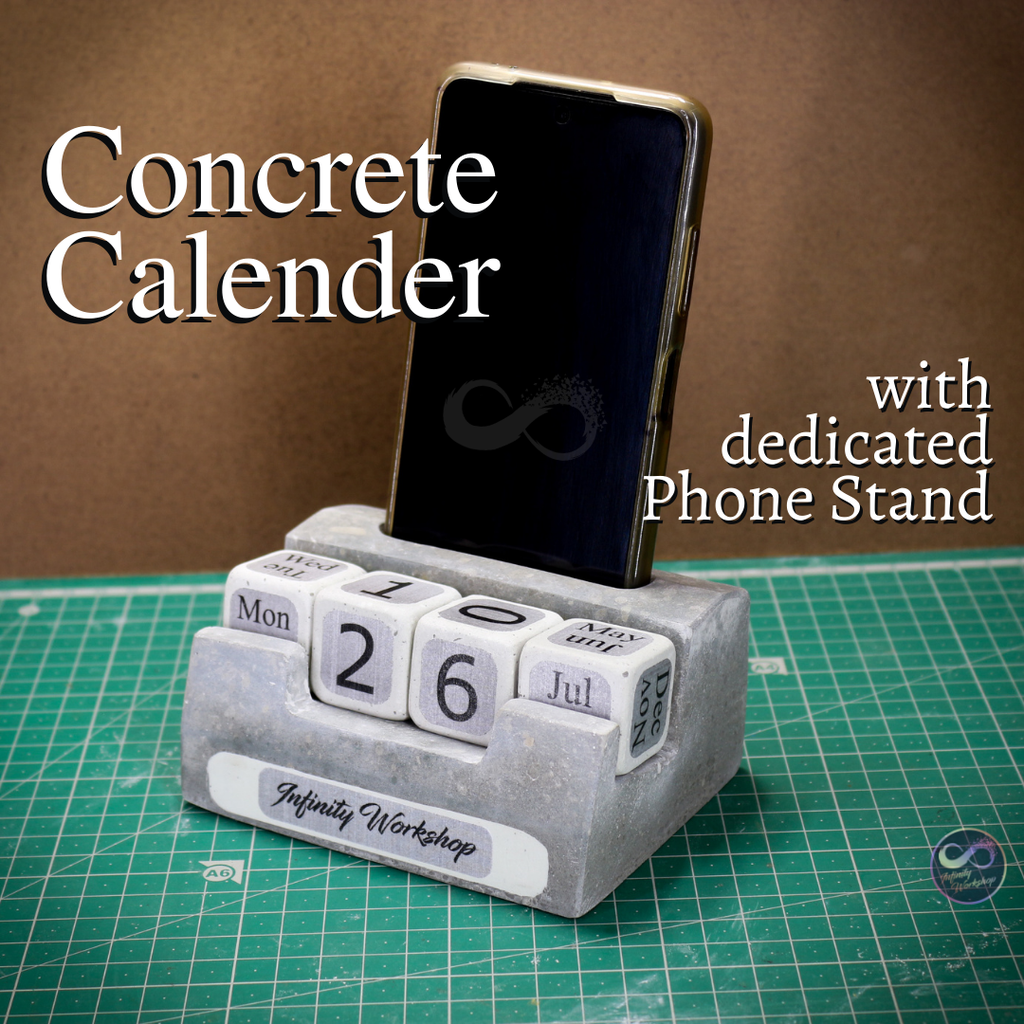


Today I'm going to show a simple process of making a Concrete manual calender 🗓 which you can also use as a stand for your beloved smartphone...
This project is basically aimed towards easy approach towards making things with common items....
Basically for this project I designed everything in Fusion 360 for the first time... Yes.. It's my first project with a CAD software and a 3d printer.... (BTW... I have purchased a Ender 3 with the prize money I got from instructables 🤑... And it's my first use of that pronter in any project)....
But for the ease of others... I lastly made templates for paper mould.... So... No 3d printing required 😂...
Step 1: Things We Gonna Need...


For this project... We will need only some basic tools...
- 3d printer + pla filament / a paper printer (laser)
- Celotape /any kind of plastic tape
- Concrete (I used normal cement with some white cement)
- Sanding paper
- Files
- Some random stuffs
- Mountboard / hard cardboard sheets
- Templates and other files
- Sticker paper A4
I'm giving all the 3d files and the paper version files...
Get the Files Now (Click Here)
Step 2: Start Making the Mould


Now.... As I made 2 version of the templates I have to explain both the process here😬
- For 3d printed version....
If you are using a 3d printer for printing the moulds for the project... Then pls note that the total print time will be well over 30 hours.... I didn't printed the bigger mould because as I wanted to keep this project simple for all my supporters... I planned to use paper templates....
But if you want to make printed mould... Then pls do use a good kind of mould release spray or wax.... I'm not an expert of 3d printed moulds... But from my experience... I can say that the process of taking out the casted parts from the mould... Is way harder than it looks...
In the files...there will be 1 for the holder...and 1 for the 4 cubes... Print them with your suitable settings....
- For Paper version...
If you are making the mould with my paper method... Then print the 3 pages with a laser printer. And do make sure that the scaling is right... After the print....
Cit all the pieces and stick them on a sheet of cardboard...
When that dries... Cut out them also and apply a whole layer of celotape or any other tape.... I used 2 inch craft tape...
Now cut the templates according to their proper lines and form the shape... There are some line marks for the valley fold and those mountain folds.... Keep them right...
After that... Complete the mold with joining the pieces with tape... And after completing the mould... Use some silicon and seal the inner joints.... So the water will not leak to the cardboard in a large way...
Step 3: Mixing the Concrete and Pouring


For the base... I used normal cement.. With a little amount of white cement.... I mixed the mixer thoroughly and the carefully poured in the mould....
I left some extra in the mould for easy of adjustment.....
For taking out most of the bubbles... I used my random orbital sander... And with the help of its vibration power.. I easily got removed all the air bubbles from the cement mixture...
Now for the smaller cubes... I used maximum white cement and some regular cement... And poured the cement in the 3d printed Small moulds.... Make sure to use some kind of mould release or wax... Otherwise................
Onething I want to say... If you are making or using the paper mold...then make sure to add support materials like ridgit cardboard pieces on over the large flat faces...like I did with the bottom sides...otherwise your mold will also deform like mine...
Step 4: Let the Cement Cure

After pouring the cement.. In the moulds... It's time to level them and let the cement cure for at least 24 hours... And 48 hours for best results....
In the mean while... Make sure the cement is not dry.... Use water to keep the cement wet... Otherwise the curing will not be perfect....
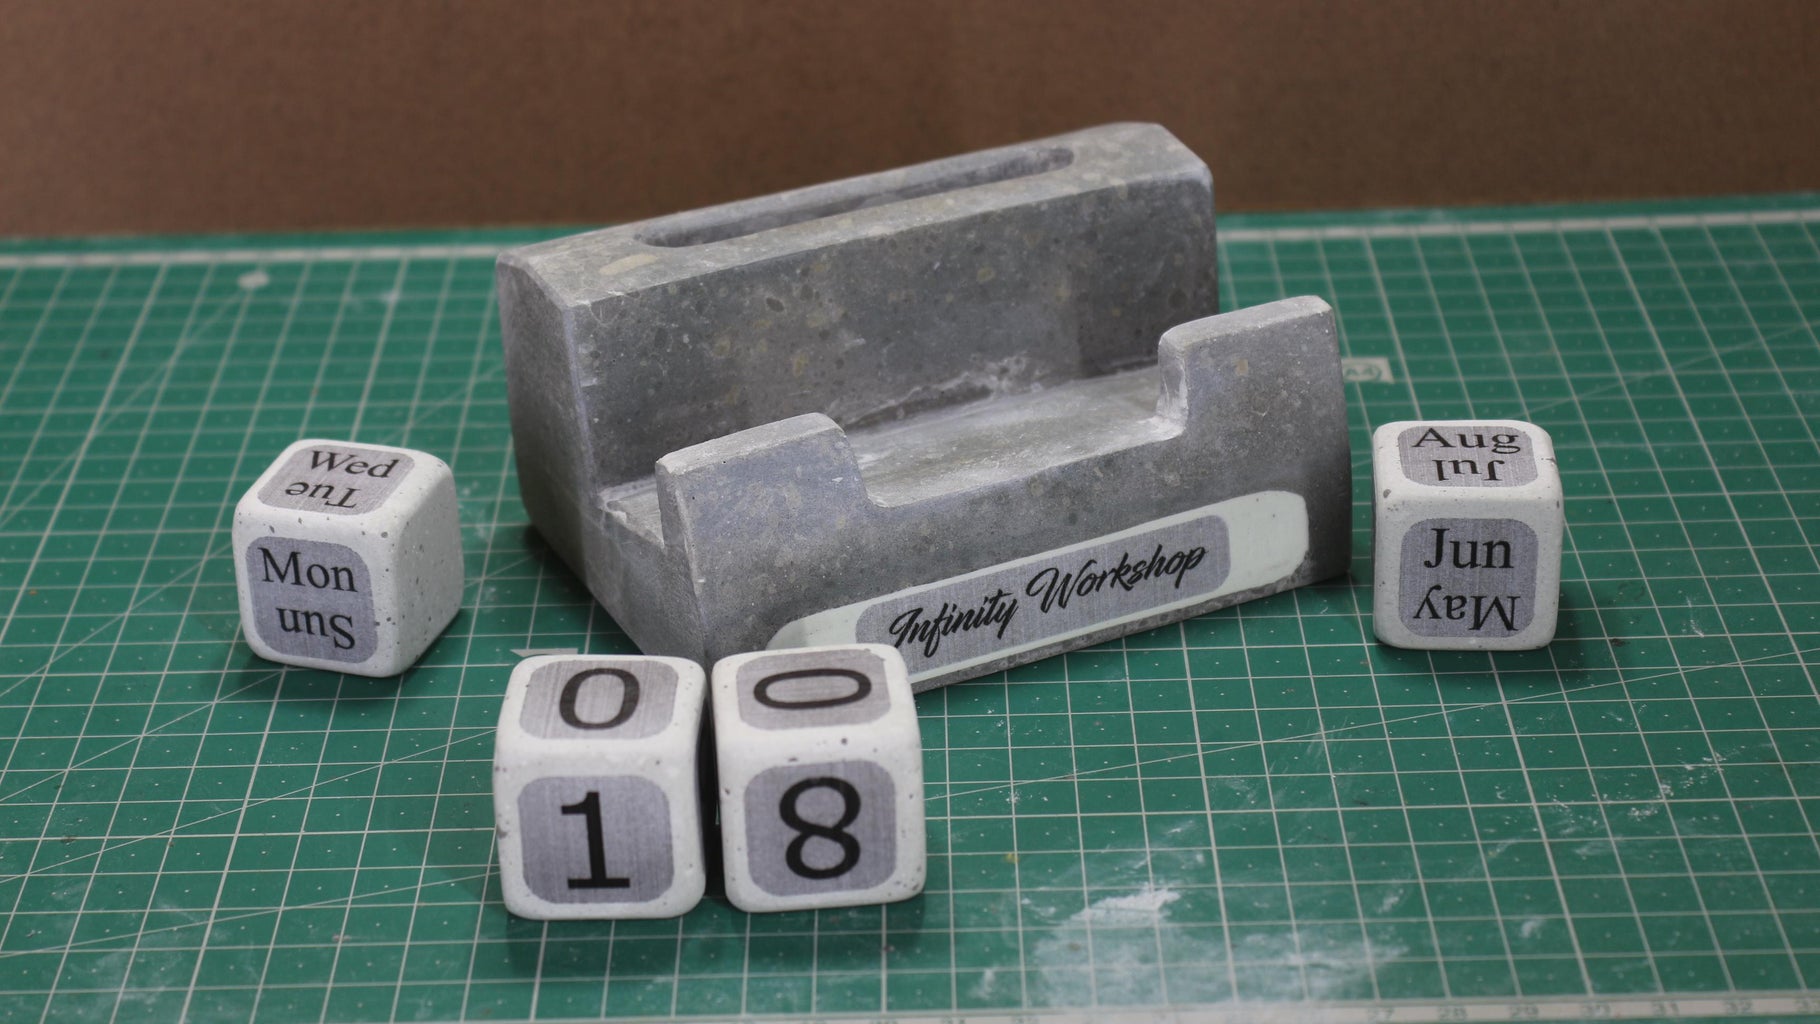
Step 5: Demolding.. Time


After the cement is cured well... It's time to take the casting out....
Take your time... Don't rush.... Now if you have used 3d printed enclosure or mould.. I don't know how much time it will take to come out..... But as for my paper mould... It was just a fact of cutting the tapes... And the mould came right off...
And for the cubes... Use the holes I gave at the bottom of each mould.... Use something less sharp and gently push from under the cement... (**note... For the cube mould.. Just use a piece of tape to cover the hole while pouring the cement...
And for the cardboard mould... It's just a fact of peeling the cardboard away....
After you demould the piece...rinse it with water and let it soak in water for about 1 hour then dry then completely in open air
..
Step 6: Sanding the Piece and Finishing It....


If you have used the 3d printed or the paper mould... It might be possible that the casting isn't perfect.... So we have to use sand paper and other tools to finalize the proper shape....
I used a 100 grit waterproof sandpaper to do the same.... I also used an exacto knife.. And a set of chisel...
After the basic and main sanding process...i simply used higher grit sand papers to make the surfaces more smooth...
*using a fine 330 grit sand paper..round off the corners and sides of the 4 cubes ..this will low the risk of damaging them in future and will make them look nicer...though it's an optional step...
***If you are interested to see the process.. Then I will link my to instructables and 1 youtube video here... In there I explained the process in more details...
https://www.instructables.com/Concrete-Cube-Puzzle...
https://www.instructables.com/Concrete-Youtube-Dia...
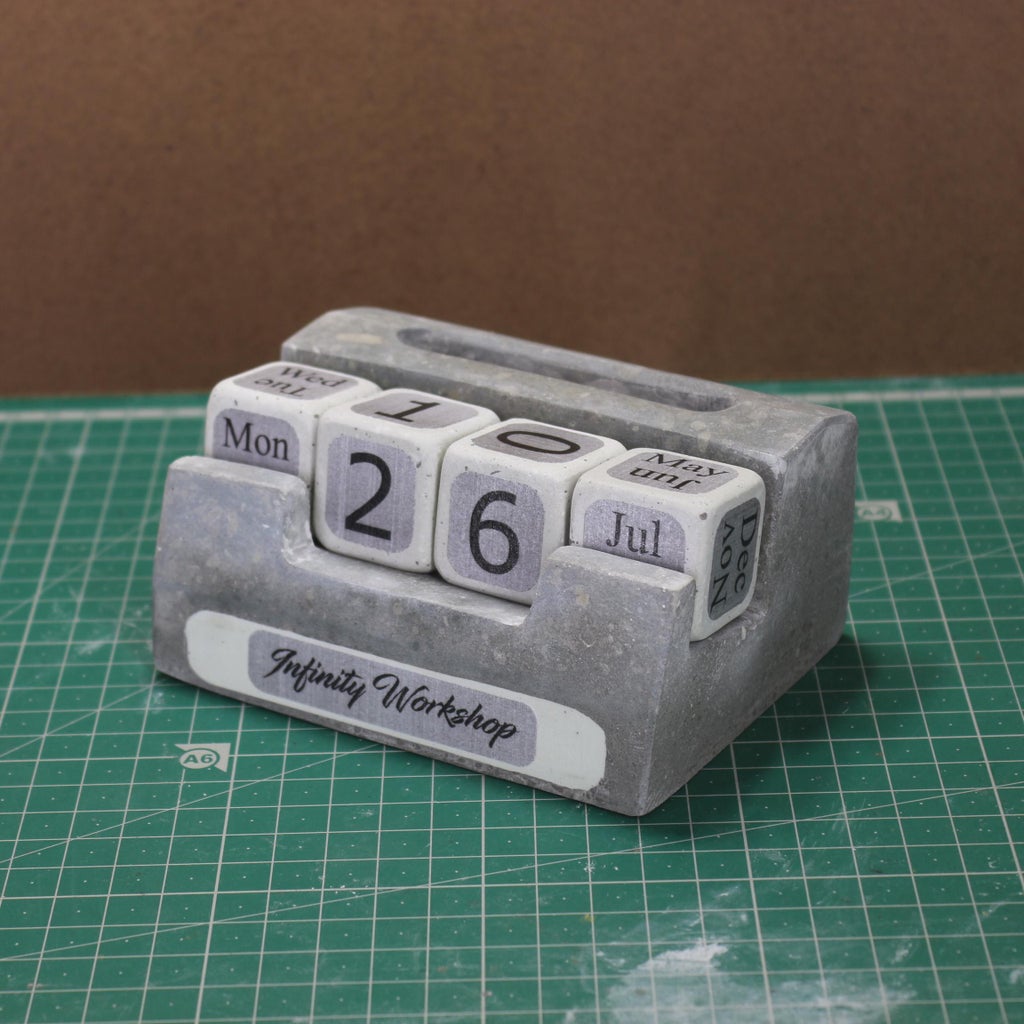
Step 7: Adding the Lebels


Print the label files on a a4 sticker paper..if the paper has a glossy water proof top...then its perfect..otherwise I will suggest you to apply a coat of clear varnish on the paper after printing...like I did off camera
Now its just cutting the pieces and sorting them...
After that being done...simply take one cube and attach the labels as I have shown in the pictures...
**If your sticker isn't sticking on the cement cubes... Then either you can use any kind of glue...or sand down the surface even more to get a nicer surface....
Now as of my channel name...You can make that according to your preference..If you want.. Or can just simply ignore that...^_^
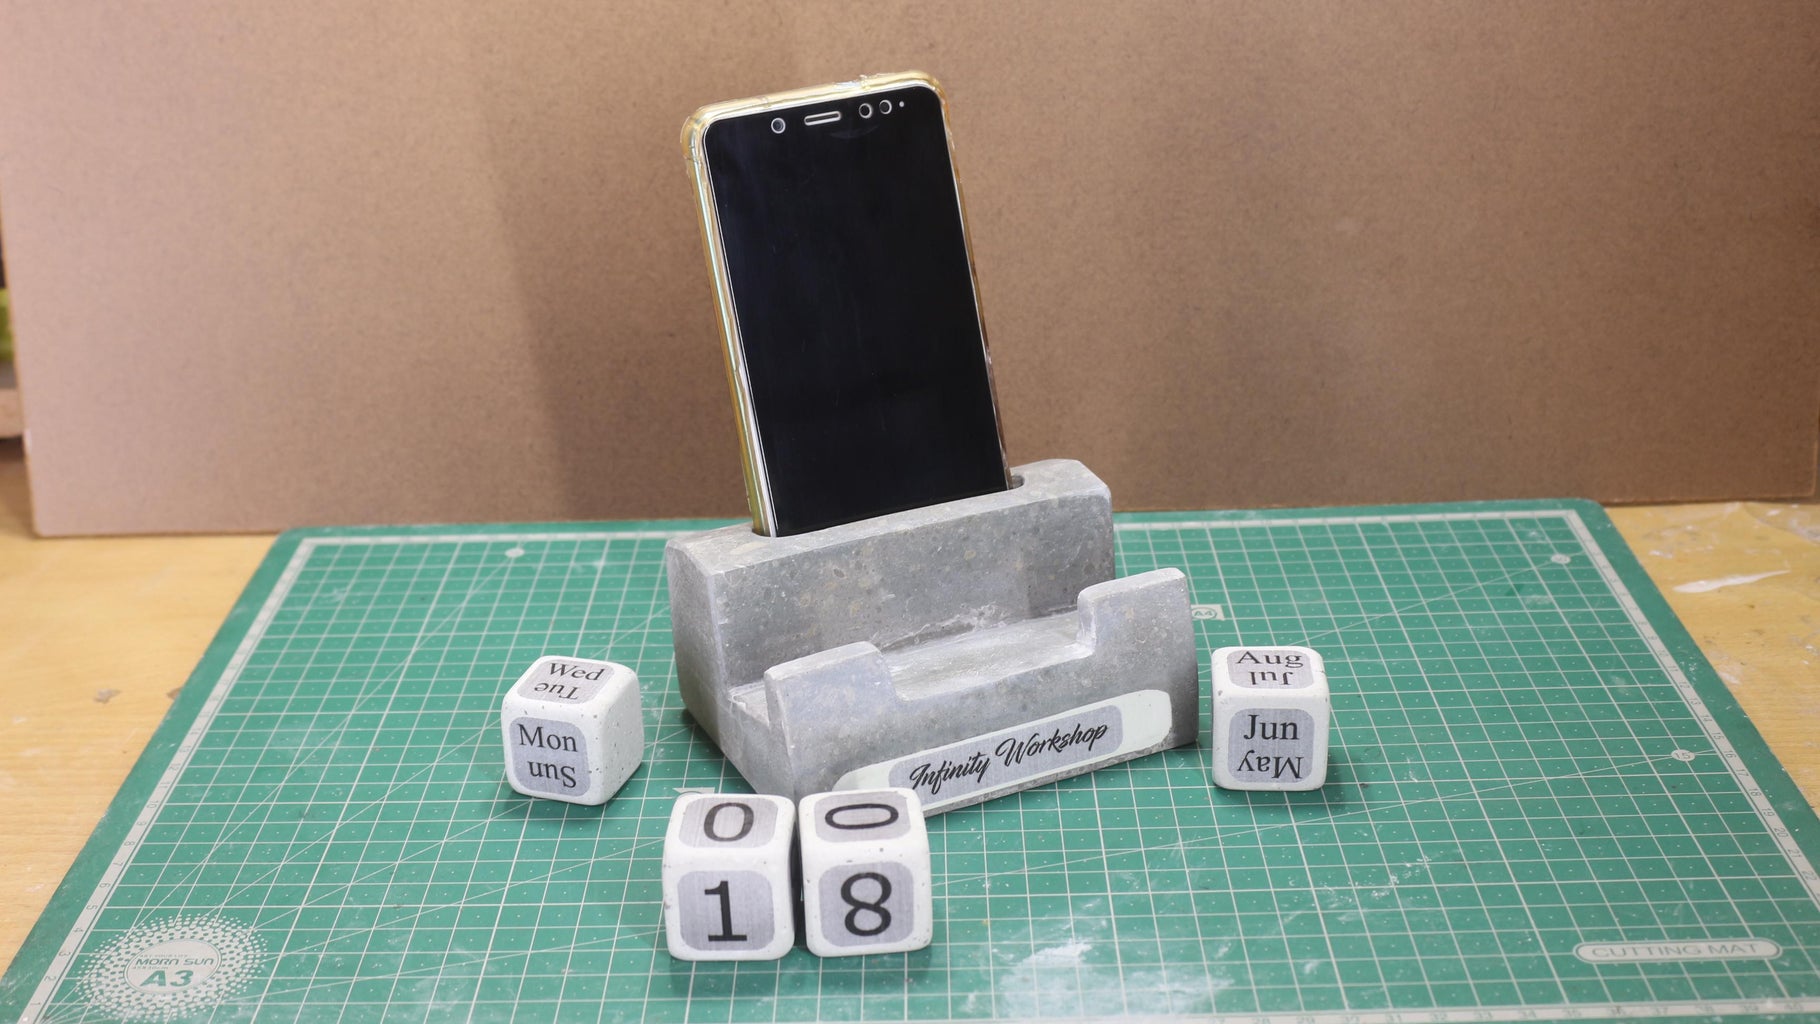
Step 8: My Own Thoughts


It's true that this project isn't that much impressive and something special... But I think that you all will like this project...
Its my first time with 3d printing and 3d modelling... So I did made some mistakes... Like I wanted to emboss my channel name in front of the stand... But it failed and I covered the horiable void with white cement...
Also as I used cardboard mould... And didn't used any silicone to seal the corners.. My cardboard mould got soggy and the shape was deformed a lot.. Which I had to manage in latter sanding time... Which might have changed the overall shape a little bit...
But as Bob Ross said... We always do Happy mistakes... I didn't stop... I'm currently having a very hard time with my college studies. And completed this project under extreme pressure.... So pls forgive any mistakes...
I'm making things for 5 years now... And I'm still learning new things from my mistakes in every project... I don't think that I'm perfect... But I try... I try to make things... And i always make sure that to not use any tools or anything that someone might not have....
I always try to use simple things.... And that's also applicable for this project also.... If you like this project... Then pls comment your thoughts in 👇 comment section.... I will love to read them....
As always... Feel free to ask any questions, help or anything else.... Hope you liked my project.... Have a nice day...
I make things and post them on my channel (link is in my bio)...
You can check my other marvel related projects on Instructables (especially my MK 1 arc reactor replica) both on Instructables and youtube...
I will suggest one thing... That though the project is super simple... But don't try to speed up the process... Take plenty of time... And patients... So the pieces come beautifully...
Thanks for having a look at my project... And a great thank you to Instructables for giving me such a great opportunity to show my projects to the world...
For more details and a full video tutorial you may also go to my youtube channel where I will upload the whole process from start to end with more details...(as soon as I can finish the editing...)
Pls vote for this Instructable and also subscribe to my channel for more upcoming content... For any other step details and help ..
Feel free to comment down...with your thoughts, questions, and suggestions...
Also if you want to see more of my creations... subscribe to my youtube channel "Infinity workshop".
**Follow Infinity Workshop
Facebook: https://www.facebook.com/InfinityWork...
Twitter: https://twitter.com/InfinityWorkDIY?s=09
Pinterest: https://in.pinterest.com/infinitywork...
Instagram : https://www.instagram.com/infinity_wo...
Instructables: https://www.instructables.com/member/...
Consider supporting my channel by giving like, share, comment & Subscribing #Infinity_Workshop Thanks for supporting...

Runner Up in the
Stone, Concrete, Cement Challenge


