

Introduction: DIY Pickle Rick
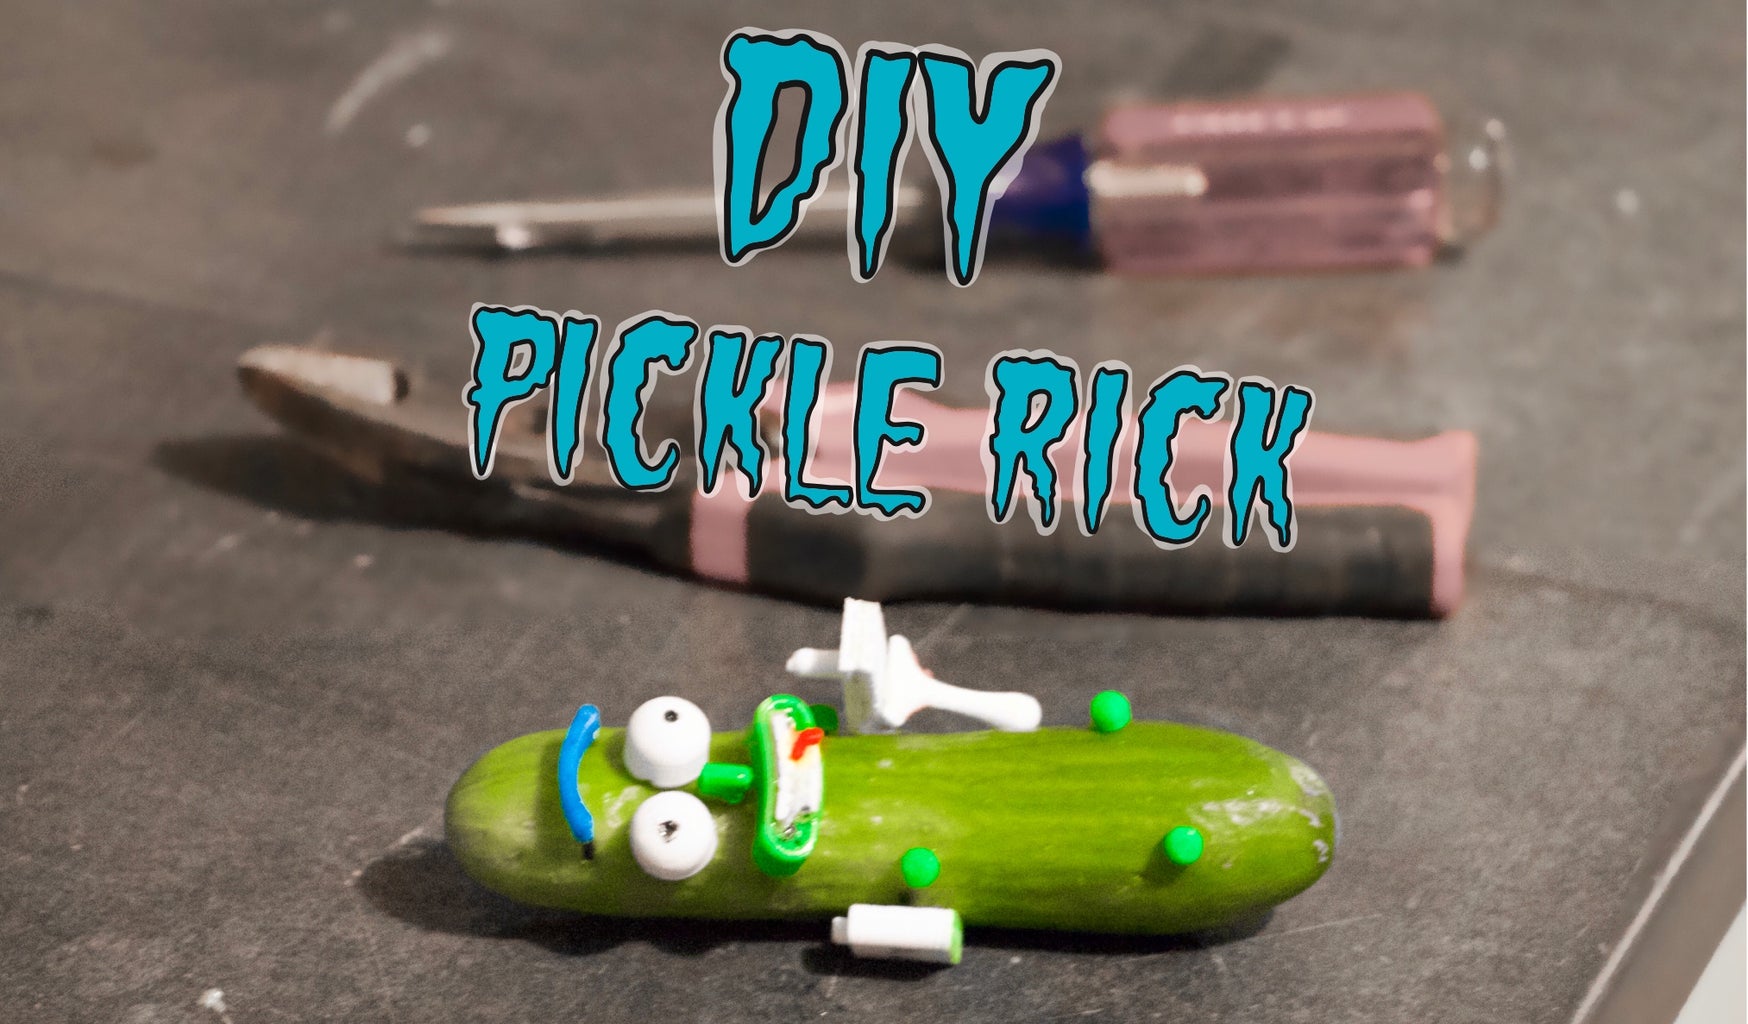


Being eager to watch the new season of Rick and Morty, I decided to make my very own Pickle Rick! I utilized the power of software to new desktop tools to produce this project, however they can be substituted in different ways to make your own version.
Step 1: Tools & Materials


Tools-
Fusion 360
This along with all my other design projects are designed in Autodesk Fusion 360. It is a free cloud based modeling software that enables you to develop ideas and into physical products. Click the link below to download a free trial of the software. I don’t think you’ll regret it.
Boxzy CNC
Use coupon code "pickleRick" for free shipping on your order!
Soldering Iron
Power Drill
Materials
For this project, I used different colors of 3D printing filament, however you can get the same results by painting white filament.
- Red PLA
- Green PLA
- White PLA
- Blue PLA
Step 2: Sketching Rick's Face


To make it easer to draw, I will lay down an image of Pickle Rick on the bottom plane of my design.
Go to the toolbar and select Attach image to canvas. I used the image above to trace his face. Click ok, then create a new sketch on top of the attached canvas.
From here, I will trace out Ricks facial features using tools such as the circle, arc, and spline tools. More information about using Fusion 360's sketching interphase can be found here.
Step 3: Extrude Objects Into 3D


I will use the extrude tool to convert my 2D sketch into multiple bodies. For curves on the eyes and nose, I used the Fillet tool in the create tab to round over the edges.
At first, I was pretty terrified by the look of the bodies, but as trust me, it looks better in real life.
Step 4: Mouth Details


For making the mouth, I offset the top plane inwards to create a defined edge. I then cut the mouth body by extruding the offset sketch into it. I used the fillet tool to round off the edges. For the more detailed parts like the teeth, I traced the teeth from our canvas using the spline tool. For a tutorial on using the spline tool, click here.
Step 5: Design Flask and Bumps


It would be unlike Rick to not have a drink on him at all times, so I designed a flask for him to carry. This was done with a sketch and 2 extrude commands to either side of the sketch,
It appears that the pickle has some impurities, so I decided to make these tiny quarter inch bumps to add some character.
Step 6: Make in the Base of Each Part
To attach the parts to the Pickle, I used 1.75mm 3d printer filament. I did this to decrease printing time and to ensure a strong bond between the facial feature and the pickle.
To do this, I need to make 2 1.77mm holes in the base of each part(1 hole is fine for the eyes, nose, and bumps). I will explain this more in the assembly step.
And just like that you are all done with modeling!
Step 7: Print!
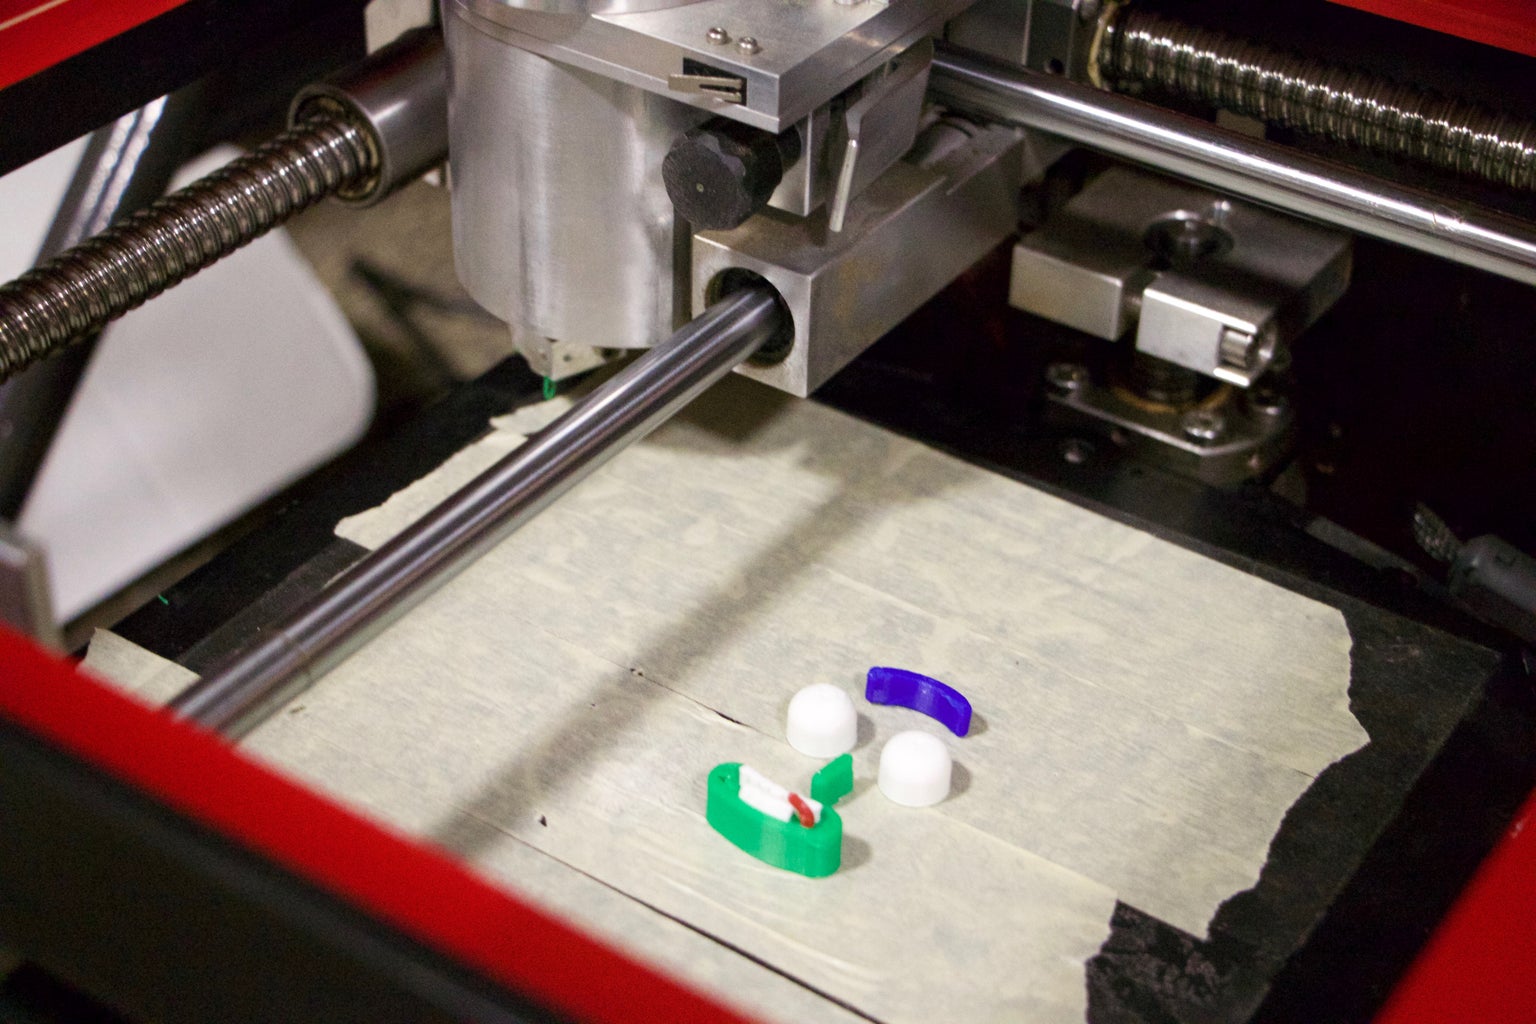
My desktop machine of choice is Boxzy CNC. It is a versatile 3 in 1 tool that gives you a new level of possibility that didn't exist before in a 3d printer or desktop CNC machine.
Get free shipping on your Boxzy machine by using code "pickleRick" at checkout
I posted the files on Thingiverse, however I would love you see your custom designed items for Pickle Rick done in Fusion 360!
For Ricks Ray gun, I used Hedd's model.
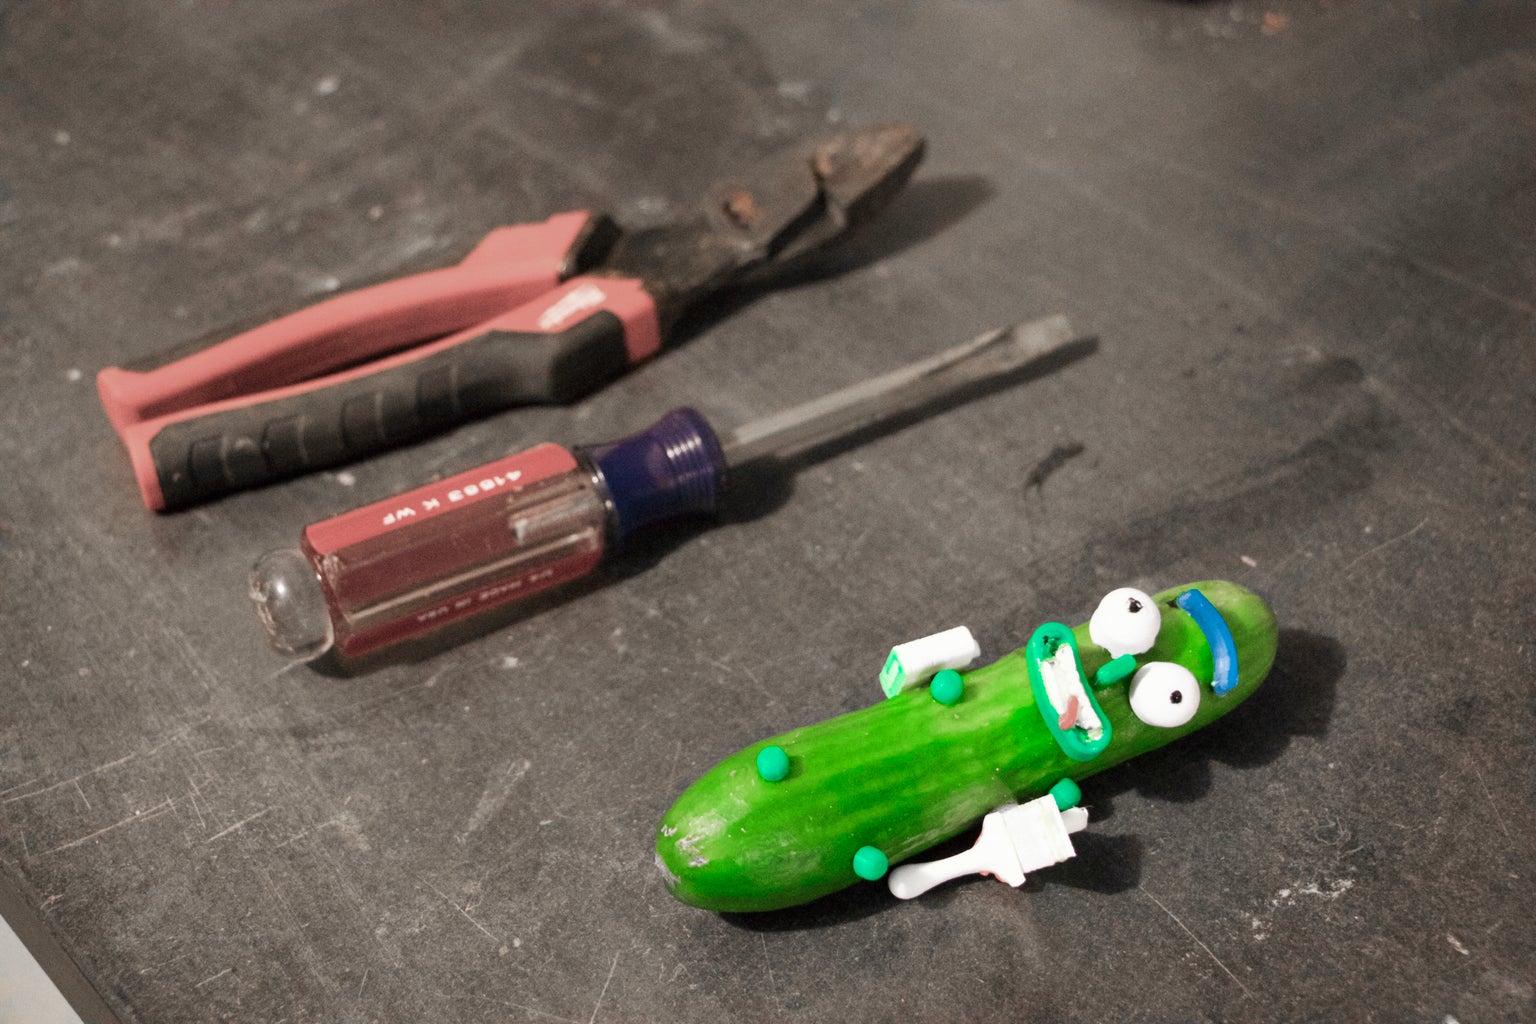
Step 8: Assemble


Exercise caution when following the instructions below if you plan to make Pickle Rick yourself!
1. If the hole is exact, go ahead and fit a piece of 1.75mm filament into the bottom of each facial feature. The filament does not need to be any longer than an inch.
2.Using the soldering iron, melt the filament to the base of the part.
3. Repeat this process for each of the facial features and you'll be done!
Step 9: You've Done It!
You are a true maker, and I'm sure Rick would be quite proud! Now, enjoy the show together with your best pickle :)


