

Introduction: Display Text at P10 LED Display Using Arduino


Dotmatrix Display or more commonly referred to as Running Text is often found in shops as a means of advertising their products, its practical and flexible in its use that encourage business actors use it as advertising advice. Now the use of Dotmatric Display has spread, not just as advertiser media only, as well as prayer schedules, warning boards, queuing machines, etc.
Here, we will give a post about Dotmatix Display programming tutorial using Arduino.
Step 1: Materials You Need


You will need:
- Arduino
- P10 LED Display Module
- DMD Connector
Step 2: Wiring Connection
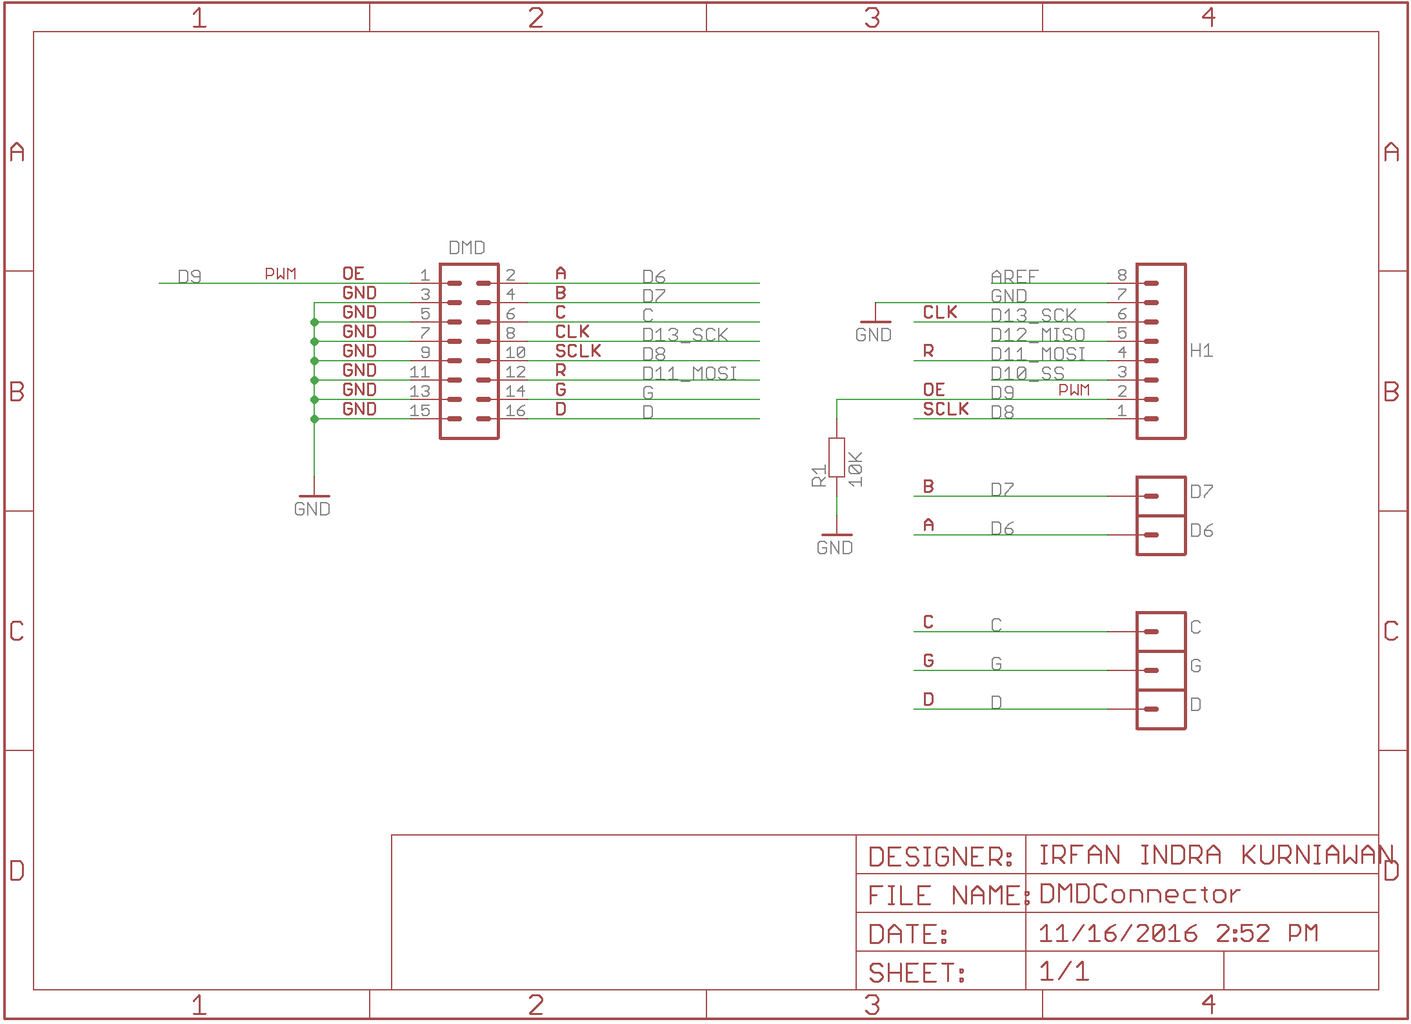

Connect P10 LED Display with arduino according to pin configuration above. Here we use DMD Connector.
Step 3: Connection
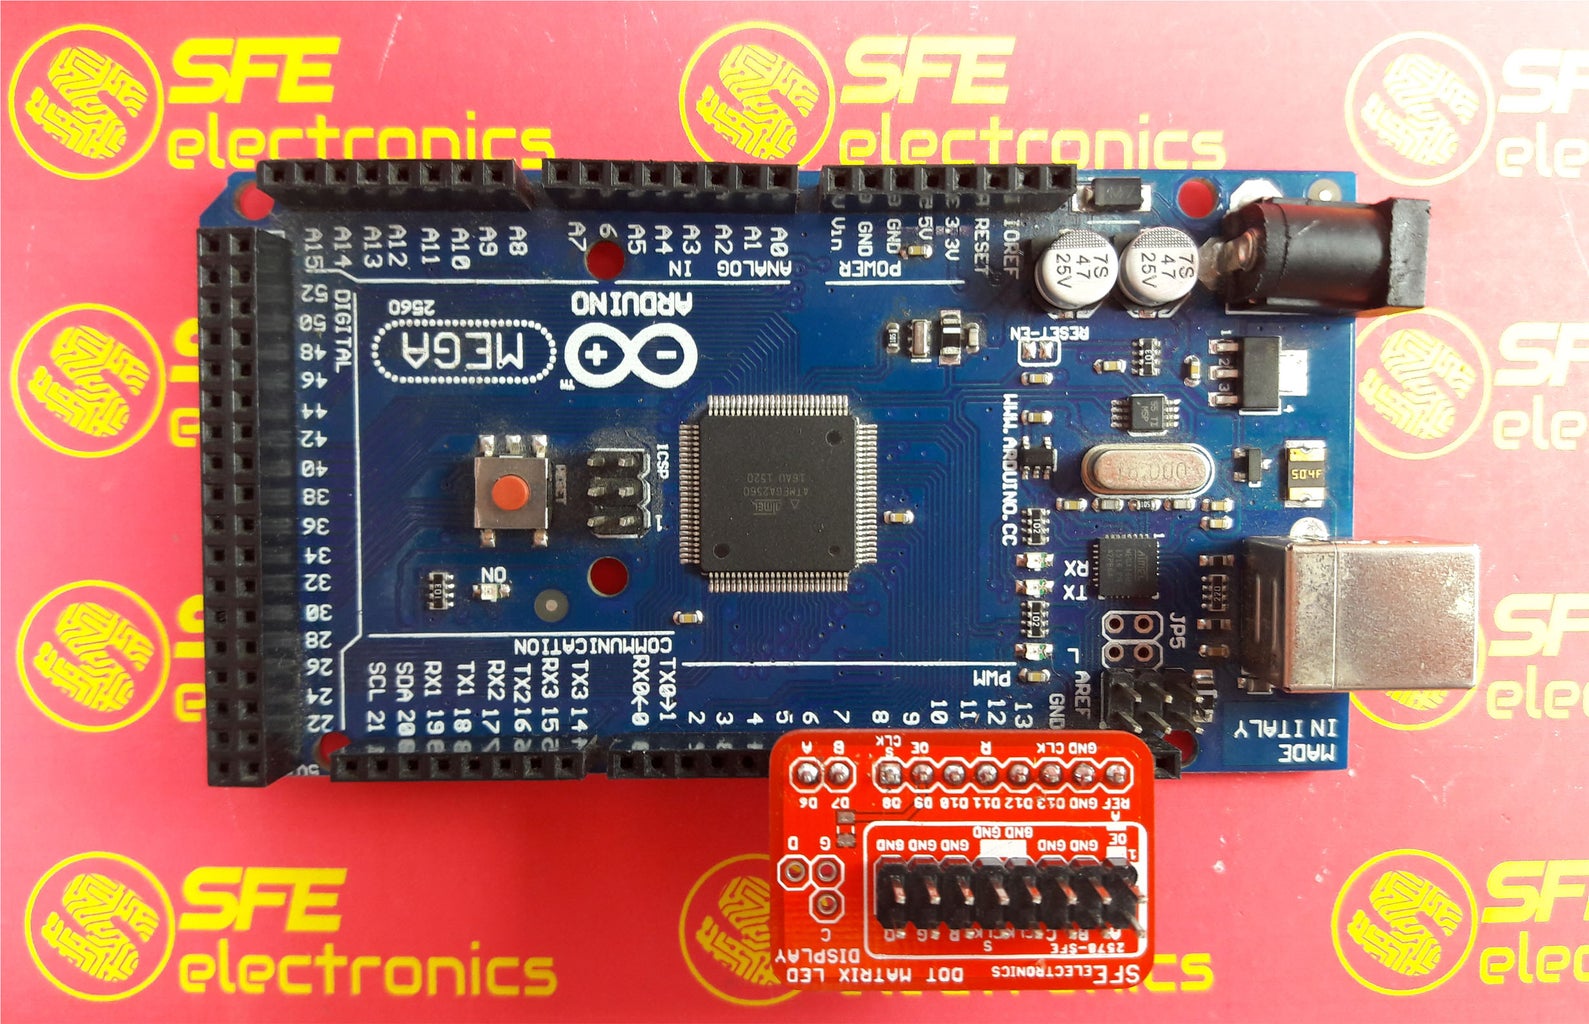

Installation of module like picture above.
Step 4: Code
After proper installation, next is the programming process. Before that you need a supporting library that must be installed on Arduino IDE. To download the DMD library click HERE. Next upload the program below to display a text.
// Insert file Library
#include <SPI.h>
#include <DMD2.h>
#include <fonts/Arial_Black_16.h>

SoftDMD dmd(1,1);
// Number of P10 panels used X, Y
DMD_TextBox box(dmd, 2, 1, 32, 16);
// Set Box (dmd, x, y, Height, Width)
void setup() {
  dmd.setBrightness(10); // Set brightness 0 - 255
  dmd.selectFont(Arial_Black_16); // Font used
  dmd.begin();     // Start DMD
  box.print("SFE"); // Display TEXT SFE
}
void loop() {}
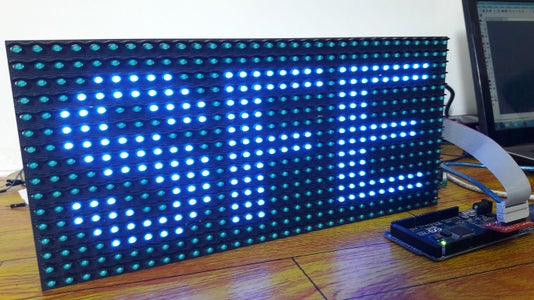
Step 5: Check If It Works

After the upload process is successful, will appear as shown above.
If the light from the display is less bright, you must add an external 5V power supply directly connected to the LED display supply pin.

Participated in the
LED Contest 2017


