

Introduction: Fold a Ring


Have you ever wanted to give your Lieblingsmensch a gift but your budget is very low? This instructable is going to lead you step by step to a wonderful, feasible, original and beautiful present to tell someone your are in love.
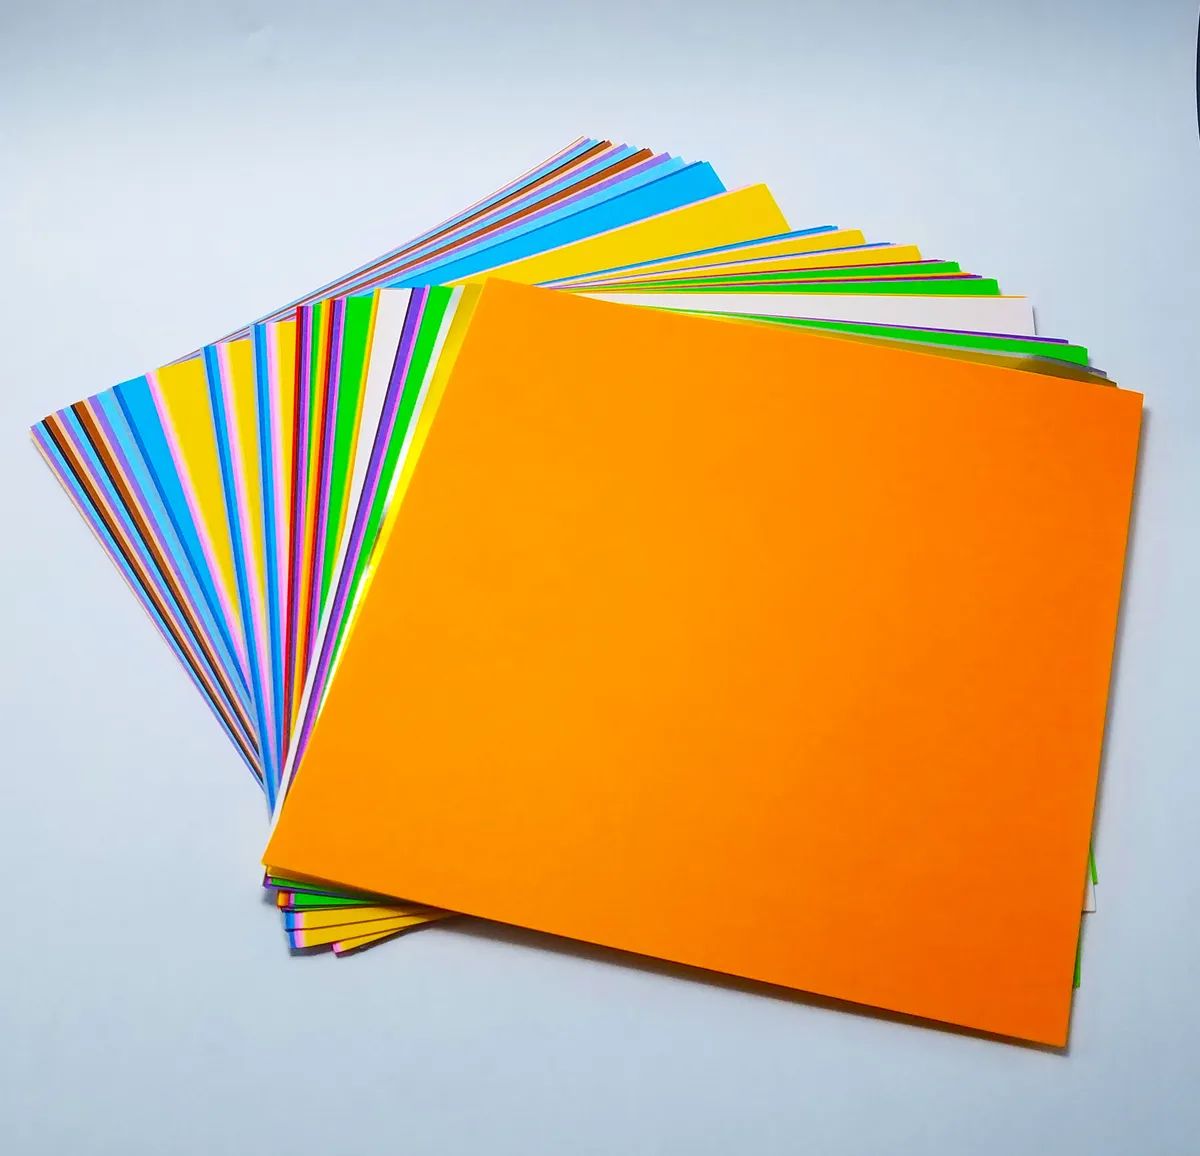
Supplies
You will need:
- Origami-folding-paper with one or two colors with the size of 10 x 10 cm. (You can also use lightweight paper with the size of 10 x 10 cm. So a maximum of 120g will do the job.)
- In case you use lightweight paper you will also need a ruler and scissors.
Attachments
Step 1:

Use a 10 x 10 cm Origami-folding-paper.
Step 2:

Fold the Origami-folding-paper into half, flattening the edges precisely.
Step 3:


Turn the paper 90 degrees to the right and fold the Origami-folding-paper into half again. Your Origami-folding-paper should be now folded twice.
Step 4:

Now fold one half of the Origami-folding-paper into another half.
Step 5:


Turn the Origami-folding-paper around and fold the second half of it into another half. Now you should have seven foldings going horizontally and one folding going vertically.
Step 6:

Fold down the last part of the horizontal folding and turn the Origami-folding-paper around.
Step 7:


Fold one corner of your Origami-folding-paper down to the third line. Do the same with the other corner.
Step 8:

Turn your Origami-folding-paper around and fold down the sharp corner to the second line of your Origami-folding-paper. Then turn the paper around again.
Step 9:


Lift one corner of the Origami-folding-paper to the opposite corner. To the same with the other side.
Step 10:


Fold down the upper left corner to the right. To do same with the other side.
Step 11:

Fold the overlapping edges to the back so that they hide underneath.
Step 12:


Fold the bottom edge of your Origami-folding-paper one step up and repeat the step three other times. You should now perceive a heart.
Step 13:


To receive a ring-like-loop help yourself by folding the left and the right edges into the middle.
Step 14:

The next step is to fold down one end of the apparent strip a bit up, but not more than 2mm.
Step 15:

You can now make a small gap (with a pen) on the other side of the apparent stripe so it's going to be easier to nest both ends into each other.
Step 16:


Your Origami-paper-ring is now finished. I hope you enjoyed the process.

Second Prize in the
Origami Speed Challenge


