

Introduction: How to Construct a Potato Launcher


Potato launchers are exciting engineering projects designed to move a potato from Point A to Point B while looking awesome in the process. This potato launcher is made from PVC pipe and uses a barbecue igniter to launch a spud, using hairspray as fuel. This project will take two days to complete and will cost just over a hundred dollars. Remember, a potato launcher is not a toy. Exercise extreme caution while using this device.
Supplies
- 4 Inch Wide PVC Cut To 2 feet Long
- 2 Inch Wide PVC Cut To 5 Feet Long
- 4 Inch Wide PVC Female Adapter
- 4 Inch Threaded Plug
- 4 Inch Coupler/
- 4 Inch Reducer (4'' to 2'')
- Oatey Regular Clear PVC Cement (Small Can)
- Weber Barbecue Igniter
- Electrical Tape
- Rags
- Mask
- Gloves
- Safety glasses
- Hairspray (most kinds will work)
- Potatoes
- Power Drill
- Skrew (size will be determined
- Saw
- Angle Grinder
- Sandpaper
- Broomstick
- Marker
- Earplugs (optional)
Step 1: Cutting Your Pipe

Most stores will offer to cut your pipe for you prior to your purchase, so all you need for this step are the measurements. The 4 inch wide PVC tube will need to be cut to 2 feet long. For the 2 inch wide PVC tube, the pipe will need to be cut to 5 feet long. Hold onto the remaining pieces that have been cut away from your main components since they will be used in a future step.
Step 2: Assembly (Back End)


Begin by cleaning all contact points on your 4 inch wide PVC pipe, 4 inch wide PVC female adapter, and 4 inch threaded plug. Contact points are areas where PVC will be touching PVC, and for the gluing process in the next step it is essential for each of these areas to be free from dirt or grime.
Once you've cleaned off all contact points, examine how the pieces will go together prior to gluing them onto each other. I recommend loosely placing each piece onto the pipe before pulling out the glue so that you can have a clear idea in mind before making a permanent mistake. The female adapter will need to be pushed onto the 4 inch wide pipe, and after it has been placed, the threaded plug goes on next. Be sure to place the adapter onto the tube so that the threads are facing outward and can accept the threaded plug when screwed on.
Step 3: Gluing (Back End)


Once you've seen how all of the parts loosely fit together, pull off each of the components and get ready to permanently glue them together. (Remember, the previous step was to check the sizes of parts, check orientation, and to be used for planning prior to gluing.) PVC cement dries quickly, so you will need to be quick while assembling this section. Before starting, be sure to put on your mask and gloves to protect your body from the fumes. You may also want to open a window or turn on a fan to increase circulation.
Start by rubbing glue across the contact points between the tube and female adapter. Each section must be covered to ensure a strong fit can be created. Place the female adapter onto the tube with the threaded sides out and twist the component onto the tube to further increase the strength of the bond. Once you have pushed the adapter on as far as it can go, leave the project alone for about five minutes before starting on the other side. Wipe off any excess glue before the drying process begins and move into a ventilated room as the pieces start to dry.
For the threaded plug, you must not glue it onto the female adapter. The fuel will be sprayed in through the hole in the back, and if the plug is glued onto the adapter, you will not be able to fire the potato launcher. If glue has gotten into the threads as a result of the gluing process, immediately wipe out the glue before it causes permanent damage.
Step 4: Assembly (Front End)


After you have waited five minutes for the glue to dry on the back end, pick up the launcher once again. Turn the launcher to the other side and get ready to put on the new components. Much like the back end assembly, I recommend that you loosely fit all of the pieces onto the launcher before getting ready to glue it. Remember to clean each contact point prior to fitting and gluing.
Once you're ready to loosely fit the pieces together, take the other side of the 4 inch wide PVC pipe and place the 4 inch wide coupler (also known as coupling) onto the pipe. Next, fit the 4 inch to 2 inch reducer into the coupling. Finally, place the 5 foot long, 2 inch wide PVC pipe into the reducer. If all of the pieces fit together, and once each piece is cleaned off, you can move onto the next step.
Step 5: Gluing (Front End)


Now that you've seen how it goes together, pull the pieces apart. To begin, put glue on the contact areas between the coupler and 4 inch wide PVC. Next, twist the coupler onto the PVC pipe until it has been pushed as far down as it can possibly go. After that, take the 4 inch to 2 inch reducer and repeat the process. The new contact points will be inside the coupler and outside the reducer. Once the pieces have been covered with glue, push and twist the reducer into place. Finally, take the 2 inch wide PVC and put glue around the exterior contact points while also applying glue to the reducer's interior contact points. Twist and slide the long tube into pace and rest the launcher on a flat surface to dry.
Now that the body is complete, you will need to wait 24 hours before moving onto the next step. This is important for a few reasons. For one, the glue must create a strong enough bond between each piece to ensure that air can not escape out of small gaps while launching to make the launcher as safe as possible. In addition, because the PVC cement is flammable, installing and testing the barbecue lighter too soon could cause a fire. Leave the launcher in a well ventilated room while it's drying and don't forget to remove the threaded plug if it is screwed onto the bottom.
Step 6: Connecting the Wires


After waiting a full 24 hours, you can move onto this step. The spark generator will be used to electronically combust the hairspray in the chamber so that a potato can fly out the other end. To start, remove your barbecue igniter and its wires from the box and place it on your desk. Next, connect the white wire to the metal stick on the side of the clicker. After that, connect the black wire to the metal lead on the bottom of the clicker. Finally, click the button and see if a blue spark forms at the end of the lead inside of the metal box.
If a spark does not form inside the box, try pressing the button harder until you hear a pop. If you still do not see a spark, check if all the wires are properly connected and test the button again. If you are using a spark generator aside from the one that I have used in this project, read the manual that comes with the box to see how it is properly assembled.
Step 7: Attaching the Generator to the Body


Now that you've tested the sparker, you will need to place it inside of the launcher. To begin, lay the sparker across the top of the body to see how far down the metal box should be once it is placed inside. Keep in mind that you don't want the wires so tight that they will not be able to move around or be forced through the two holes you will be drilling next. You also want to make sure that the button can rest on the lip of the coupling towards the top of the body. Once you have an estimation as to where the box should be, drill a hole in the metal box just underneath the end lead (this is where the spark is generated). The blue-tinted photo above should be used as a guide as to where the hole will go.
Once the hole is drilled in the box, drill a hole into the tubing itself where the box will be as decided by your earlier estimation. You may want to draw a mark on the tube where you want to place the box prior to drilling it. My hole was 7 3/4 inches from the end of the tube starting from the threaded plug. Once you drill a hole in the tube, drill two smaller holes into the tube about 2 1/2 inches from the larger hole. The centers of the smaller holes should be 1/2 an inch from each other and will be where the two wires are pushed out of the tube.
Once all of the holes have been drilled, disconnect the clicker from the wires leading to the box and place the metal box and wires inside of the tube. Push the wires through the small holes and pull them until they can be reconnected to the clicker towards the front of the body. Last, screw the metal box into place using the holes in both the PVC pipe and the metal box as guides. Using the size of the hole you drilled, determine which type of screw you will need to screw the box to the pipe as tightly as possible. The holes for the wires and for the box should be as small as possible to keep air from escaping out of different openings during the firing process.
Step 8: Creating a Protective Cover


Now that all of the wires are in place, you need to create a protective shield to prevent the wires from being damaged. You will need the discarded piece of 2 inch wide PVC to create this shield. To begin, cut a piece of pipe from the discard pile to 13 1/4 inches. Next, stand the pipe upwards to prepare for its lateral cut. Once the pipe is standing up, use the reference photos to cut the pipe to an adequate size. As always, use extreme caution while making both of these cuts.
Step 9: Taping Parts Together


Once the piece has been cut, you will need to use electrical tape to fasten the clicker and the cover to the potato launcher. Since duct tape is conductive, you should not use it in this project. Wrap the electrical tape around both the shield and the clicker itself in this step to secure the button to the launcher. You do not need to tape the wires to the launcher. Just make sure that the wires are completely covered by the shield before taping it on. Tape the clicker on before attempting to tape the shield on first to ensure that the button is taped as tightly as possible to the pipe.
Step 10: Tapering the Tube
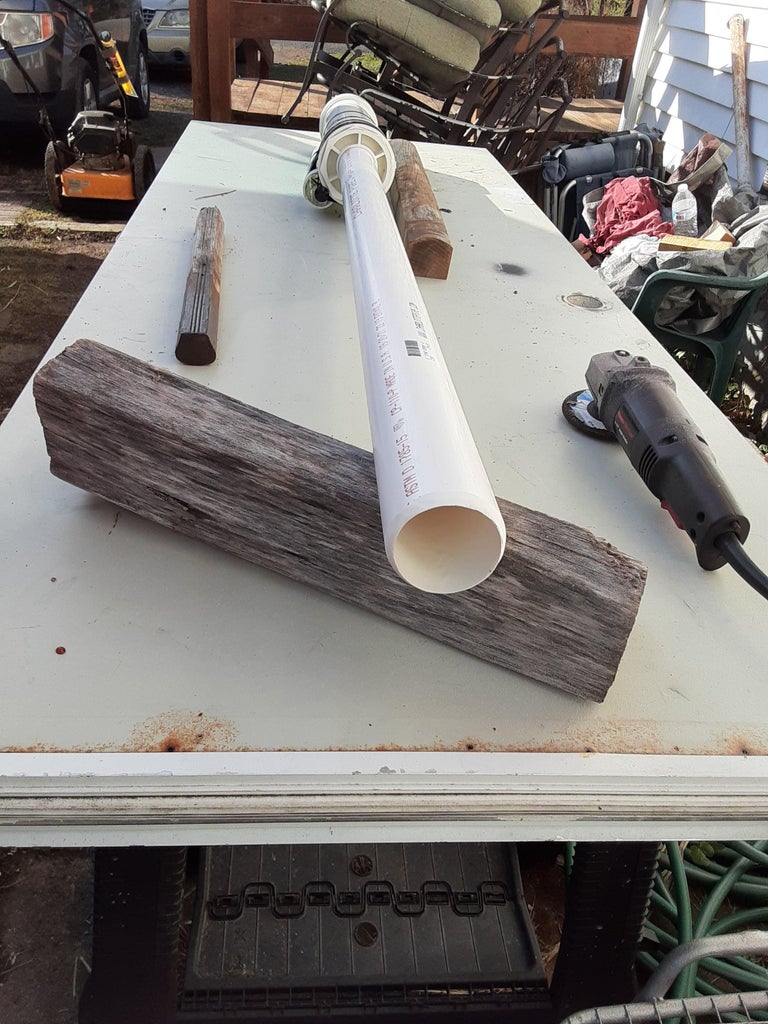

The final step in building your launcher is tapering the end of the tube. Using an angle grinder and sandpaper, grind the end of the launcher at a 45 degree angle until the rim is sharp enough to cut a potato once you put one in. Grinding away the top of the tube ensures that the potato will cut as you push it into the hole, allowing the potato to fly farther by creating more pressure inside of the long tube.
Step 11: Firing Procedure
Congratulations! Your potato launcher is now finished. Before firing your potato launcher, you must find a large, open space outside where buildings, people, and living things can not be harmed by flying potatoes. My launcher has managed to shoot a potato between 300 to 500 feet, so be sure that your space is large enough to accommodate this kind of range.
Once you have found a good area, follow this procedure:
1. Make sure that nobody is in the range of the potato launcher.
2. Take a broomstick and make a line at 35 inches.
3. Select a potato that is slightly larger than the opening of the 2 inch PVC pipe.
4. Jam a potato into the front of the launcher and slap it into the hole. This should cut excess pieces off of the potato and create a tighter fit.
5. Use the broomstick to push the potato 35 inches into the hole.
6. Open up the threaded plug, spray hairspray into the body of the tube for about two seconds, and quickly screw the plug back on.
7. Rest the launcher on an object (I used a wheelbarrow and a table) to aim it while simultaneously preventing yourself from being injured.
8. Do one last safety check before firing the launcher.
9. Click the button to generate a spark.
10. Air out the launcher immediately after firing by unscrewing the plug.
Step 12: Wrap Up
Owning a potato launcher is great, and to properly maintain one you will need to know a few things. First, you must always air out the launcher immediately after firing it. During this process, DO NOT press the igniter button. Once all of the smoke has blown out of the plug opening, the potato launcher is ready to be fired again.
For storing the launcher, find a place in your house that is not damp and is at room temperature. Do not leave the potato launcher outside, as the wiring could degenerate quickly if left out in the snow, rain, or humid weather.
Thank you for taking the time to read my Instructable. If you have any questions or concerns, please leave a comment in the box below! Feel free to leave advice or ideas as to what I should build next in the comments as well. Happy potato launching!

Participated in the
PVC Speed Challenge


