

Introduction: How to Paint Clothes


My daughter needed an item of clothing with 100 somethings on it for her 100 days of school celebration. We accidentally left it to the last night and I had to scramble to get something done. This whole process from idea to completion took less than an hour.
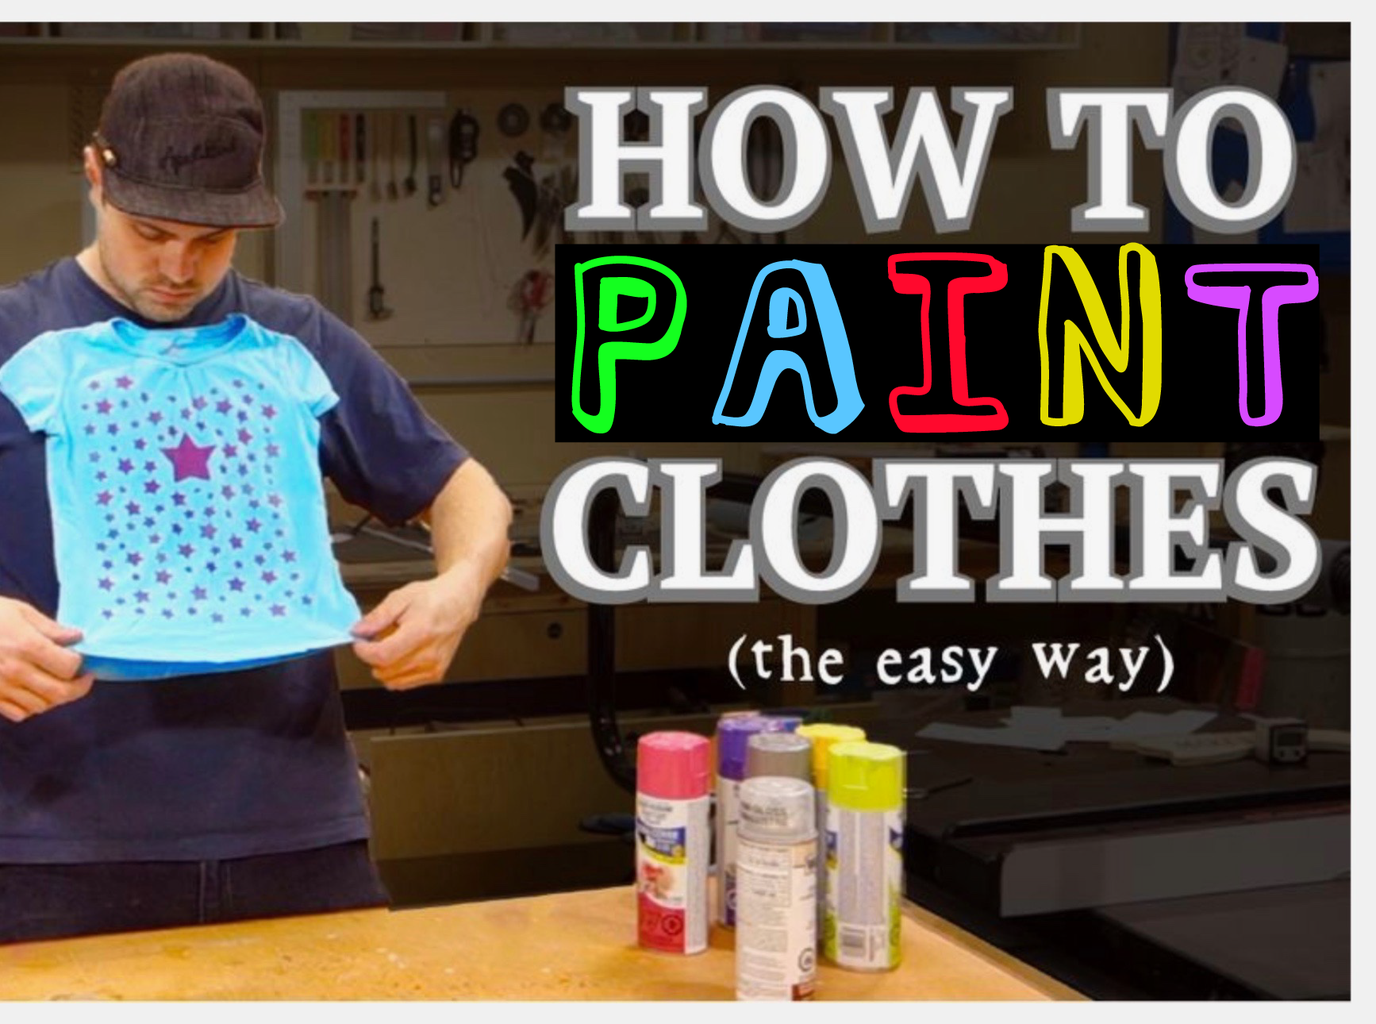
If you'd just like to watch the short video you can see it here!
Step 1: Supplies


To start, you're going to need a piece of clothing that'd you'd like to put some paint on. I used a t-shirt with a stain since I knew the paint would hide the spot.
You will also need the following...
Stencil
Spray Lacquer - https://amzn.to/2td43xv
Spray Paint - https://amzn.to/2tehw8q
Tape (and I recommend one of these cutters http://amzn.to/2wExKdG)
Safety Stuff - https://amzn.to/2JIBtiR
Something flat like wood or cardboard
Step 2: Stencil Making


I used Easel.com to create a simple star pattern and then sent the file to my X-Carve CNC.
I have the luxury of having a CNC router, but this can be done with paper, cardstock, cardboard, tape, vinyl, etc. and a sharp Exacto blade. As long as you have something with relatively crisp lines that can lay flat on the piece of clothing you want to stencil. It may take a little longer to do it by hand but it's cheaper, that's the trade-off.
Step 3: Pre Paint Prep


I slid a scrap piece of plywood inside the shirt so I could pull it tight to keep it flat. Lightly stretch the fabric out on a flat surface. Not too much since you don't want to stencil on overly stretched fabric just to have the image distort when you release the tension. Protect any exposed fabric with paper, plastic or a few pieces of tape if it's a small amount.
Step 4: Spray Lacquer


The trick to getting perfect results on fabric, which is essentially a sponge, it to seal the fibres before you add paint. This is done with a clear spray lacquer. It doesn't matter if use glossy or matte, as long as you lay down a health coating WITHOUT MOVING THE STENCIL and give it plenty of time to dry. Make sure you're in a well ventilated area and use a respirator. Lay down a few good coats of spray lacquer. Hit it from multiple angles to ensure full coverage. Make sure it's dry before moving on to the next step.
Step 5: Paint


Once the spray lacquer is dry you can apply many light coats of whatever colour of paint you'd like. I prefer the Rustoleum 2X since it builds up really nicely.
The darker the colour of fabric the harder it will be to paint so keep that in mind. Light coats with plenty of time to dry! If you want to paint white over black try using Rustoleum 2X primer.
Step 6:


I did a swirly random pattern with silver, pink and purple on this shirt. The colour variations are much more noticeable in person. It was hard to capture that on camera.
Once again, if you'd like to see the video it will go over everything, step by step, in about 3 minutes.

Participated in the
Colors of the Rainbow Contest


