

Introduction: IoT Based Fingerprint Attendance System Using Evive (Arduino Based Embedded Platform)


Now, you can easily track attendance and clock working hours with the help of this easy and fun to make DIY fingerprint scanner! We’ll be using ThingSpeak to store and retrieve the data. All you require is a cardboard piece, some colored paper, a fingerprint sensor, evive, and lots of DIYing!
Ready for some scanning and tracking? Hop on board!
Step 1: Components Required
Hardware
- evive / Arduino Board
- Fingerprint Sensor
- WiFi Module (ESP8266)
- Jumper Cables
- Cardboard
- Color Papers
- Hot Glue
Software
- Arduino IDE
- Thingspeak
Step 2: Making the Evive Holder
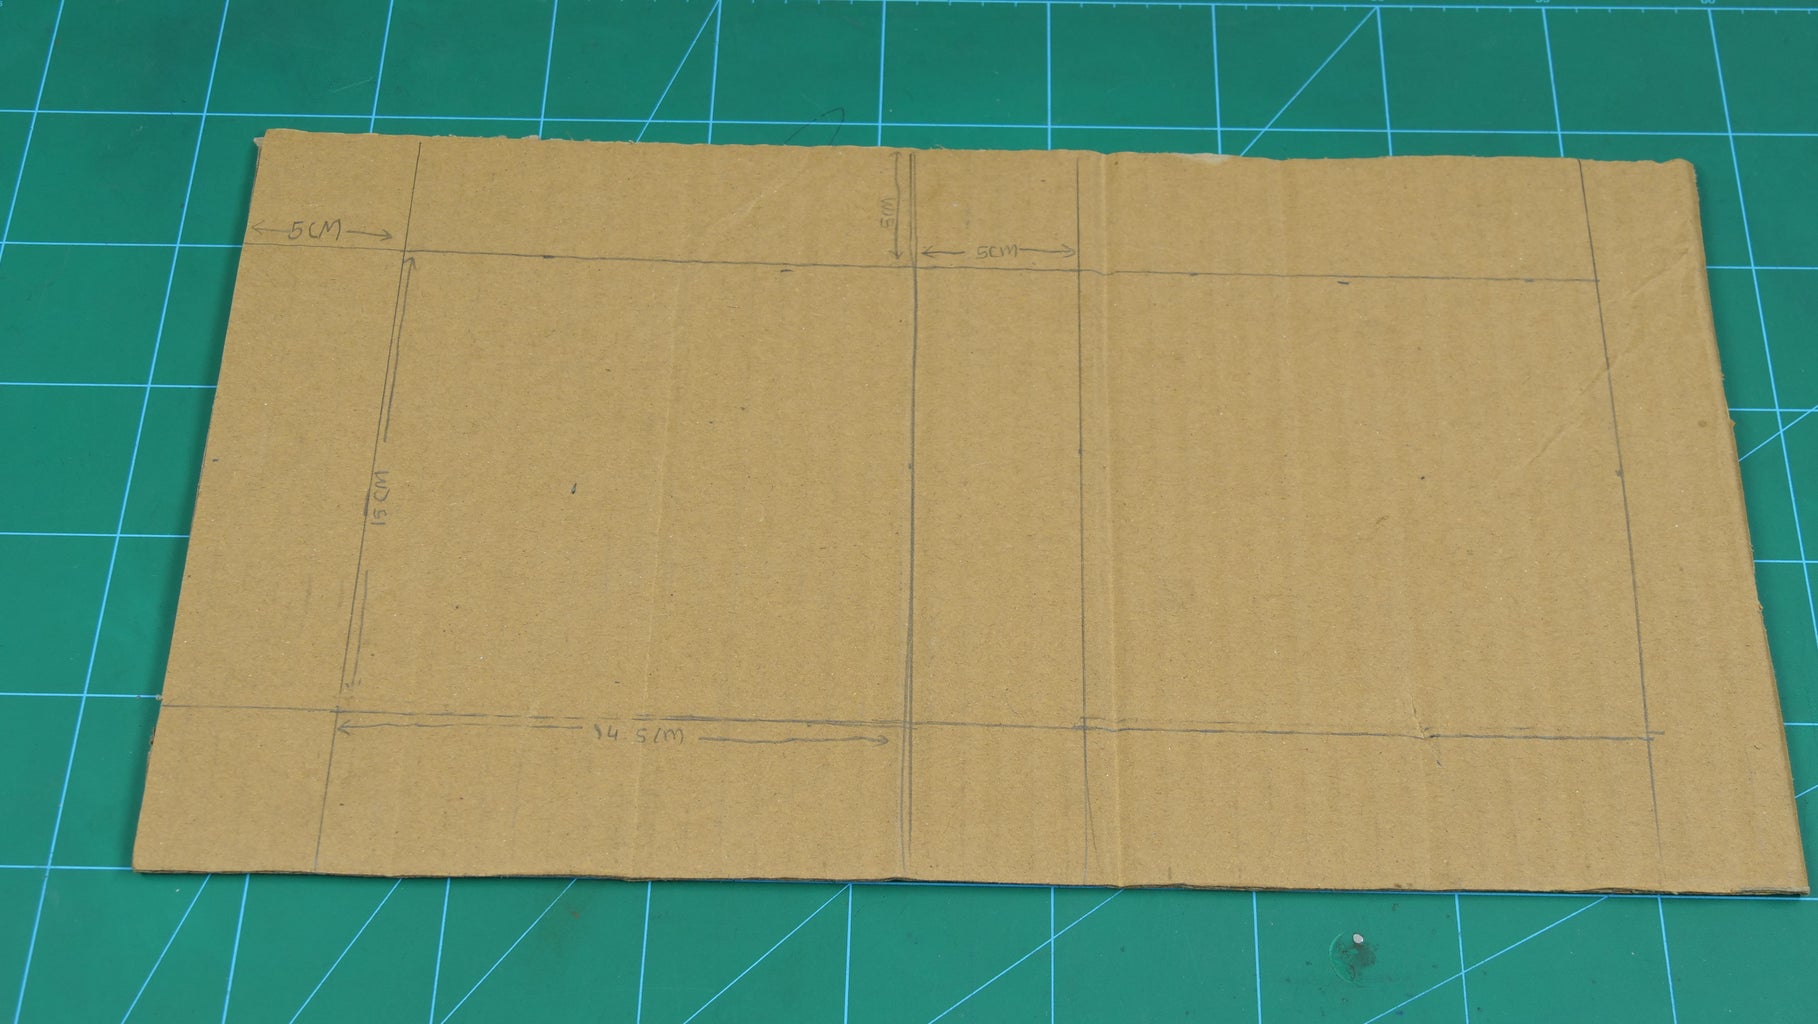

Take the piece of cardboard and cut it in the shape of evive or your Arduino Board.
The box I have made just needs to be folded and glued.
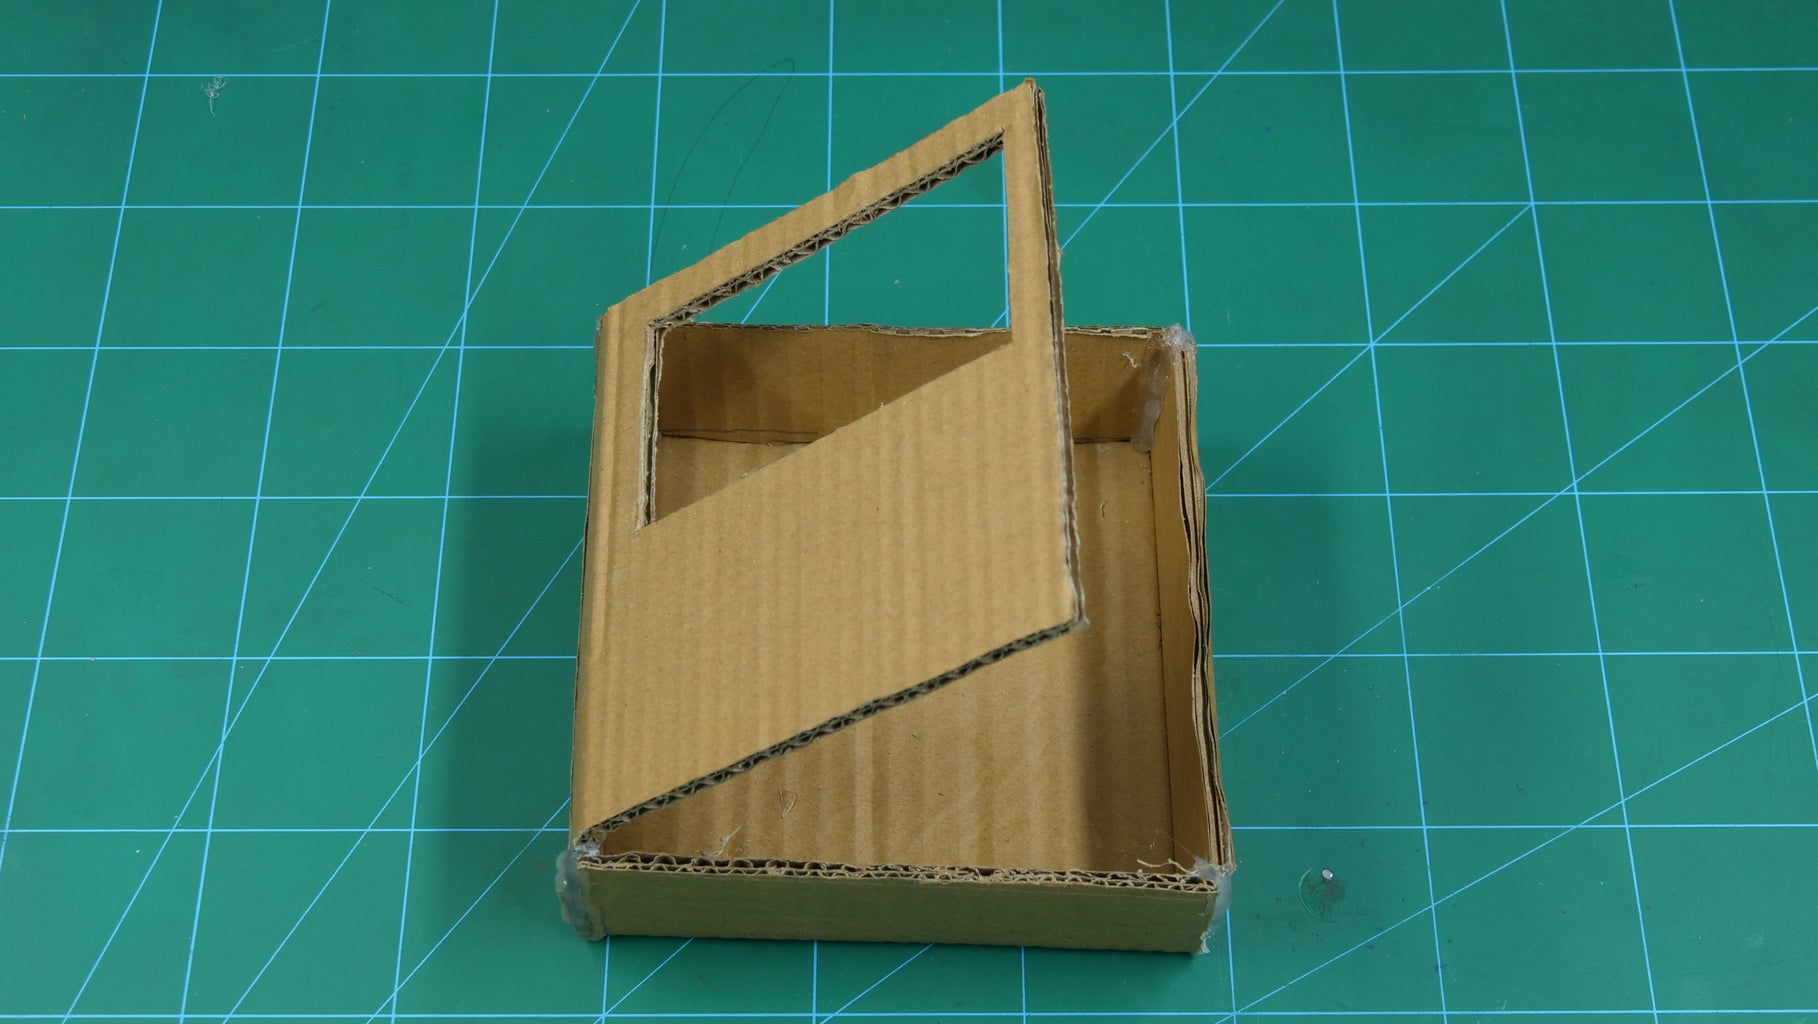
Cut out the extras and you will get the shape as shown in Image2.
To fold the cardboard, make slight cuts at the edges drawn. Thus, helping you to fold it into the box easily.
Finally, to keep the box stable, glue the edges using Hot Glue.
Thus, our box is almost ready.
Step 3: Decorating the Box

Take the box that, you have made and color it according to your choice.
I have glued the color paper on the box to make it attractive.
Finally, keep the evive safe :) I have added a lock to it.
I took a small string and have made a loop of it.
I have fixed a small bolt onto the side of the box to fix the loop around it.
Finally, as we are using the fingerprint sensor. I have 3D printed a sensor holder and have attached it to the front door of the box.
Step 4: Circuitry

Once done with the making, it's time to make the connection:
- VCC (Red wire) to evive's 3.3 V
- GND (Black wire) to evive's GND
- Rx (Yellow wire) to Digital Pin 10 of evive
- Tx (White wire) to Digital Pin 11 of evive
Step 5: Working Modes

I have added the two working mode for the attendance system:
- Enroll Mode
- Attendance Mode
Let's discuss each mode in detail.
Step 6: Enroll Mode


All the first time user needs to first enroll themselves into the system.
I have added some instructions so that one can enroll the fingerprints easily.
I have added the following instructions:
- Choose the Enroll Mode
- Choose the Number on which you wanna enroll yourself.
- Place your finger on the sensor.
- Then remove the finger and again place it for the verification
- If the fingerprints are matched, you have now enrolled.
- If not, have to follow the above steps again.
Step 7: Attendance Mode

Once you have enrolled yourself, all you need to do is mark your attendance daily to check your working hours.
Select the Attendance mode and place your finger on the sensor and mark your attendance.
You can select the text you want to display on the screen.
Once you have marked the attendance, on selecting the attendance mode again and placing your finger again, will mark your exit.
You can again choose the exit text you want to display.
Step 8: Storing Data
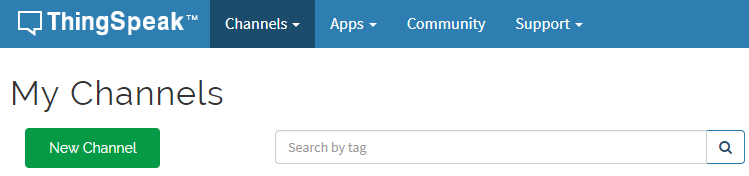

I have used Thingspeak, which is the opensource software to store and retrieve data.
I have first created a Thingspeak account. One out of the many good things about Thingspeak is that you can store the data coming from your multiple projects in a single account. All you need to do is create a different channel for each project. You can store up to 8 fields on 1 channel. We will store 1 parameter.
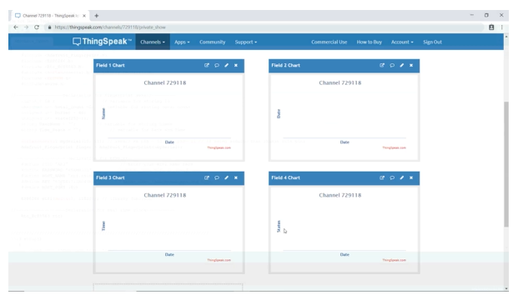
When a new channel is created, you can see four graphs for each parameter. Get the Channel ID of your Channel (To be used while connecting to the channel). Get the Read and Write API from the API tab:
To connect your project with the corresponding channel, you need to enter the Thingspeak's API of that channel into your Arduino Code.
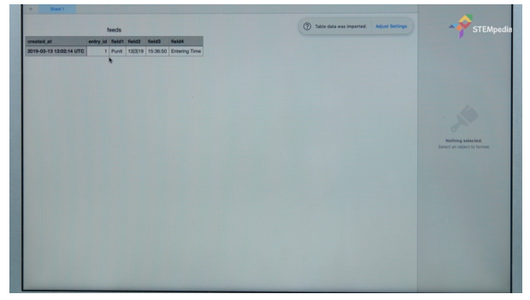
All our records are being directly stored over WiFi to our account.
You can retrieve the data by downloading the CSV File.
Step 9: Arduino Code
Upload the following Arduino code to evive.
Attachments

Step 10: Conclusion
With this, your DIY fingerprint attendance system is all set to maintain a record for you of all those you came and went.
BTW, did you know that is one door is closed, another somewhere is open? If you didn’t you will now! Owing to overwhelming success and the love and support of DIY enthusiasts and hobbyists around the world, we’ve decided to EXTEND our Indiegogo campaign! So, If you missed the opportunity before, you have the chance to take its advantage NOW! Go check out all the cool stuff that we’re offering HERE and seize the day. ;)


