

Introduction: Knit Like a Pro: the Wool Dispenser


The Wool dispenser in Action: 
At first, the story behind this project:
I was sitting next to my mom, while she was knitting some socks. I've seen a problem that was really annoying for her. While was she knitting, the wool rolled away. So she needed to stand up and catch the wool.
So I had an Idea, I have to create a rolling mechanism, where nearly every wool ball will fit, and which will prevent the woll from rolling away. Also this mechanism should be out of wood and stand freely on a sofa or desk. I wanted to design it simple and functional.
Now my mom and all of her knitting friends are so exited about the woll dispender, that they wouldn't knit without it anymore. They told me that such a simple tool like this improves knitting a lot.
I think this wool dispenser is a pro tip for all people who love knitting and want to improve their workflow :-)
If you can't see the interactive 3D model above, its probably because
you're not using a WebGL-enabled browser, or you're using the Instructables Mobile app)
Specifications:
Diameter: 150mm
Hight: 200mm
Overall Costs: ~8€
###If you like my Instructable, please vote for me in the Pro Tips Challenge###
Also this is my first project made with my selfmade CNC router. It helped me a lot to take the CNC-Class and the
3D-CAM-and-CNC-Class here on Instructables, to understand how to programm the CAM for the wool dispenser. However, if you have a lathe for wood working the build progress will be a lot easier.
Step 1: Requierd Parts and Tools

Here is the list of the parts and tools I used for this project:
Requierd parts:
| Quantity | Description | Link | Price |
|---|---|---|---|
| 1x | 18mmx200mmx800mm beech sheet | Local hardware store; In my case: Bauhaus | 3,25€ |
| 1x | 25mm woodscrew | Local hardware store | ~0,1€ |
| 2x | 625zz radial ball bearing | Aliexpress | 1,16€ |
| 2x | 4mm washer | Local hardware store | ~0,1€ |
| 1x | wooden rod 20mm | Local hardware store; In my case Bauhaus | 3,40 |
Total Costs: | 8.01€ |
Requierd tools: |
|---|
| CNC-Router |
| Screwdriver |
| Sander |
For the tools I have to mention, that a CNC router is not really necessary for this project. All the requierd parts can also be made by hand with a lathe or conventionell router.
Additional Files:
Latest Fusion 360 File: https://a360.co/2IQxAUL
Technical drawing: Can be downloaded at the bottom of this step.
Attachments

Step 2: CNC-Milling the Parts
Here I willshow you how I cutted the wood parts on my CNC-router. The CAM is programmed with Autodesk Fusion 360. All CAM Files are avaible in the Fusion 360 File from step 1.
Part one - the upper-body:
At first drill the center hole. Here I have used an 3mm 2 flutes end mill.
| Simulation | In Reality |
|---|---|
 |  |
Now cutting the contur and clearing the inside of the top body. As you can see it is just a rough milling. For that operation I haved used an 6mm flat endmill.
| Simulation | In Reality |
|---|---|
 |  |
Now mill the top for a smooth surface. Here I haved used an 4mm radius end mill.
| Simulation | In Reality |
|---|---|
 |  |
Now, turn the work piece by 180° and start milling the inside pocket. Here I have also used the 6mm endmill.
| Simulation | In Reality |
|---|---|
 |  |
Part two - The lower-body:
Here I have not milled the outer contour on the CNC-router, because it took to much time. I have used a bandsaw to cut out the outer circle. The mounting holes for the bearings are made with CNC-router.
Start from one side:
| Simulation | In Reality |
|---|---|
 |  |
Then, turn the bottom body by 180° and mill the second bearing pocket:
| Simulation | In Reality |
|---|---|
 |  |
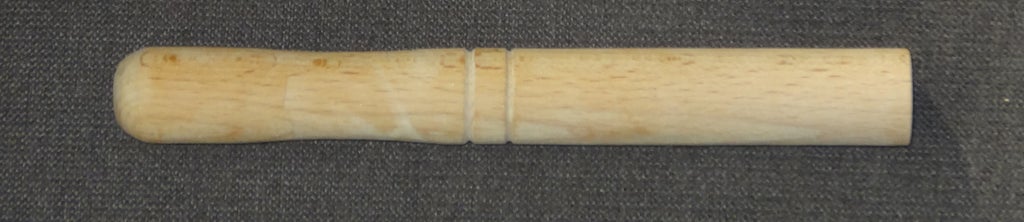
Part 3 - the wooden rod:
For the wooden rod, I used an 20mm wooden rod from my local hardware store. Cut the rod by a lenght of 160mm.
Once you haved finished the parts, you need to sand them manually for an nice and smooth finish:
Step 3: Put the Parts Together

Now it is rather simple to assemble the woll dispenser.
At fist you have to press the 625zz bearings inside the lower-body:


After that you put the washer on top of the lower-body:

Now you put the upper-body on top of the lower-body:


Finally you screw the wooden rod on to the lower- and upper-body:


Step 4: You Are Done!


Participated in the
Pro Tips Challenge


