

Introduction: Knit Plastic Bag Ball


While I'm thrilled that many stores have started implementing new ways to reduce the number of disposable bags they distribute, I still always seem to end up with a cupboard stuffed with plastic bags. This instructable helps reduce your plastic bag stockpile by turning your bags into squishy, knit balls that are soft and light enough to toss around the house without doing much damage and cute enough to leave out. It's a quick and simple knitting project that even a novice knitter should be able to whip up in no time, and can be used for everything from dodgeball to decorations.
Supplies

You won't need much for this project, and don't worry if you don't have exactly the right size knitting needles. This pattern adapts itself well to bags of slightly different thicknesses and a range of knitting needle sizes. Here's what I used:
- Plastic bags (this ball took about 4 standard grocery bags)
- Scissors
- Double-pointed knitting needles (size 7 / 4.5mm)
- Optional: Crochet hook, a small piece of string
Step 1: Cut Up the Plastic Bags


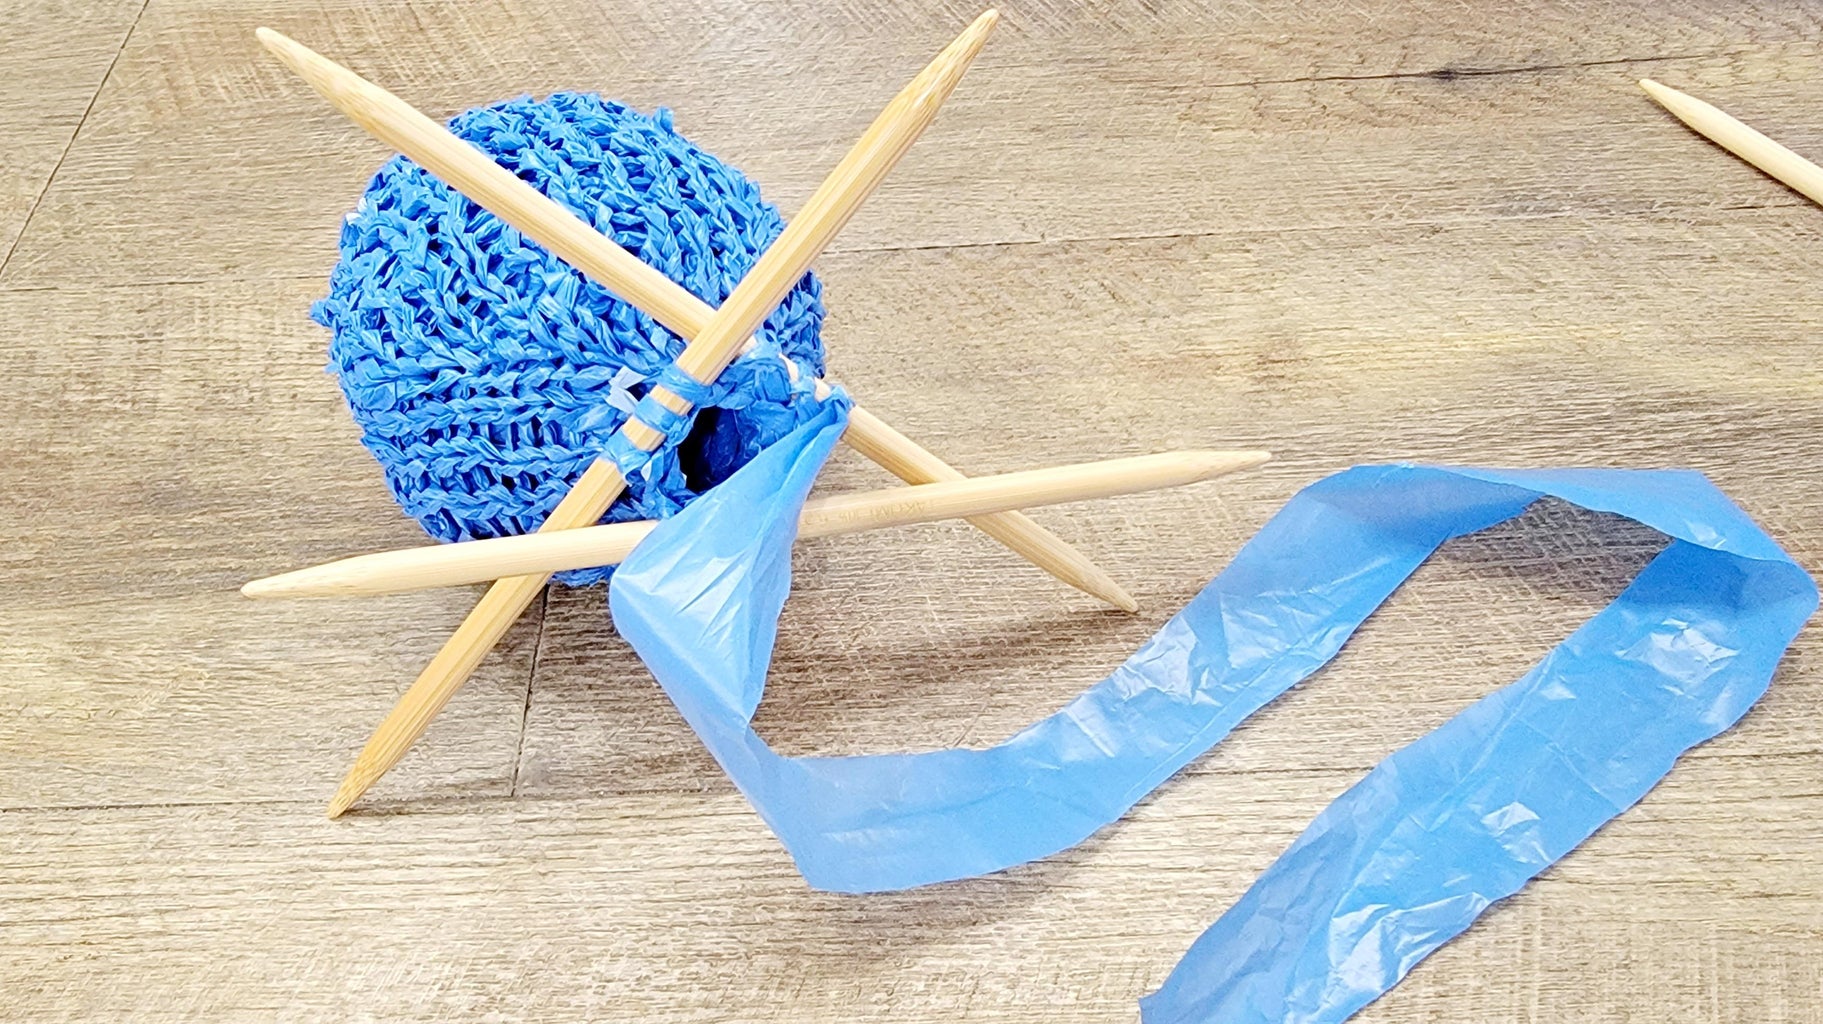
Start by cutting the handles off the bag. Then, begin cutting the bag into a single 1-inch thick strand (as shown). This strand will act as the "yarn" you will use to knit the ball. (Looking to speed up this process? Check out the "plarn" cutting strategy HERE.)
Step 2: Cast On


Begin knitting by casting NINE stitches onto one of the knitting needles. New to knitting or need a refresher? This instructable explains the process of casting on in detail. Once complete, slide three stitches off and onto different needles so the stitches are evenly divided among three needles, as shown.
Step 3: Increasing Rounds


Now that you have your stitches cast on, it's time to begin knitting in the round. The pattern for a ball this size is as follows:
- Knit ONE row where you add one stitch to the beginning of each needle. (I used the increase stitches strategy - explained in detail in this instructable.)
- Then, knit ONE row normally.
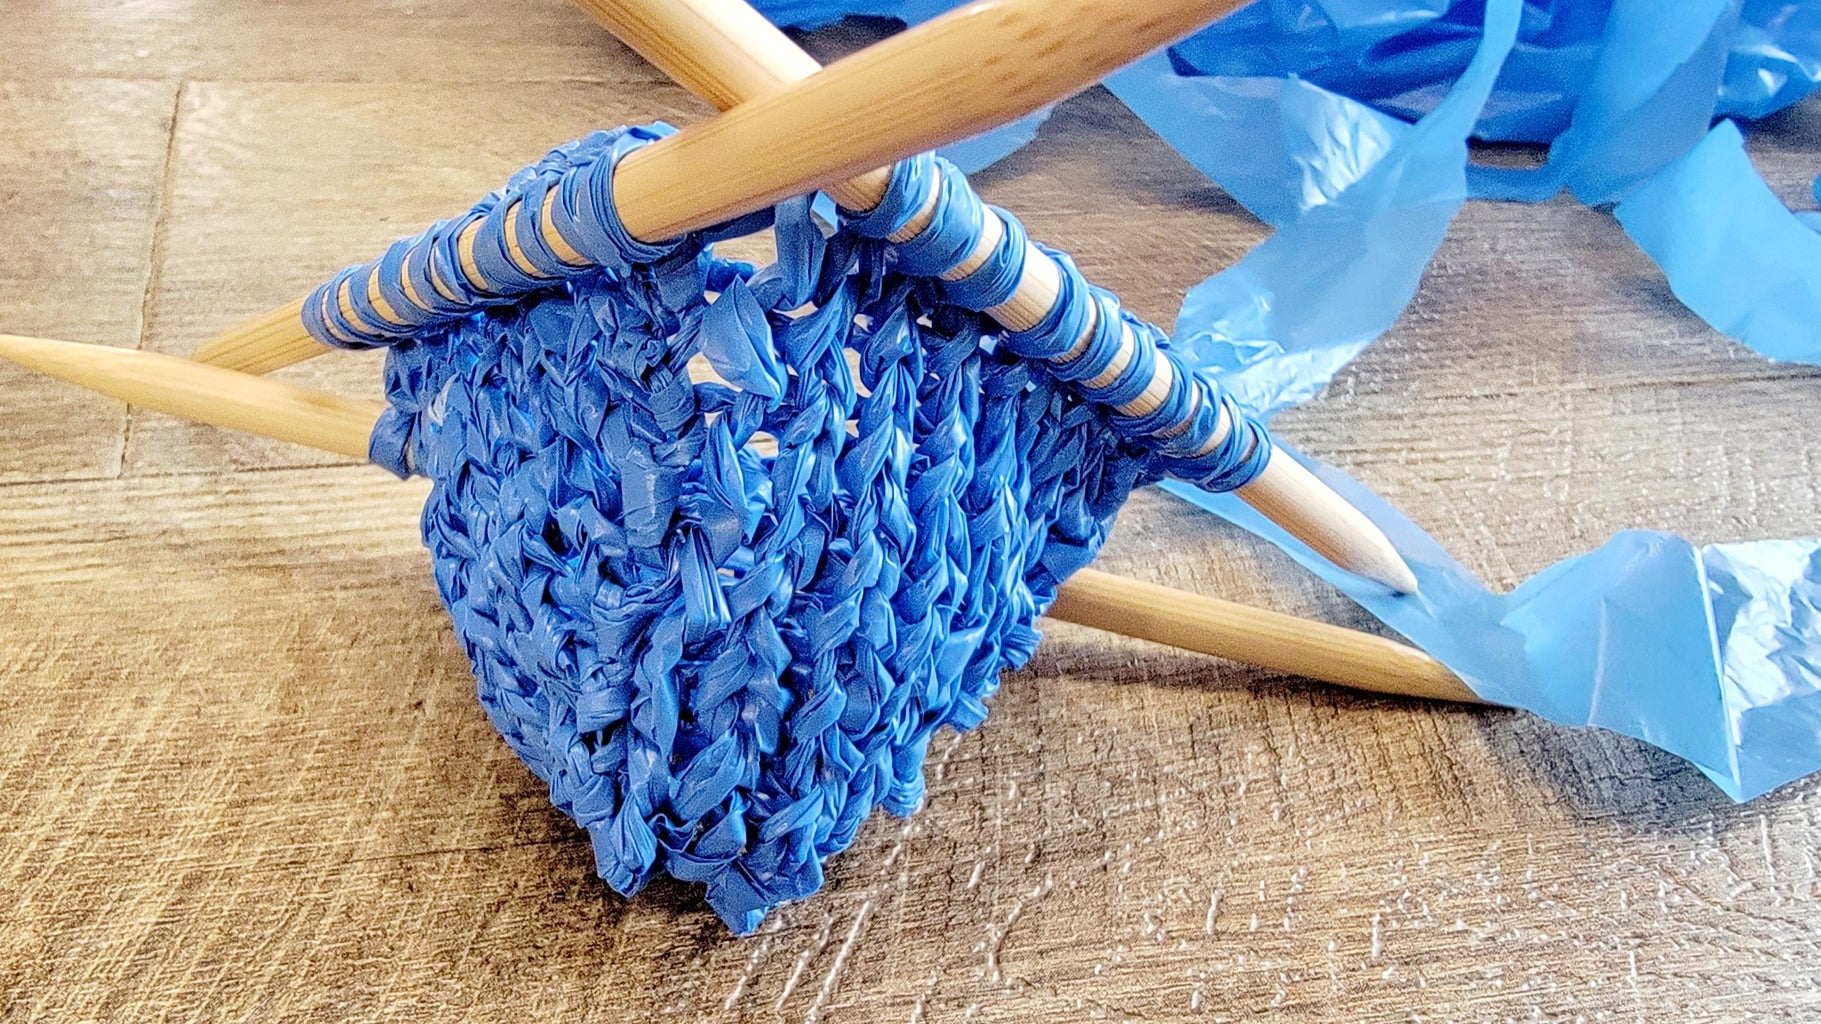
- Continue this pattern until you have TEN stitches on each needle, for a total of 30 stitches.
When done, it should have the same approximate size/shape as what is shown in the picture above.
Wish you could make this bigger or smaller? Just adapt the number of stitches you increase to!
Step 4: Middle Section (constant Size)


Once you have 30 stitches, it's time to work the middle of the ball. This section should be approximately 1-inch long and is made by simply knitting on the round without increasing or decreasing the stitches at all. I recommend knitting a small string into one stitch of your piece at the beginning of this section so you will be able to measure when you have gone about an inch from the end of the increase portion.
Making a different-sized ball? You will need to modify this 1-inch proportionally with the number of stitches. For instance, if you increase to a total of 60 stitches (TWO times the original), then multiply this length by TWO as well (for a length of 2-inches).
Step 5: Adding a New Strand


When you reach the end of one bag's "yarn" strand, you can simply tie another one on and continue knitting. Take care to make sure the knotted portion stays on the inside of your work as you knit through the knotted portion, as shown. For reference, my first bag strand ran out while knitting the middle portion of this ball and took less than two bags in total to knit.
Step 6: Decreasing Rounds

After you have made a middle section that is about 1-inch long, it's time to start tapering the shape to mirror the increased shape you did at the beginning of the ball. The decreasing pattern is similar to the increasing portion, and goes like this:
- Knit ONE row where you combine two stitches at the beginning of each needle. (I used the decrease stitches strategy - explained in detail in this instructable.)
- Then, knit ONE row normally.
- Continue this pattern until you have FIVE stitches on each needle, for a total of 15 stitches.
Step 7: Closing the Bottom


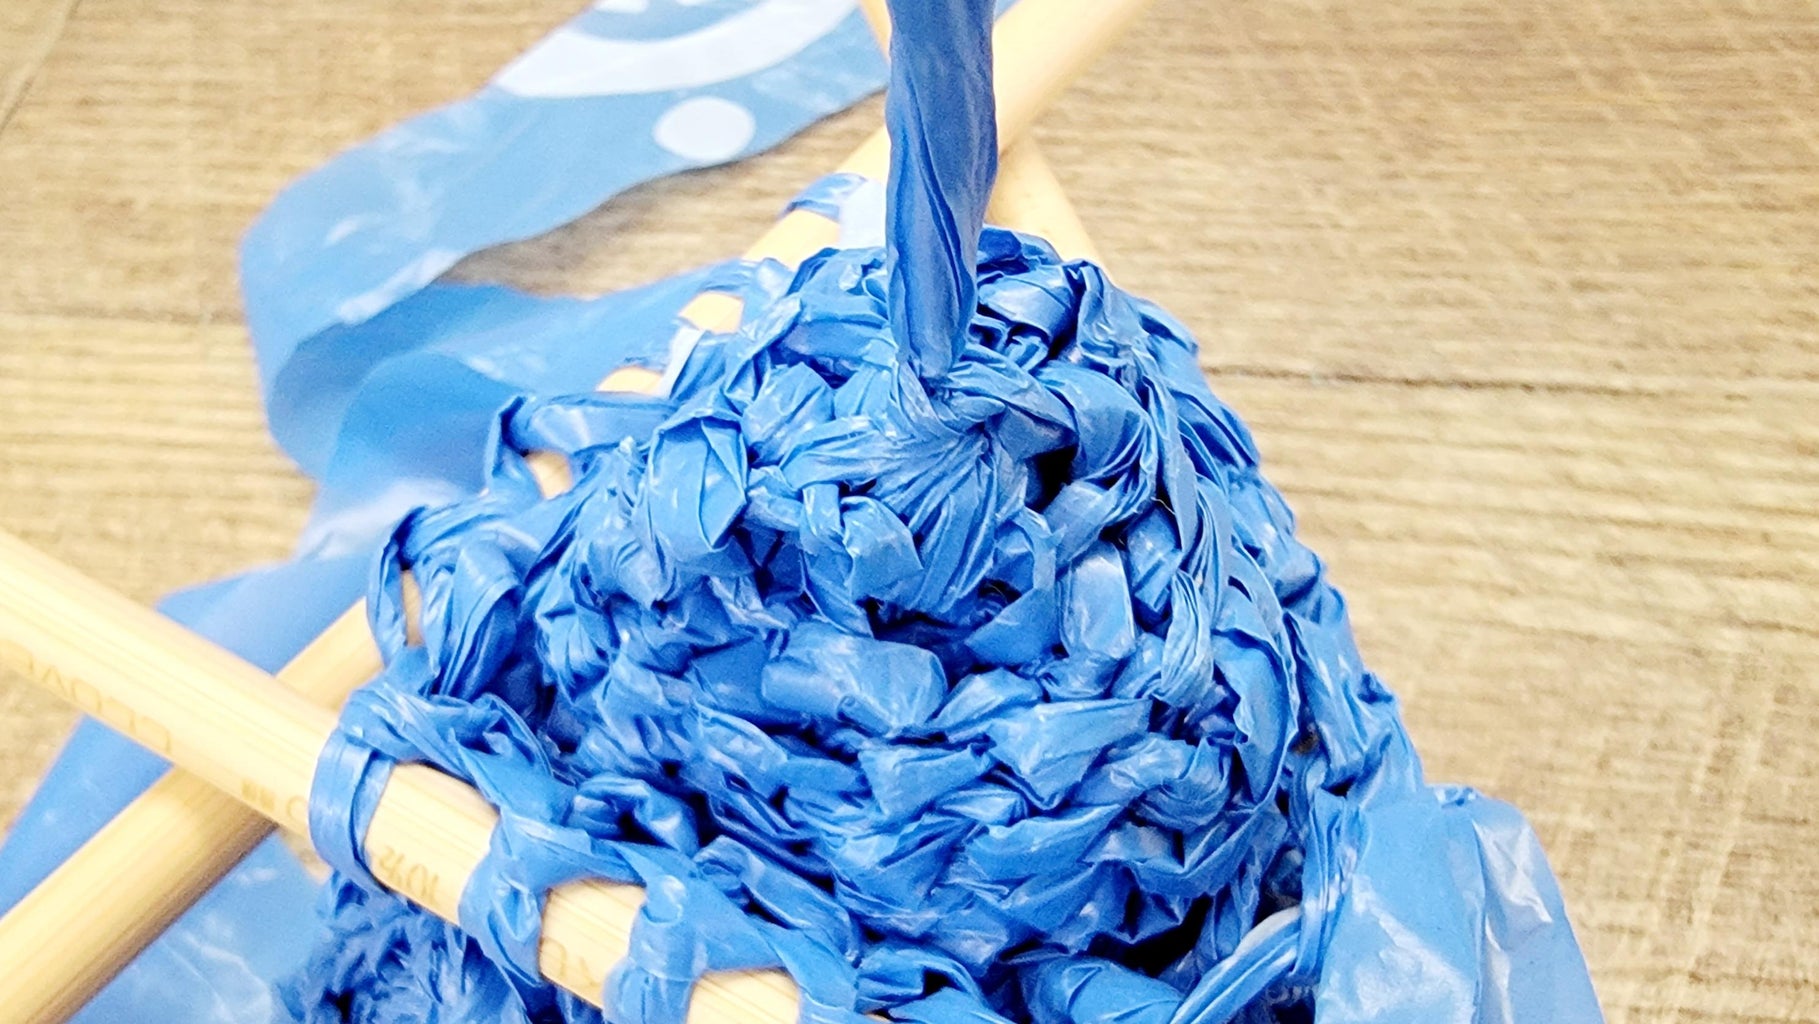

Before finishing the decreasing portion of the ball, you will need to close the bottom of the ball up tightly. To do this, push the bottom up through the top opening so that it is inside out (as shown). Then, use a crochet hook to gather the stitches and tie them tightly together, as shown. Once complete, push it back down through the hole to be right-side out.
Step 8: Stuffing the Ball


Now comes the fun part - stuffing the ball. If you want to use Polyfill or another stuffing agent, feel free, but I simply used two more of my grocery bags as the stuffing for this ball. Push the bags down into the bag pocket, taking care to arrange them as needed to get a nice round shape. You can decide how dense you want your ball to be, but for me, two bags were enough to help it hold its shape well without feeling overstuffed.
Step 9: Closing Up the Ball


To finish up the ball, continue the decrease pattern until you have only three stitches left on each needle (just like it was at the beginning). Cut off the remaining "yarn", leaving a tail (no more than a foot long), and use a crochet hook to feed the tail through the remaining nine stitches to cinch them together (just like you did with the bottom of the ball).
Step 10: Enjoy!


And that's it!
We have made and played with balls like this for years now, starting when our kids were young and we wanted something soft and light to play catch with to and let them toss around. Now that they are a little older, these work great with our over-the-door indoor basketball hoops. They aren't bouncy, but they are way quieter than the balls they come with which, if you are a mom who gets to sleep in for the occasional Saturday, is life-changing. These are also perfect for when our kids are practicing their full-out diving catches onto the couch or battling each other with a not-as-brutal game of basement dodgeball...
Can't wait to hear how you use yours :)

Runner Up in the
Reuse Challenge


