

Introduction: Light Up Tote Bag (CPX)


Do you enjoy technology and fashion? If yes, this light-up tote bag is the perfect next project for you. Made possible by using Circuit playground express and neopixels, the eyes of the middle face light up a fluorescent blue to complement the light blue embroidery.
To get started follow the instructions below.
Attachments

Supplies
To create a light-up tote bag, you will need the following materials:
Materials- (Bag)
- Plain tote bag
- Colorful thread
- Embroidery needle
- Pencil
- Pattern
- Scissors
Materials - ( CPX/ Technological Part)
- Adafruit Code
- Circuit Playground board
- Two Neo Pixels
- Conductive thread
- Thin white thread
- Six Aligator clips
- Piece of Felt
- Embroidery Needle
- Ma
All supplies will be shown throughout the steps and instructable.
Step 1: Select Design

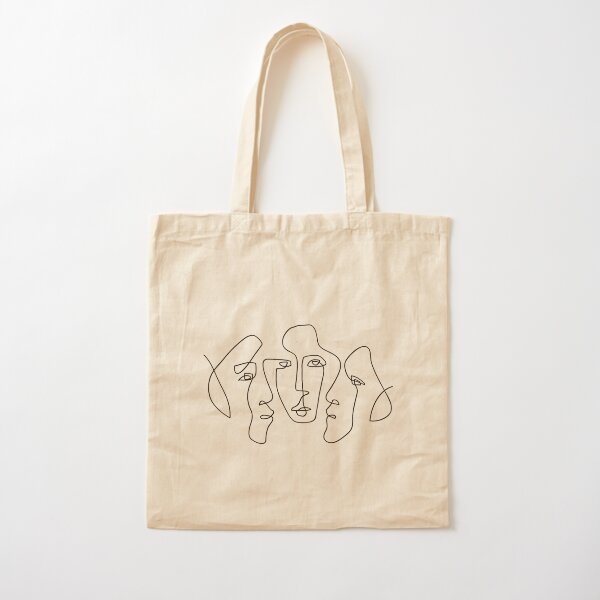
Before embroidering, select an abstract face to embroider onto your tote bag. An abstract face works really well as it creates optimal space for technology to be eloquently incorporated into the design. The design can depend on how many faces you wish to incorporate and the number of neopixels available. As for this tote bag, the inspiration comes from the image above: an abstract design with three faces. Once the design has been chosen it is time to trace it onto the plain tote bag.
My inspiration: Link
Step 2: Sketch Design Onto Bag

Take the plain tote bag and using a pencil, lightly sketch the design onto one side of the bag, so the lines can be visible and followed when stitching with the thread.
Step 3: Stitch Pattern Onto Bag


Select a thread color of your choice. Then thread the needle, and begin stitching. I used a backstitch for this particular design to ensure there was no visible area between each stitch. Start at the leftmost point of the design and continue towards the right.
Make sure you have enough thread for the entire design.
Once finished stitching the design, set the tote bag aside and let's begin working on the code!
Step 4: Program Code


The coding language I used for my instrucable was makecode- adafruit, a simple block code system
Begin by selecting the green block labeled " on start". Then go to the variable and choose the "set strip" block, which will control the specific section of code: Neopixels, through the block "create strip on A1" inside. A1 one is a marking on the CPX, where the wire or conductive thread will connect the Neopixels.
After create a new section of code, starting with the block "on button A", so the code will begin whenever the "A" is pressed on the CPX playboard (as seen in the image above). Once again place the "set strip" block, with the corresponding blue block for Neopixels inside it.
The following two blocks will ensure the color for the neo pixels will be blue, whilst the pixels in the CPX playbord will n not light up. Lastly, the final block controls the brightness, to ensure the pixels will be bright enough to shine through the material of the tote bag.
Now that the assembling of the code is done, time to begin experimenting using the alligator clips and neopixels.
Step 5: Trial and Error


Before transfering the code onto the tote bag, some trial and error is required to troubleshoot the code to ensure it is working properly. I began by trying out the code with one neopixel first. As can ben seen three alligator clips are required, as there must be one for the negative, positive, and outgoing outlet. The positive wire will be connected to "Vout" on the CPX, negative wire will go to "GND", and the neutral will go to "A1".
Once you've got the code working with one neopixel, you can incorporate another. To do so take another three alligator clips and connect the new wires from the first neopixels to the second.
If you're happy with your code, then it can be transferred onto the felt.
Step 6: Stitch Pixels and CPX With Conductive Thread


Since aligator clips will be hard to carry in a bag, they will be switched out for conductive thread. To begin transferring the code into the bag, take a rectangular piece of felt a little smaller than the entiriery of the design. Align the felt over the bag, and lightly mark the placement of the two eyes on the center face.
Then take the CPX, and stitch it to the upper right corner of the felt (as seen in the image).
Next proceed to stitch the neopixel onto the felt on the marking, connecting it to the CPX. Make sure the to use new conductive thread for the positive, neutral and negative outlet and that it DOES not touch.
After, stitch the second neopixel onto the felt, making sure the thread still doesn't touch.
Once both neopixels and the CPX is stitched onto the felt, place it inside the tote bag, making sure the eyes are aligned with the neopixels. The stitch using thin white thread(less visible), stitch the felt at the corners onto the bag.
Step 7: Enjoy Your New Bag

Ta-da, finished! Now all that is needed is to plug the battery pack into the CPX, and begin wearing your new tote bag> I hope you enjoyed creating this bag or simply reading this instructable.
Thank you!


