

Introduction: Maker Wallet - Fully 3D Printable


This project has been designed in collaboration with BuildBee, the all-in-one 3D printing solution to design, monitor and print from the cloud.
Learn more about BuildBee: https://buildbee.com/flowalistik
---
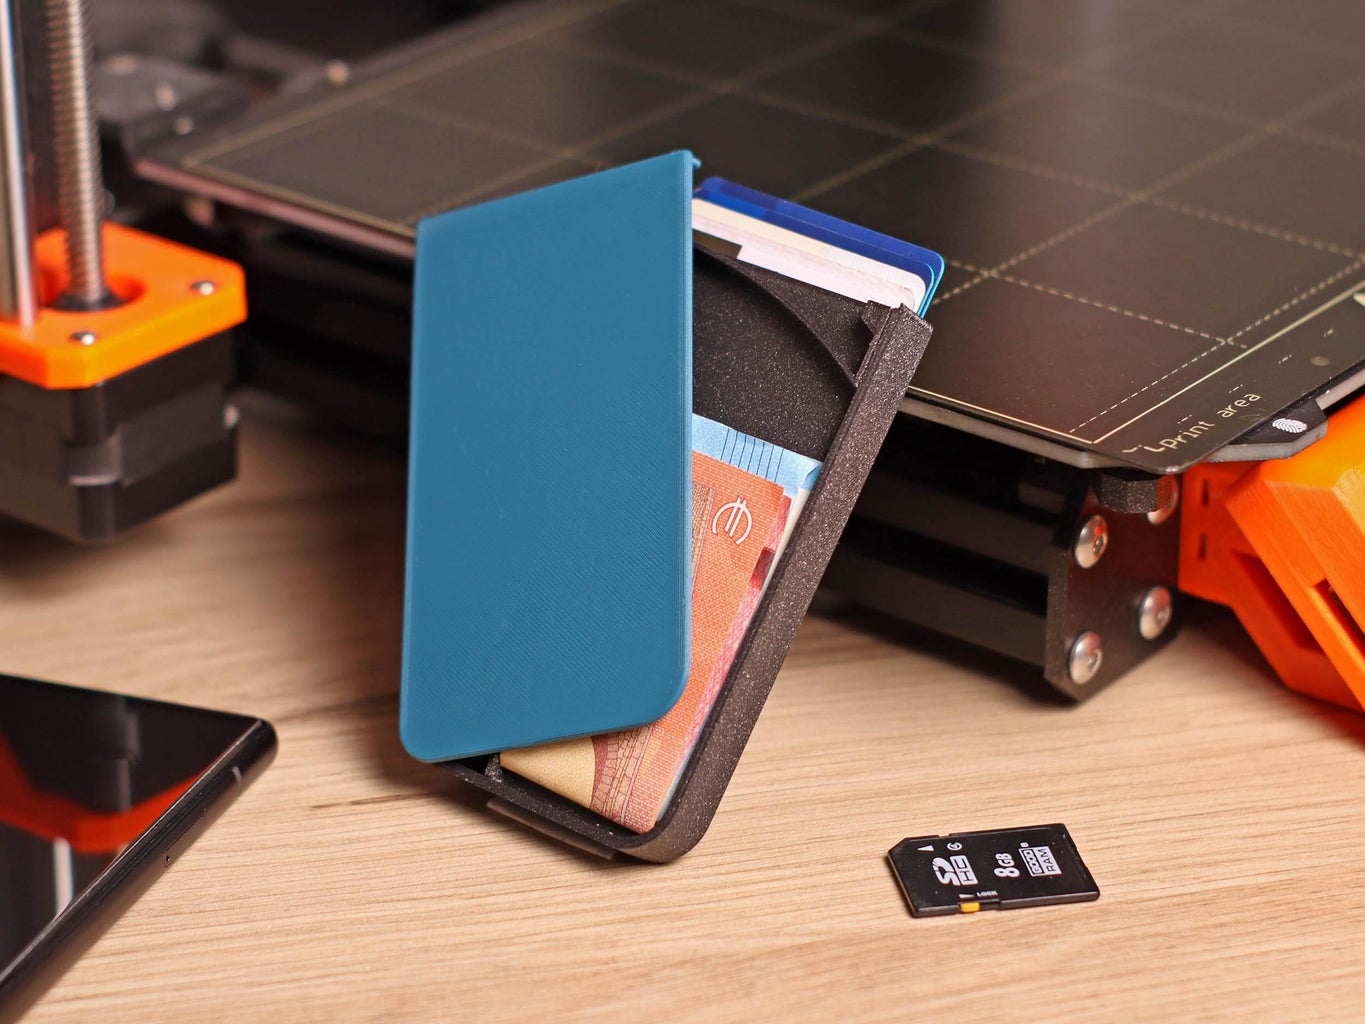
The Maker Wallet is a fully 3D printable wallet.
Download the STL files which are ready to print or the STEP file if you want tu customize or remix the design.
Attachments


Step 1: Features

This design is meant to be as accessible as possible. These are the design's features:
- Up to 5 standard-size cards
- Room for bills and other small objects
- Lock mechanism
- Customizable back and front
- Fully 3D printable
- 15-second assembly
Step 2: 3D Printing Tips
You can use any FDM 3D printer you want. You just need some PLA filament. Some 3D printing tips:
- Use a 0.4mm nozzle
- Print settings: 3 perimeters and 0.2mm layer height
- Loose lock mechanism? Play with the slicer’s tolerances settings to fix it
- Adhesives are not required, but you can add some glue where the lid and lever connect for increased rigidity
Step 3: Assembly


Print all the parts with the flat part facing down and remove any strings or surface imperfections, especially on the main body and lever files.
- Place the lever in the main body. You should be able to move it with your hand. If it's a bit loose don't worry as that part will stay in place.
- Slide the container in place from the top part. It should hold in place. If it still slides you can use a bit of glue. You can also re-print the part using a different tolerance setting.
- Connect the lid to the main body and make sure the top part slides properly and connects to the container undercut.
If the lock mechanism isn't properly working, check the tolerances settings on your slicer and re-print the container and lid 3D models.
Step 4: Customization

The STEP file of the Maker Wallet is available for download and you can easily customize the front or back with your name or logo.


