

Introduction: Paper Mache Clay


Besides sculpting with strips, there is another way to use paper and paste to create sculpted forms. Instead of applying individual layers of paper, you can blend the paper into the paste beforehand creating a sort of clay that can be used to sculpt objects or smooth the surface of other paper mache pieces. This clay is actually where the original “Papiér-mâché” or “chewed paper” gets its name.
There are many different recipes for for paper mache clay, most of which produce fairly similar results. In this lesson we’ll learn about a few of these types of clay, including some you can buy and some you can make.
In this lesson I'll be using:

- Newspaper, newsprint or blue shop towels
- Cheap toilet paper
- All purpose white flour
- GlueAll, or wood glue
- Joint compound
- Glycerin or linseed oil
- Scissors
- Mixing bowls
- Measuring cups and spoons
- Airtight container or ziplock bag
- Drop cloth or other plastic cover
- Hand mixer (optional)
- Store bought CelluClay or Creative Paperclay (optional)
- Sculpting tools (optional)
Step 1: Using Store Bought Clay


There are two types of paper clay you can buy pre-made, CelluClay and Paperclay. Paperclay is already moistened into clay form, CelluClay comes dry and just needs water to be added to make it the right consistency. Both air dry in one or two days depending on the thickness of what you've sculpted.
To mix CelluClay, just add water in about a 1:1 ratio and mix with your hands until there are no dry spots. If clay is too wet or sticky, add more pulp, if it is too dry, add more water.


This kind of clay is rougher, more pulpy and less claylike, so it is not great for fine details, but it is good for things like forming over vessels, or sculpting small shapes or figures.


The pre-moistened clay is much finer and behaves a lot like actual clay.

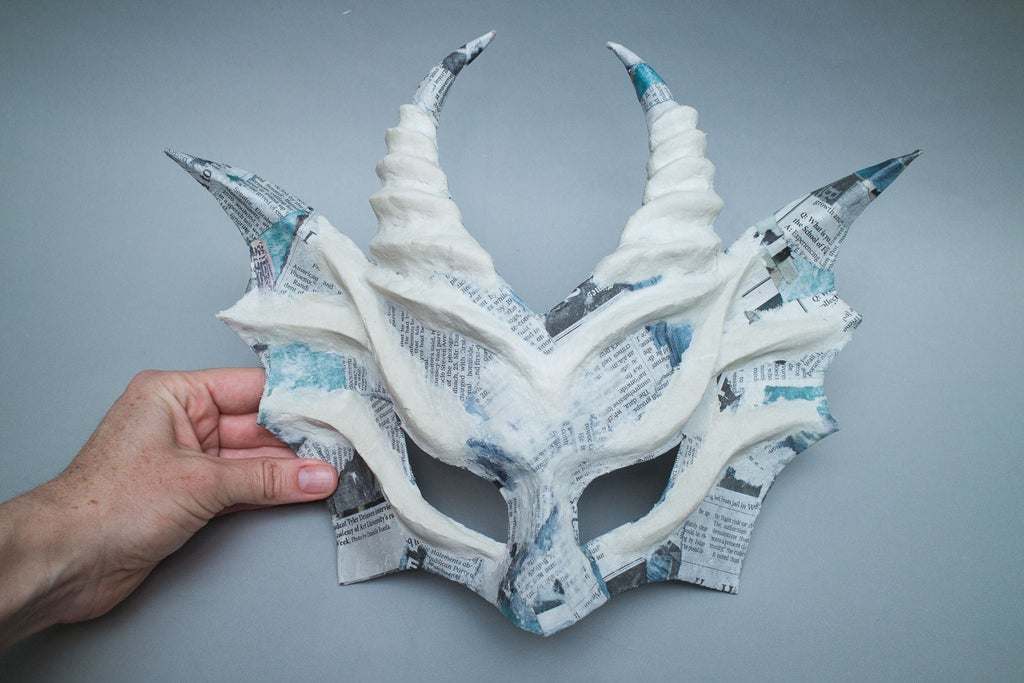
This type is also good for making small sculptural shapes, pressing into molds to create textures, and for adding details to other paper mache objects like I did with my Easy Paper Mache Mask. It can also be sanded very effectively to create smooth beautiful surfaces, we will talk more about this in the next lesson.
Step 2: Making Your Own Clay

The packaged clays are convenient but it’s also really easy, and cheaper, to make your own.
There are a few different recipes, but almost all of them use the same kind of paper, toilet paper! Toilet paper is great for this purpose because it is extremely soft and tears up into a pulp very easily.
There are a lot of different things you can add to the paper to create the clay, but the recipe I like best is one created by the amazing paper mache artist Jonni Good. Here’s what you need to make it:

- One roll of cheap toilet paper
- Joint compound
- White glue
- Glycerine or linseed oil (glycerine is a safe option if you are working with kids)
- An electric mixer (optional)
To create the clay, first, put your roll of toilet paper in a bowl, and pour enough water over it to saturate the paper, this will make it easy to remove the roll from the center.


Once you’ve taken out the roll, use your hands to tear the paper up into fairly small pieces.

Then squeeze most of the water out of the paper and measure about 1 1/2 cups.

Add: 3/4 cup joint compound, 3/4 cup glue. 1/2 cup flour, and 1 Tablespoon glycerine. (The glycerine helps the clay have a smoother texture. It is not absolutely necessary.)


By mixing these together more or less, you can make two qualities of clay, that are good for different things. If you just mix this mixture by hand you will create a clay that is slightly rougher, and better for sculpting forms by itself (more like the CelluClay).
If you use an electric mixer, to really blend the ingredients together you will create a smooth clay that you can use to smooth over pre-existing structures and create details (more like the Creative Paperclay).

Once you've mixed the ingredients together as much as you can, add more flour and mix by hand until the clay is no longer sticky.

Then spread more flour on a countertop or wax paper and knead the clay like you would bread dough.


If you aren't going to use your clay right away, store it in an airtight container, like a plastic bag with all air squeezed out, so it won't dry up.

Or mold. Yup, like that. Yuck!

This home made clay can be use din the same way as the store bought clay to either sculpt whole forms, or add details to projects made out of paper mache strips. It is not as smooth as the Creative Paper Clay, but still works pretty well.
Step 3: Coming Up...

From the examples I've shown in this lesson, I'm sure you can see that paper mache clay is a very versatile and useful material. The recipe I shared is only one of many versions of this type of clay that are good for different purposes, so feel free to experiment and come up with your own version.
When you bring the two techniques (traditional paper mache and paper mache clay) together you can really start to create some interesting shapes with nice details. Check out my Easy Paper Mache Mask instructable to see a simple way to combine these two techniques and learn about a new armature method using wire sculpting mesh.
In the next lesson we'll learn some painting and finishing techniques for paper mache and paper mache clay.


