

Introduction: How to Print Fabric at Home


Learn how to print on fabric using an ink-jet printer. There are great places like spoonflower, where you can get yards of fabric printed with your own design, but did you know that you can print custom designs at home too? Oh, the possibilities.
This Instructable will also go over some helpful tools and tips that will produce the right print for your project.
What you need:
- Ink Jet Printer
- White 100% Cotton Fabric
- Cutting Mat
- Rotary Blade
- Metal Ruler
- 8.5" x 11" packing labels
- Somewhere to soak and wash fabric
- Computer with photo editing software installed (GIMP is free)
- Bubble Jet Set (you may not need this, please read all steps before buying materials)
Step 1: Check Out Printer and Ink - Do I Need to Pretreat Fabric?


If you need the prints to be washable, check to see if your printer uses pigment or dye inks. To be on the safe side, I also highly suggest printing out a test swatch and vigorously hand washing it to see how it does.
Pigment inks are water resistant, so they will not wash away from your fabric. A small amount will rinse away on the first wash, but no more than 10% should be lost.
Dye inks are not water resistant on their own, however you can pre-treat your fabric with C. Jenkins Co. Bubble Jet Set 2000. Or buy pre-treated fabric, which is linked to in the next step.
Open the printer and look at the ink cartridge number, sometimes the kind of ink is posted right on the printer, so take a minute to inspect it, inside and out.
Doing a search online with the cartridge number + "pigment" or "dye" will help to figure out which it is. I also found a label that boasts "DuraBrite Ultra Inks" on the front. Searching "DuraBrite Ultra Inks", I learned that this trademarked ink is indeed pigment based.
The printer I use is an ink-jet, Epson WF-7010, it's affordable (about $350) and it can print up to 13" x 19" pages. It uses DuraBrite Ultra Ink.
------
Notes on Printers and Inks:
I have heard that people also use laser printers, but I do not have experience with them. You can easily research online if you have a laser and would like to know if you can use it.
If you plan on doing a lot of fabric printing or need to print long pieces of fabric for a project, you can find large-format printers that can print from a roll. Like the Epson R3000. Here is a video that shows you how to attach a roll of paper (perhaps fabric?) in the back. If anyone decides to try this out, please comment on how it went!
Step 2: Prewash Fabric

Pre-wash your cotton fabric to wash away any sizing and to preshrink. Dry and iron it out nice and flat.
This instructable is for a printer with pigment inks, so you do not need to pretreat fabric with Bubble Jet Set 2000.
Step 3: Notes on Fabric


I'm going to break in here and say some things about choosing a fabric, this instructable uses the best fabric for color and clarity. Read on to learn more.
Fiber Content
If you want the best reproduction of an image, I would stick with 100% cotton or silk. Polyester comes in many textures and weaves and can work well too, it may take more research and testing to find the right one. You can buy pretreated fabrics already backed from Avery and Jacquard. If you are looking for industrial-size, large format treated fabric, you can find that here.
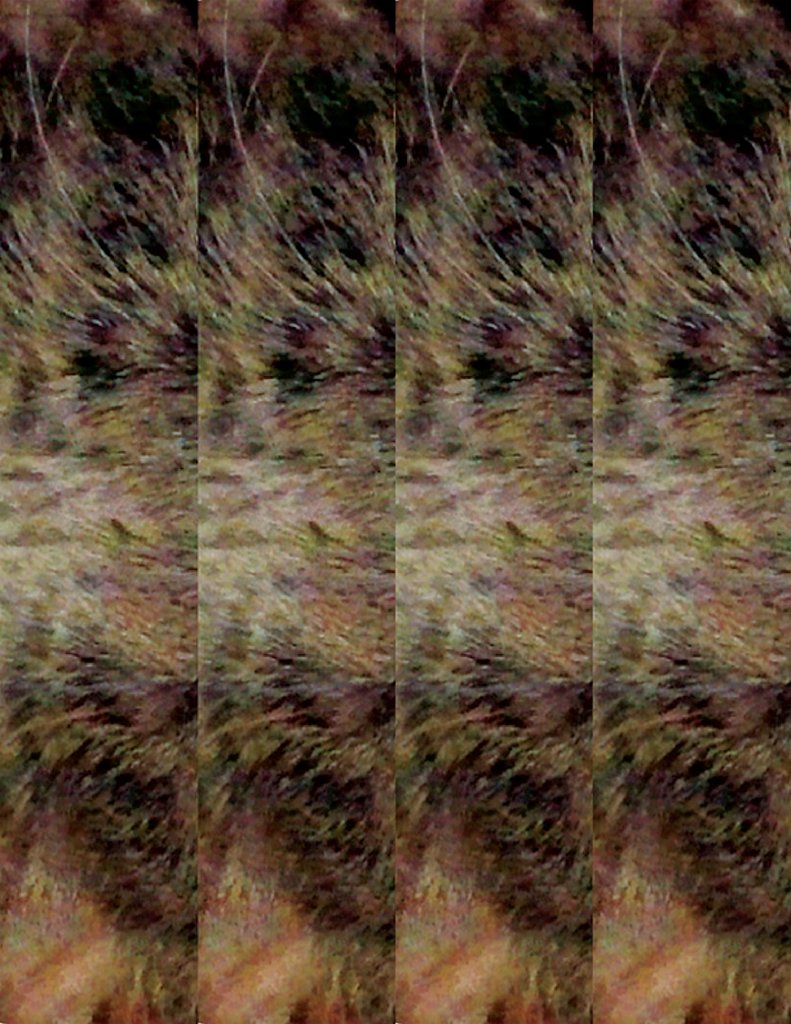
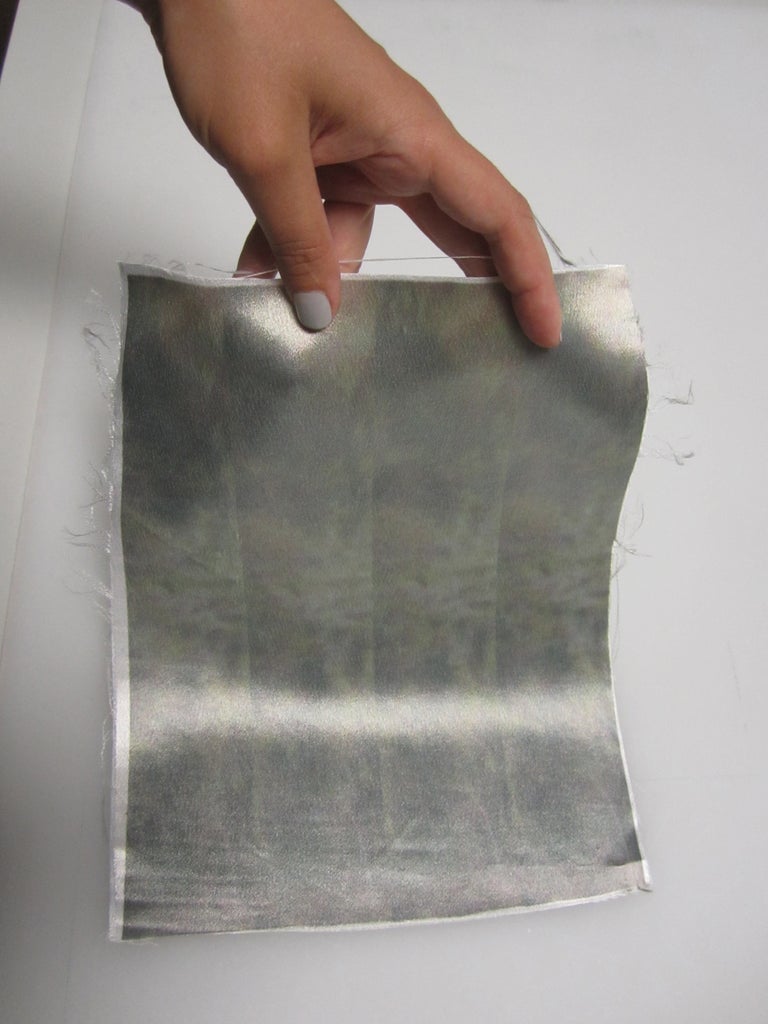
To compare, I printed and washed a swatch of 100% cotton and 100% polyester. You can see this in the attached images. The polyester image was of a lower resolution, but could be really awesome for a watercolor effect, it also washed out easier than the ink on cotton.
To pretreat fabric at home use Bubble Jet Set 2000, this will help the ink become washable if they are dye based and there is a rinse for after you print.
Color
The brighter and whiter the fabric is, the truer to color your print will be to the original image. Whatever color your fabric is will be the whites and highlights of your image. Depending on the color, you can produce some really beautiful effects, such as an old, vintage feel if you print on an unbleached cotton muslin.
Texture/Weave
A tight weave is what you want to aim for in order to achieve the best resolution your original image has to offer. The looser the weave, the lower resolution your image will appear. It helps to use a lint roller to swipe off any debris or particles, the printer will go right over them and once they fall off, spots of the original fabric will be revealed. If you do not necessarily want or need clarity in your print, check out the water color effect the loosely woven polyester gave me in the attached images. Have fun and experiment!
Step 4: Cut Fabric


Lay your fabric flat on a cutting mat and use a rotary cutter and metal ruler to cut your fabric to the dimensions of a letter 8.5" x 11".
In the future you can cut to any dimension your printer supports, but let's start with letter size.
Step 5: Back Fabric


To get the fabric to feed into the printer well, you need to back it with something. This is where the packing labels come in. They are 8.5" x 11", so they are already cut to letter size.
Peel off the backing and carefully position and stick the label on the wrong side of the fabric.
The packing labels pictured in this instructable stick very well, almost too well. Depending on the fabric type, when I peel them off they leave a residue, so lightly smooth it down. As long as you don't have any edges peeling up, the sheet should feed into the printer without problem.
------
Notes on Backing:
You can also use freezer paper by cutting it to size to match fabric and ironing it down shiny side down to fuse it to the fabric.
I prefer the packaging labels because the freezer paper gets jammed easier and if you can get it off cleanly, you can reuse the labels. I encourage you to try both and see what works best for you.
Step 6: Prep Photo for a Test Print


Adjusting Image in Photoshop
For the image to show up on fabric looking it's best, you will want to adjust some levels and contrast before you send it to the printer. Make sure to save the images after making different adjustments so you can go back to that image if it's the one you end up liking the best!
- Open your image in Photoshop (or other photo editing software)
- Adjust the light levels so the image looks how you want, I suggest making the highlights and mid-tones bright so the details are clear.
In Photoshop:
Image > Adjustments > Levels and drag the two arrows, highlights and shadows towards the middle to lighten and darken the image up to where it looks more defined.
- In addition to you can adjust the overall contrast and brightness
In Photoshop:
Image > Adjustments > Brightness/Contrast to get the blacks even darker.
- Feel free to choose any other adjustments you may want to in order to achieve a vibrant image that has good contrast.
Test Print
- Cut and paste a sample of your image in a new letter size document, with each one representing a different adjustment.
- Save this as a "test print"
Step 7: Print!


Once you have your test image you can go to the printer and some backed pieces of fabric you are ready to print!
Test Printing
- Load the fabric sheets in one at a time without any other paper in the printer. You will either need to load your fabric face down or face up. Do a quick print on paper if you are not sure.
- Make sure your paper is nice and snug against the guides in the paper tray and touches the back. I had some problems with the printer picking up the fabric, but then realized it was because I hadn't pushed the fabric sheet back far enough. Depending on the size you are printing, you may need to adjust the guides.
- Send your test image to the printer and check to make sure that the fabric feeds from the tray. If there is a problem, check the errors your printer is communicating to you and the paper to see that it is loaded correctly.
- Watch your fabric being printed! It's like magic, but not. :)
Print Away!
- After you are satisfied with your test print. Go to your saved image with the adjustments that you like and send it off for the final print!
Step 8: Dry, Unpeel and Rinse


- Let the print dry for an hour before rinsing it to make sure it doesn't smudge. Some suggest 24 hours, an hour has worked great for me, it probably depends on the fabric content and type of inks used.
- Peel off the backing slowly, the labels have left residue on some of my fabric, on others, it has not. If residue is left behind, you can easily get it off by letting it soak in water.
- Hand wash the print to remove excess ink, dry and you are done! Like I mentioned before, a small amount will rinse away on the first wash, but no more than 10% should be lost. If there is more lost, I suggest using the Bubble Jet Set 2000 linked to in previous steps.
Post any projects in the comments section. There are so many possibilities!
Check out my Cat Face Purse that uses this technique to print a custom cat fabric!


