

Introduction: Simple Conversion: Tripod Into Steadicam.


One of the dangers of getting into new hobbies is the urge to spend out on gadgets you think you need, but end up gathering dust in the back of a cupboard. There must be millions of dollars-worth of almost-new golf clubs, fishing poles and photography gear lurking, unused and unloved, in the world's wardrobes.
So, Conker-X has decided that he "needs" a steadicam so that he and some friends can make videos with his bridge digital camera.
Rather that pay out for a dust-gatherer, I decided, I could make that!
Here's what he got.
Step 1: The Theory
So, it turns out that basic steadicams work by moving the centre of mass of the rig to be well away from the optical centre of the camera.
That turns the natural vibrations of bodily movement into gentle, low-angle, low-frequency swings.
So, to make a steadicam, you need to hang a weight below the camera, and provide a smooth pivot near the camera.
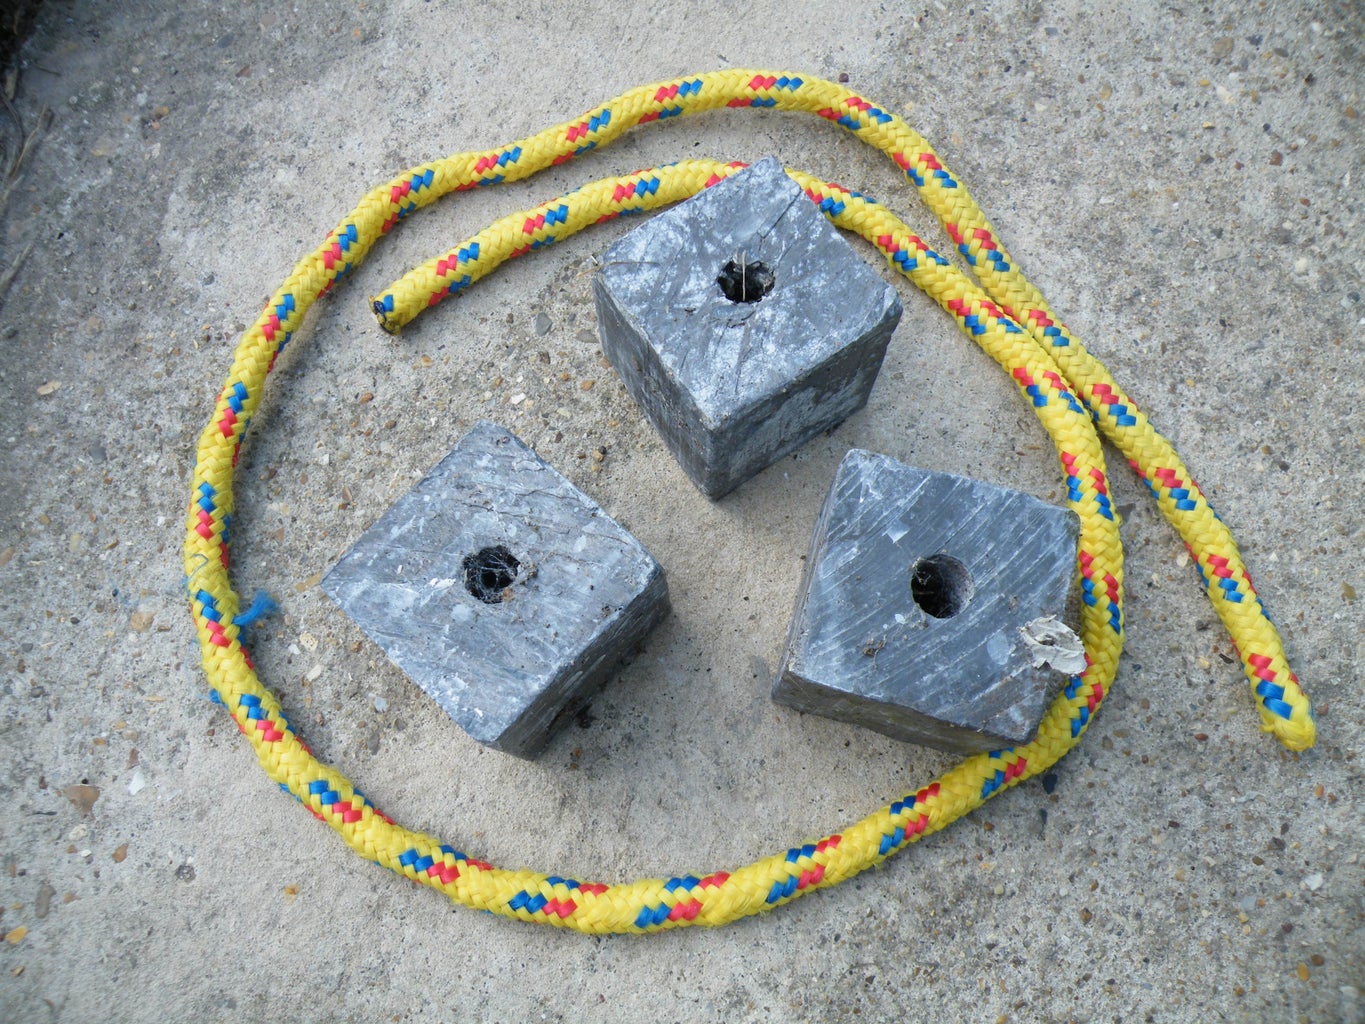
Step 2: Materials
You need weight. For reasons I am not very clear on, I had three lumps of lead in my stash, which already had a hole cast through the centre. Between them, they weighed two kilogrammes.
Also from my stash came a piece of general-purpose 10mm nylon rope (left over from another project).
From Conker-X's stash came some rather impressive Duck-branded duct tape.
Step 3: Making


After a bit of experimentation, we determined that all three blocks of lead were too heavy for continuous use, so we split them into a pair and a single.
I used a pair of needle-nosed pliers to round off the holes in the blocks, and threaded the rope through. At the lower end, I tied a simple overhand knot as a stopper, then at the top end I tied a bowline to form a hanging loop. A little furtling brought the loop closer to the blocks, then I trimmed off the excess rope and used a lighter to fuse the end and prevent fraying.
Step 4: Safety


Obviously, lead is a toxic substance. Although the few minutes of handling involved in making this steadicam would not cause enough exposure to worry about, the effect is cumulative. Each tiny exposure adds up.
To prevent this, we sealed the lead blocks in duct tape. Purely coincidentally, the tape was slightly wider than the blocks, meaning it could overlap at the corners and ensure the seal.
Step 5: Using


To turn the tripod into a steadicam, hang the weight on the bottom (most tripods have a hook for just this reason), extend the central stem, and grip loosely around the stem below the camera.
If you grip tightly, you will get a sore hand and the steadicam won't be so steady. Let the weight rest on the top of your hand, and let the tripod swing as it will, and your images will be smoother and your hand less sore.
With the two sizes of weight, Conker-X has four options for how much to hang, depending on requirements (nothing, 0.7kg, 1.3kg and 2kg).
As an extra bonus, the weights also help when using the tripod as, well, a tripod. It's quite light-weight, so it suffers in windy situations. Add the weights, and it is much, much steadier.

Participated in the
I Could Make That Contest


![Tim's Mechanical Spider Leg [LU9685-20CU]](https://content.instructables.com/FFB/5R4I/LVKZ6G6R/FFB5R4ILVKZ6G6R.png?auto=webp&crop=1.2%3A1&frame=1&width=306)


