

Introduction: Painting and Decorating


In the end, what really gives any paper mache creation personality is how you finish or decorate it. There are a lot of ways to add details and finishing touches to paper mache projects and I'll go over a few simple ones in this lesson. Whether you've used paper mache clay or just paper strips and paste, you can adapt these techniques to suit your design. I'll go over some smoothing and painting techniques as well as how to decorate a project with crepe paper to give it some fun texture. Finishing and painting your paper mache projects is an important part of making them look great, but even a project that you don't spend a lot of time and effort on can look great depending on what kind of look you're going for.
In this lesson I'll be using:

Materials:
- Acrylic paint
- Gesso or Flexbond primer
- Sand paper
- Paint brushes
- Drop cloth or other plastic cover
- Acrylic medium, or other sealant
- Crepe paper
- Scissors
- White glue, wood glue, wallpaper paste or ModPodge
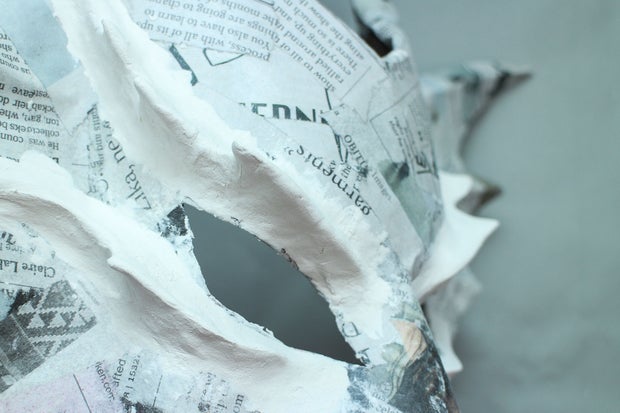
Step 1: Sanding

If you've used the store bought Paperclay, you can easily sand it to smooth and shape it once it has fully dried.
I used 100 grit sandpaper for a first pass to shape the clay, and 120 for a second smoothing pass. if your project has areas where the clay meets paper strips, sand these edges so they blend in smoothly.

The clay on the left is un-sanded and the clay on the right is sanded.

Use a large brush or a towel to brush off the paper dust when you are done.
The homemade clay is harder and more fibrous than the store-bought clay, so it doesn't sand as well. If you are using this clay and having a hard time sanding, try using a sandable smoothing compound first then sanding over it.
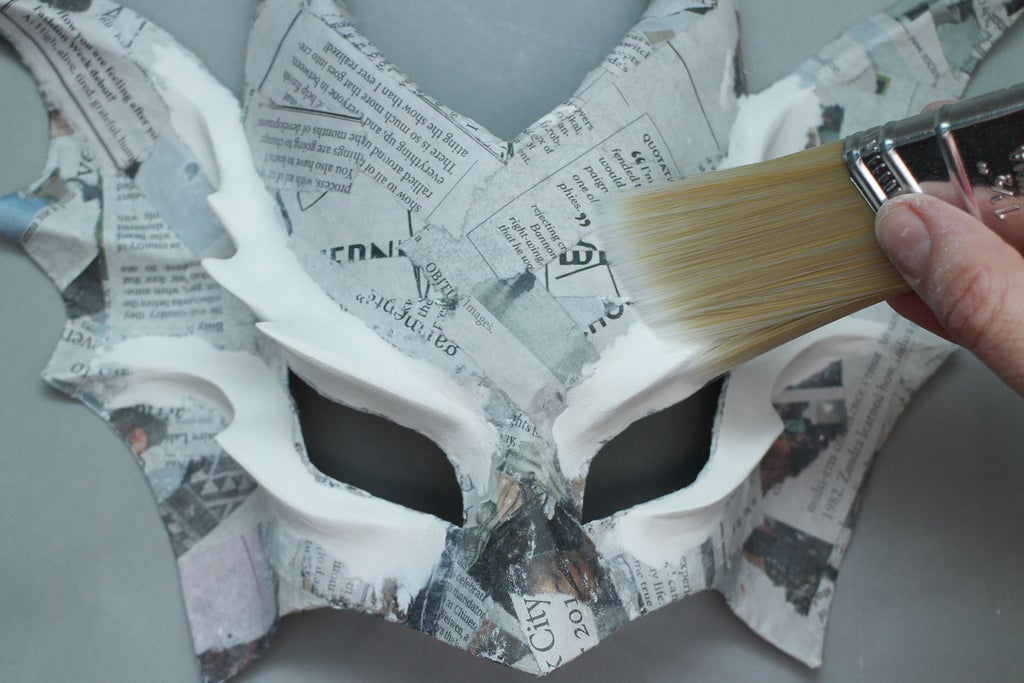
Step 2: Using Smoothing Compounds and Primers

Smoothing compounds like gesso and Flexbond are helpful to create a smooth finish on paper mache strips or clay before you paint. Flexbond is a lot like wood glue, but creates a smoother finish and can be wet-sanded after it is dry if you want an even smoother finish. Gesso sands evan more easily, so it is the best choice of smoothing compound if you are working over a base that can't be sanded and want to create a really smooth finish.
I used Flexbond on both my un-sanded home made clay and my sanded Paperclay so you can see what a difference the sanding makes when I paint it later.
Put a little Flexbond in a cup and dilute it with some water. Use a medium sized brush to apply it all over the mask in a even layer. It can have a tendency to run and create drips, so use your brush clean up any dripping areas before you leave it to dry.

Once the first layer has dried, which shouldn't take more than an hour or two, add a second coat. You can continue adding layers until your mask is as smooth as you want it to be. If you plan on wet-sanding your Flexbond, you should add at least 4 coats.
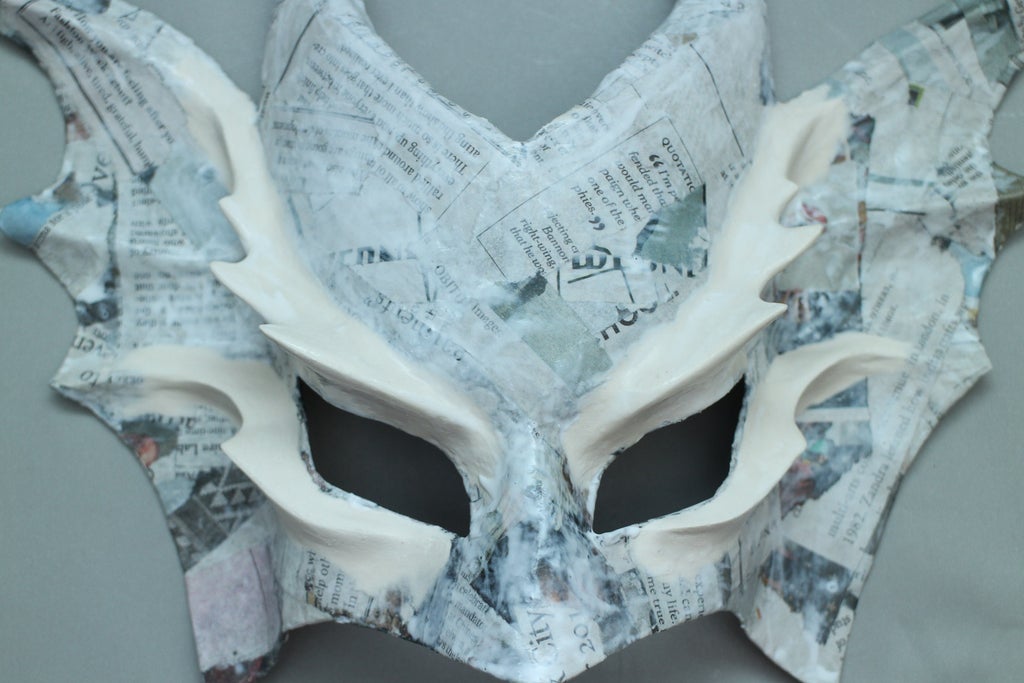
Step 3: Painting

Once you have sanded and primed you can paint your paper mache project whatever colors and patterns you like!
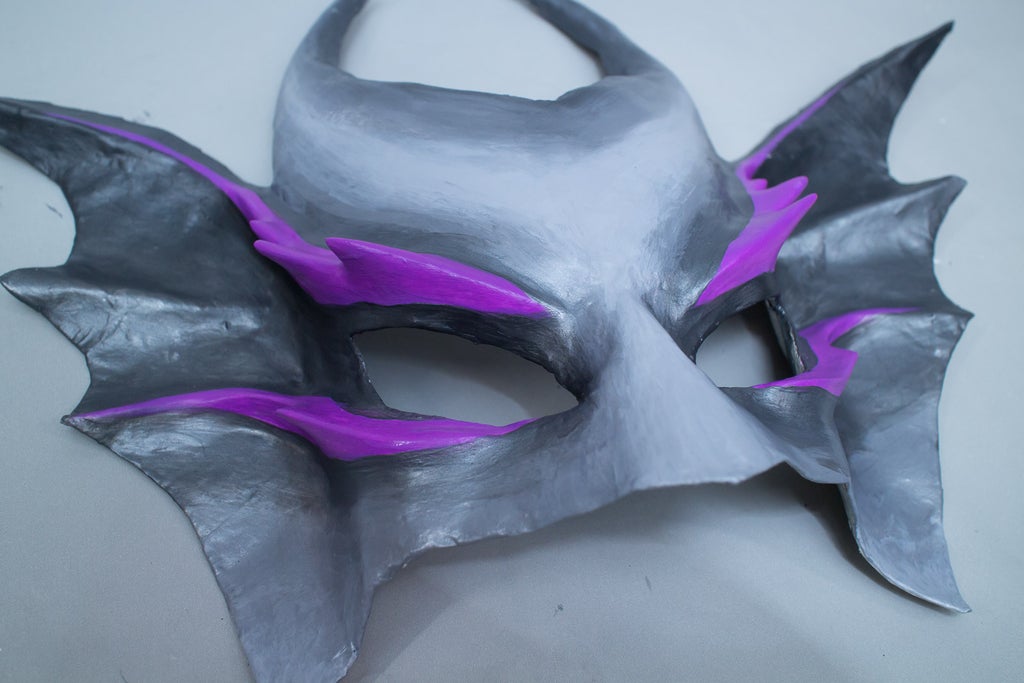
I think acrylic paints are the best for this type of painting. They dry fast, can be mixed easily and are relatively inexpensive. I particularly like using metallic colors or a combination of metallic pigment powder mixed with acrylic medium.

Mix your paints to get a color you like, then apply enough coats to cover the details of the newspaper and clay. If you are using a light or bright color, you might want to prime your project with a white paint or primer first.


To create blended or shaded effects, mix a lighter color and apply it over the base coat, using the base color to blend the two at the edges. It can really enhance the look of a piece to add shading in concave areas and highlights in raised areas.

Use different brushes to create finer details.
Step 4: Sealing
Once you've painted your projects, you can give them some extra protection or a different finish by covering them with some kind of sealant like an acrylic medium, shellack, or something similar. This is an optional step, but a good one if you are creating a piece that is going to get a lot of wear or be outside often.
Step 5: Decorating With Tissue Paper

Another great way to decorate a paper mache project is to use crepe paper. This is especially good for piñata projects like my DIY Owl Piñata.
You can either decorate entirely with crepe paper strips, or use a combination of painting and crepe paper. If you want to combine the two, you can start by painting the whole thing white with acrylic paint.

Once the paint has dried, you can add details with crepe paper. It's sometimes nice to have two kinds of crepe paper, rolls of narrow streamers and longer pieces as well.

You can create different shapes with the crepe paper that you can add to your project to give it different textures. For example, to create the look of small feathers on my owl piñata, I used scissors to cut a jagged edge along the bottom of a folded streamer.

Unfold the strip to get a strand of small feathers.

And to add long flight feathers to the wings, I cut individual pieces out of the larger crepe paper.


To attach crepe paper Take some white glue and pour it into a disposable cup and add a small amount of water. With a paintbrush paint some glue onto your base where you want to stick the crepe paper. Stick the top edge of the crepe paper down and paint more glue over the top.


Add another row, paint more over the top, then repeat until you have created a texture.

You can use this technique to add different shapes of crepe paper to different areas of your project until you've created something you like!
Step 6: Taking It Further
Well, that's it for this installment of paper mache techniques. We've covered quite a bit in this class, but there is so much more to learn and explore.
Now that you've seen some of the possibilities of this simple medium, I'm sure you're ready to take on even more awesome projects! We've only scratched the surface here, but I hope you can see how you might use the techniques I've introduced to create a lot of other amazing things. As you advance your paper mache skills, the tools and materials mostly stay the same, what will take your creations to the next level is learning to use these simple materials in unique and innovative ways. You need look no further than our amazing Instructables users to find some really inspiring projects!
The basic flour and water and armature techniques we learned in the third lesson can be used to create a lot more than just piñatas. Check out how unexpired uses a simple balloon armature and some fancy cutting to create this awesome Headless Horsewoman Costume. You can even add some glowing lights like VonRainbowpants did in this amazing Lady Anglerfish Helmet project!


Learn a new recipe for paper mache clay and some awesomely creepy mask sculpting techniques with this Beetlejuice-BeetleSnake Mask by AndersS6.

Like making home decor? You can even use paper mache to make furniture! Check out this Instructable on making a Paper Mache Side Table by rocketsurgery.


And if you want to see how to start combining the techniques we've learned to create some really large and complex sculptural forms, check out this Lizard Man Paper Mache Instructable by drdorward.


Though some of these pieces may seem a bit complex, you've learned all the fundamental skills you'll need to tackle these projects, or even invent something totally new and unique to you! Paper mache is so a forgiving and inexpensive, it's a great material to experiment with. Go crazy! Make something amazing! And when you do, make sure you share it by writing an Instructable :)


