

Introduction: Water Bottle Hummingbird Feeder


![[Collegiate Exercise] Dorm Room Fitness](https://content.instructables.com/FPR/85RY/GPBDG81Y/FPR85RYGPBDG81Y.jpg?auto=webp&crop=1%3A1&frame=1&width=130)
Hummingbird feeders can get pretty expensive. I decided to build one for less than $8.00! What can be more green that feeding a beautiful specie of nature, while recycling at the same time!
Step 1: Materials and Tools

Materials
- 1/4'' Copper Tubing $6.48 for 5 feet at Lowes. Make sure it is pliable.
- Caulk/Sealant $1.28 at Lowes. Food safe caulk would work the best.
- Water bottle- You can find these in the trash.
- Drill with a 1/8 in. drill bit
- Hacksaw to cut the copper tubing
- Measuring device
Step 2: The Cap Hole

Take your drill, and using the 1/8 in. size drill bit, drill a hole directly in the center of the cap. We are using a drill bit slightly smaller than the diameter of the copper tubing. This way, when we fit the copper tubing into the cap, there won't be mush extra space. Water bottle caps sometimes have a little piece of plastic right in the center of the cap, so you can use that as your guideline.
When you finish drilling the hole, try to remove and excess plastic pieces that are in the cap.
Step 3: Cut the Tubing


Take your copper tubing, and measure 6in. from the end. I made my feeder with about 2in. inside of the bottle, and about 4in. outside of the bottle. Mark the six inches , and then take your hacksaw and cut the piece.
Step 4: Double Checking
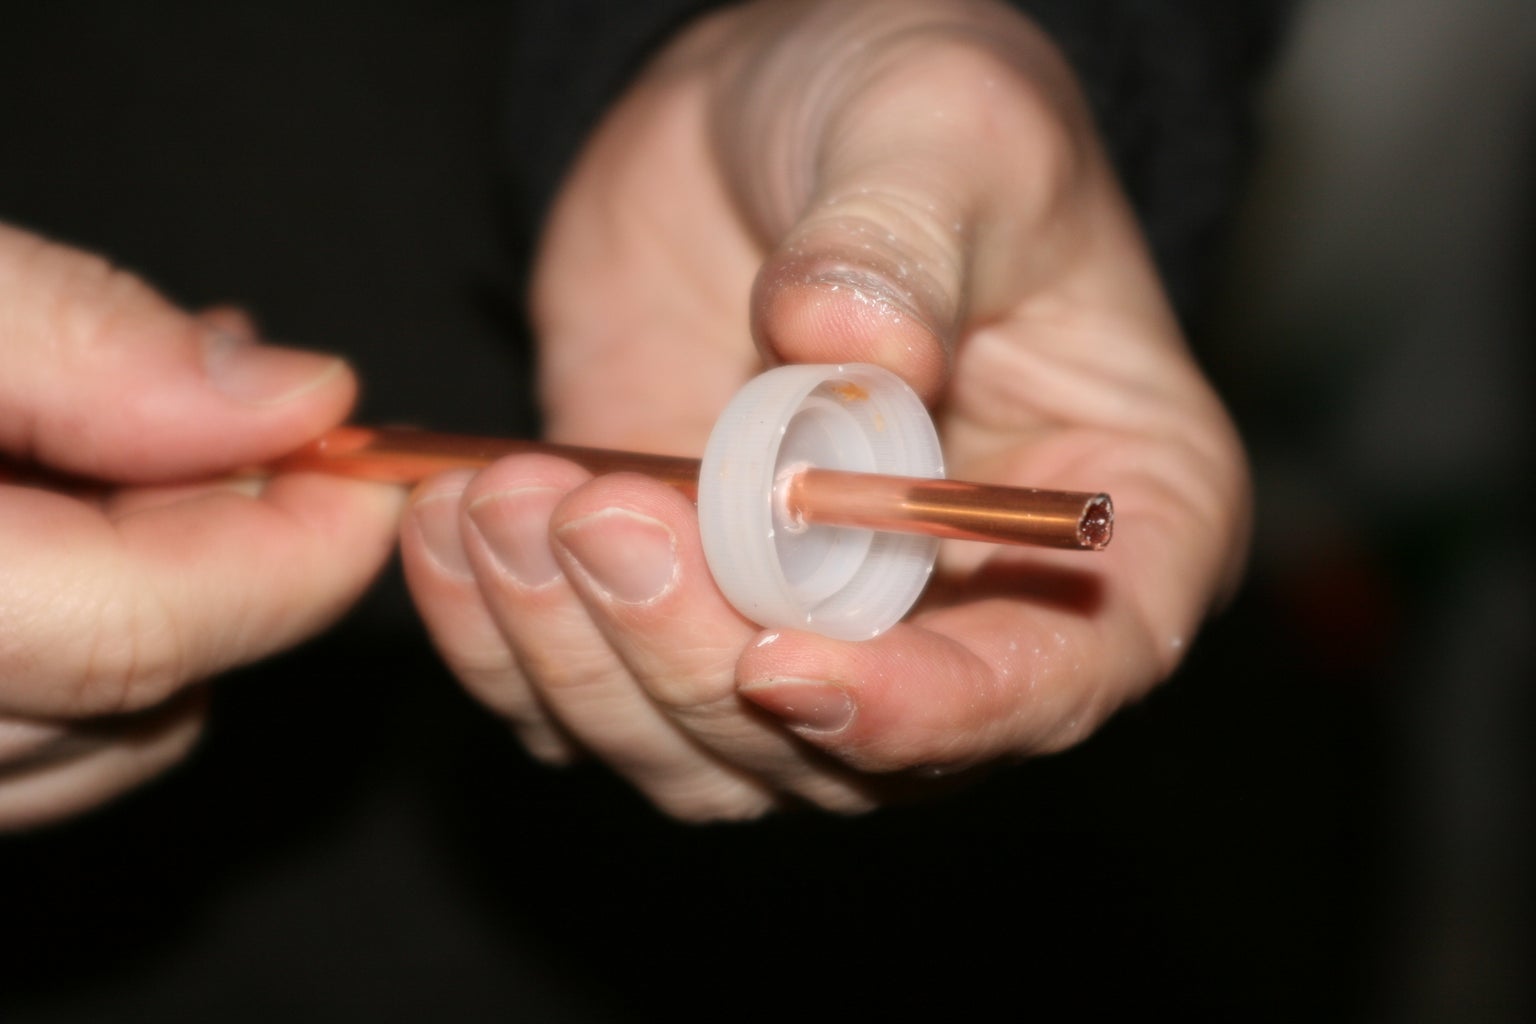
Take the piece of tubing you just cut, and push it through the hole on the cap that you just drilled. You want it to be fairly snug, and if it is too loose, then find a new cap and drill a slightly smaller hole.
If the piece of tubing is secure, then we can move on.
Step 5: Seal


Take your sealant, and on both sides of the cap, place sealant around the tubing where it is in contact with the cap.
This will be crucial when we fill it up with feed.
Then let it dry. To be safe, let it dry for a good 24 hours.
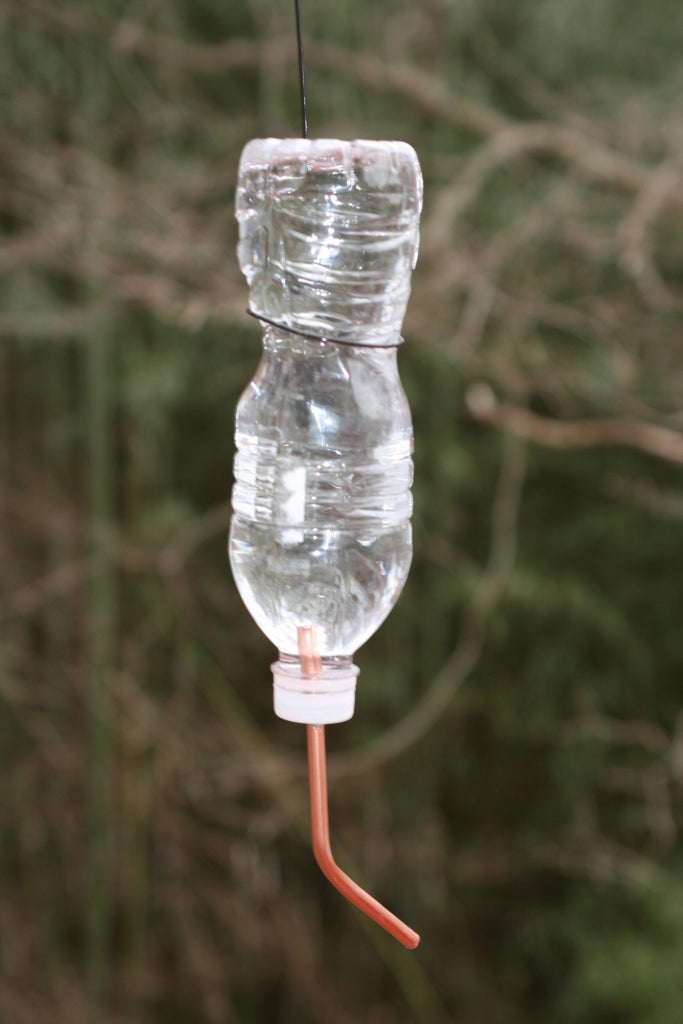
Step 6: Bend


Once the caulk/sealant has dried, take the longer end of the copper tubing, and slightly bend it. Do not bend it to a right angle, about 45-60 degree angle would work.
Step 7: Building the Hanger


Time to build the device that will hold the feeder up. Find a metal clothing hanger, and clip off the top hook, and you can discard it.
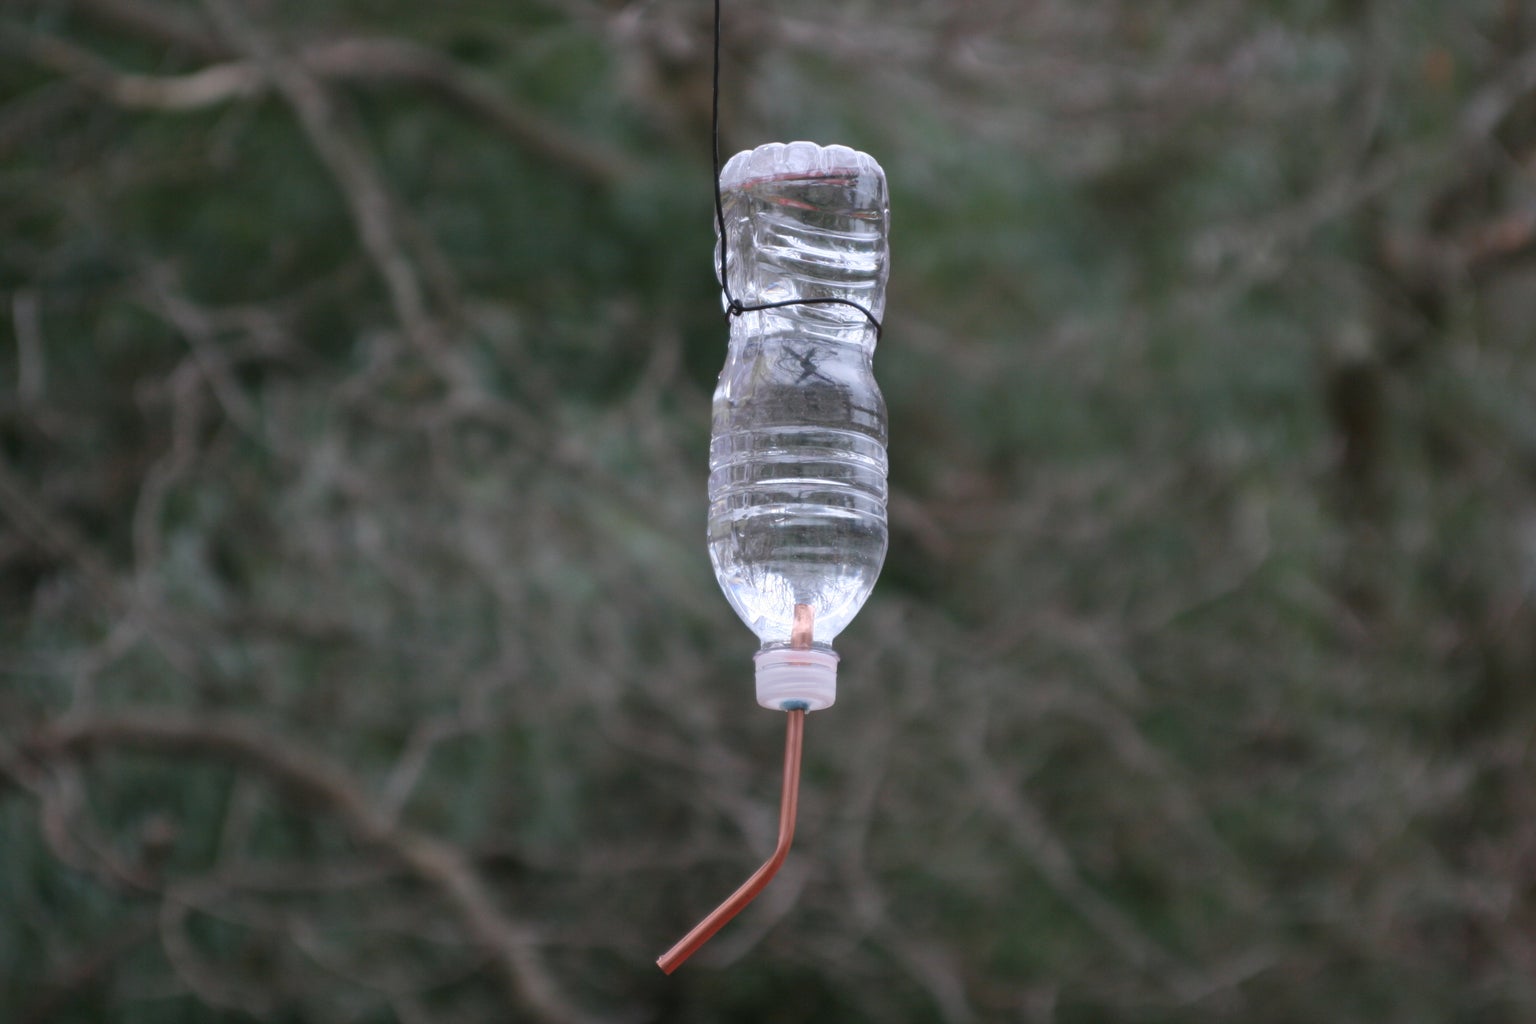
Now stretch the hanger out into a straight line. On on end of the hanger, make a little hook. Now wrap the one end of the hanger (the side with the hook) around the mid-section of the bottle. As the end with the mini hook meets up with the rest of the hanger, clip the hook around it, securing it to the bottle. The third picture will help you visualize this.
Now, on the other end of the hook, make a more rounded hook, big enough to that it can hook on to wherever you want to hand the feeder up.
Step 8: Fill It Up
Fill the bottle up as much as you can with a hummingbird feed.
Here is a recipe that I found via Thrifty Fun,
Bring 4 cups water to a boil and stir in 1 cup sugar. Stir to dissolve. When cool, pour into the pitcher and refrigerate until needed.
The above recipe is relatively simple, and very inexpensive, as opposed to purchasing hummingbird feed straight from a store.
Pour your feed into the water bottle, screw the cap on tightly and securely, place the feeder up, and there you go!
Participated in the
Keep the Bottle Contest


