

Introduction: 3 in 1 Zipper Purse, Tool Roll, and BackPack


This project will show you how to make a multi pocket purse with button top clasps that can convert to either a tool roll or a backpack. This project is fun and simple way to make a multipurpose bag with just some basic sewing and quite a few zippers. This project is a variation on https://www.instructables.com/id/multi-zip-pencil-c... . We wanted to take the idea of a pencil case with multiple zippers to the same pocket and elevate the premise.This project is collaboration between me, Joseph, and Nidhi, a fellow member of makerbiz, a hardware startup business group in Chicago. We hope you enjoy the project. If you are interested in the origins of the project read below, otherwise move to the next step.
Below is the original idea:
It all started with an email to makerbiz googlegroup titled:
Odd Sewing Query
"I like entering contests and have been trying to collaborate with others more often. I think I have a quick (a few hours tops) fun sewing project that might be prize worthy in some contests I found. I was wondering if any of you might be interested in collaborating on these three contests (one entry that can be applied to the three contests):
https://www.instructables.com/contest/zippers2014/
https://www.instructables.com/contest/remix/
https://www.instructables.com/contest/wearit/
the idea is based on: https://www.instructables.com/id/multi-zip-pencil-...
Purse, Backpack and tool roll all in one
take the previously mentioned zip pencil case and add pockets to separate out each zipper.
the top circle pieces have the zipper strap/straps zipper attached to them. The circles are zipped to elastic piece which is connected to pockets.This is for both circles (top and bottom)
when unziped from circles pockets might have tool pockets (open upwards pockets typical of tool roll no zipper) with the edge of the pocket having elastic quality. This may be unnecessary and over complicate idea.
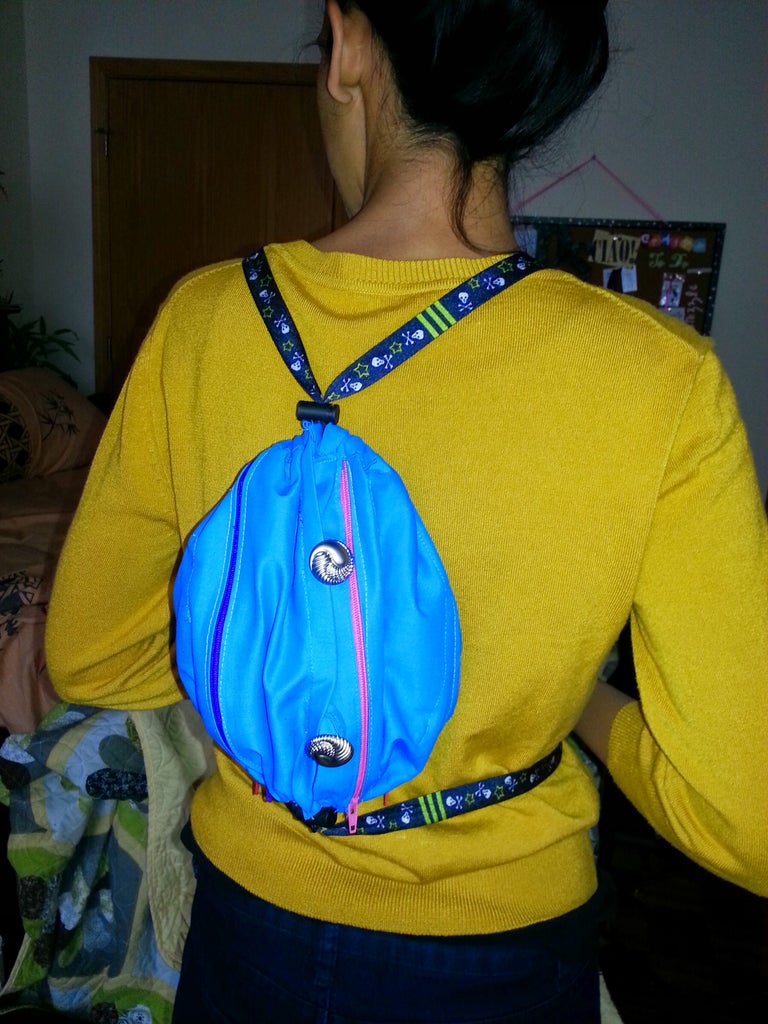
the purse strap/backpack straps are a zipper that can be separated. In purse mode possibly a pushover fabric sleeve to increase user comfort
each zipper might have a 3d printed bauble to indicate contents by feel or sight
fun fabrics might be used
probably in clutch size or small tension strap backpack size
My role: idea documentation, written and photos (though if you know someone who takes great photos I am at best an ok photographer) material cost (within reasonable limits). I will own the prototype when we are done. Facilitating or sourcing
Your role should you choose to collaborate: fabrication/sewing expertise and design advisement being awesome
Please let me know if you are interested in collaborating on this or know someone else who might be interested. If I can't find a collaborator I will likely try to find someone who does piece sewing so if you have any contacts there forwarding those would be awesome."
The project you see before you is the result of that email.
Step 1: Tools & Materials


Tools:
Sewing machine- polyester thread
Seam ripper - to remove inevitable small mistakes
Bobby pin- to push/pull through drawstring
Needle and thread- to sew on buttons
Pins - to set/place pieces of fabric for sewing
Iron and ironing board- to prepare fabric to be sewn
Scissors- cutting
Materials:
Polyester Zippers: 7X 69 IN 23 CM
Colors used: 98 Purple, 222 Lime,128 Red, 135C Tango, 32B Dark Rose
9 inches by 10 inches pocket
Fabric: traditions #5522 (musical score fabric)
Astral blue item #13915970 (Joanne Fabrics)
Buttons-miscellaneous
Shoe laces- 2
Two race belt locks (please comment if you know what these things are called)
Thread - miscellaneous
Elastic - tool roll pockets
Step 2: Making the Pockets and Roll/body


Cut the musical fabric into approximately 8x8" squares.
Pin a zipper to the middle of the fabric and sew it on each side.
Cut the blue fabric into approximately 5x7" strips, about the length of the zipper.
Fold each side of the 7" length over about 1cm and iron flat.
Stitch the blue fabric to the zipper so that the folded side is facing the zipper
Repeat this for all of the zippers so that you have a row of zippers with the blue fabric in between them.
Cut the fabric between the zippers.
Turn the pockets inside out and stitch them into a semi circle shape, and cut off the excess fabric.
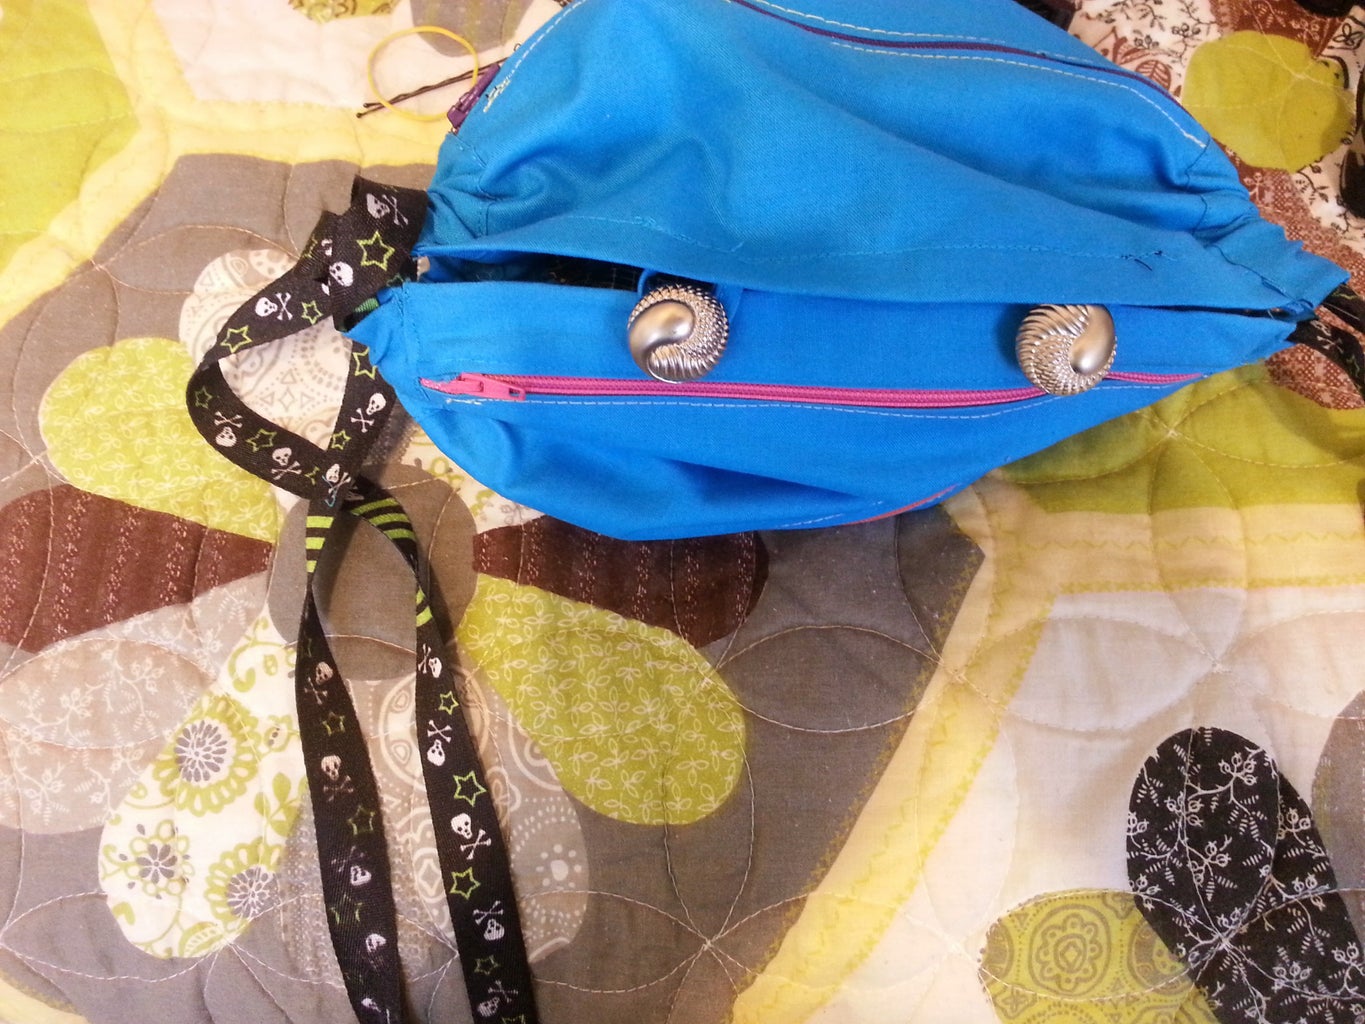
Step 3: Buttons


On one of the short ends of the fabric roll, sew buttons about 1/3 of the way in on each side.
Make button holes by stitching a piece of fabric folded over so that all of the raw edges are hidden and stitch it closed.
Place the fabric strip on the opposite end of where the buttons are placed and position them so that they will fit around the buttons.
Double stitch the fabric strips to the positions.
Step 4: Drawstring


Cut a piece of the blue fabric about 2" wide, and the long length of the piece you made in the previous step. The 2" dimension can be changed depending on how big your drawstring material is.
Fold the fabric in half, and then tuck the sides under and iron flat.
Place the fabric over the piece from the previous step, and stitch it, making sure that you don't sew too far into the fabric because you still will need space for the drawstring.
Use a bobby pin or similar to place around your drawstring material, and thread it through the drawstring hole.
Once you center the drawstrings add stitching to lock down center of string to center of pull through.
Add sliding black tension devices (if you know what these are actually called please comment).
Stitch together ends of drawstrings Then cut ends of shoe laces.
Add button so both drawstrings can be joined for single strap purse utilization.
Step 5: Tool Roll Pockets


Cut a piece of the blue fabric about 15x5".
Stretch a 10" piece of elastic to 15" and sew it under one of the 15" sides with a zigzag stitch.
Cut the fabric in 5 so that you have 5 pieces of fabric with elastic scrunching up one of the sides.
Fold the edges under, and sew the sides except for the elastic top to the blue fabric in between the zippered pockets.
Step 6: Conclusion


We hope you enjoyed our instructable. Some thoughts on how you can make this more awesome:
Laser cut charms for each zipper.
Attached light.
Accessorize!
Fill with awesome stuffs :D
Just make it already ;)
Joseph and Nidhi

Participated in the
Remix Contest

Participated in the
Wear It! Contest

Participated in the
Zip It Good! Contest


