

Introduction: DIY Raised Planter Box


With Spring time finally here, what better time to make your own flower box than now! This raised garden planter was pretty easy to make and definitely adds some curb appeal to your home!
Click here so you don't miss a video! https://bit.ly/2Xe639L
JOIN ME ONLINE:
Instagram: https://www.instagram.com/timberandtea_
Facebook: https://www.facebook.com/timberandtea/
Website: https://www.muskokafolk.com
Step 1: Box


First I cut all the pieces I needed for my box.I used repurposed 2"x6" cedar for for my planter box. Cut one end at 45 degrees, flip it over, measure 36” and make your next 45 degree cut. Repeat this 6 times. Do the same thing with a 14” piece. Id recommend setting up a stop so your pieces are the exact same length.
Turn your saw back to 90 degrees and cut 4 pieces of 1"x2” strapping to hold up the floor of your planter. Two slightly shorter than the inside length of your box, and two just shorter than the width of your planter box.
Then using 1x3” or whatever scraps you have, cut planks for the bottom. They should be the width of the inside of your planter box. Cut as many pieces as you’ll need to line the bottom of the box with small gaps in between for drainage.
You can download the cut list for the box below.
Attachments

Step 2:


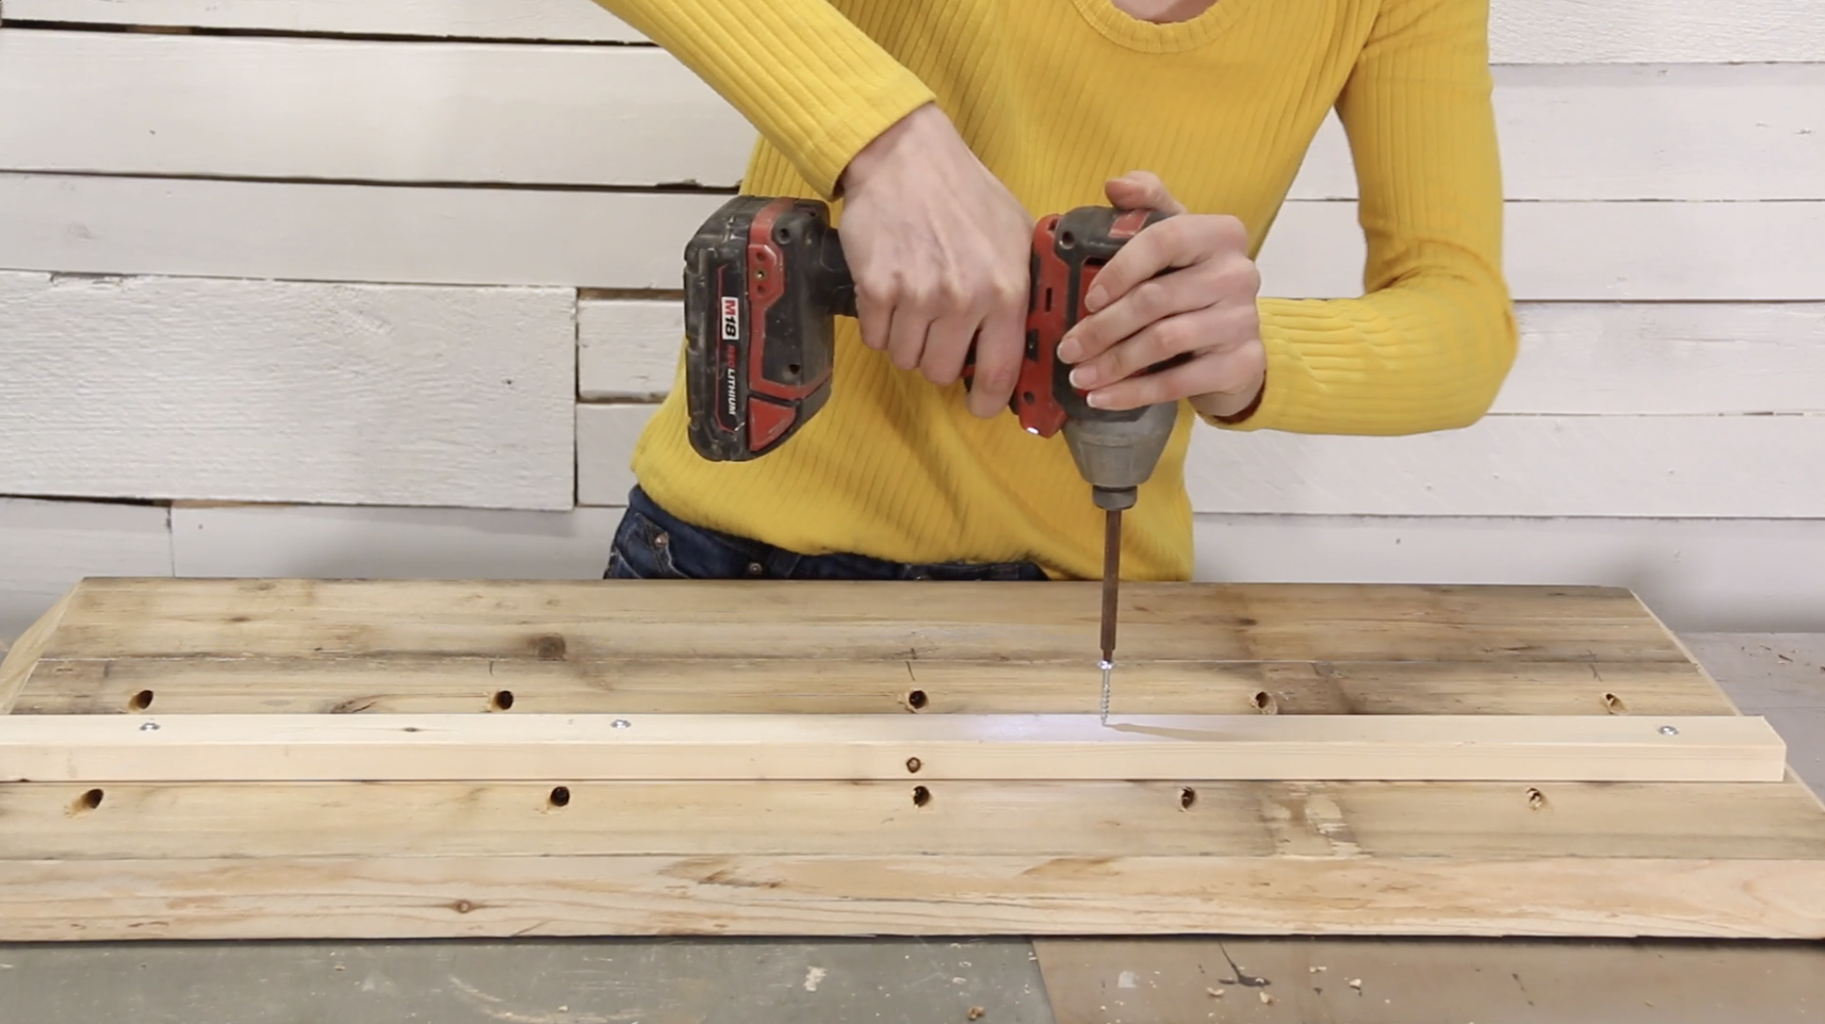


I made sure to make where I wanted my pocket holes to go so I don’t end up drilling more holes than I need in places I don’t need them! Then I stacked the boards and assembled them with pocket screws. I added my strapping on each piece 10” down from the top.
I assembled the box using pl premium or wood glue and air nails.
I set my planks in the bottom and set then box aside.
Step 3: Stand


Next up is the stand. Leaving my saw at 90 degrees I cut all my pieces for my stand.
You can see the entire cut list for the stand below.
Attachments
Step 4:


Once again, I marked where I wanted my pocket holes to go before doing any drilling and then used my pocket hole jig to make my holes.
I assembled each side and then attached them together. I used wood glue with my pocket screws to add strength.
Then I gave everything a quick sand using 120 grit paper on my orbital sander.
I put a coat of sealer on my cedar and painted my stand white. You could also paint the 2x2 stand black for a faux steel look.
Step 5:


