

Introduction: Make a Simple 3D Hollow Clock (Arduino Nano and 5V Stepper)


Hi, in this project I will show you how I made this great-looking 3D-printed Hollow clock. I saw this project on Thingiverse a few days ago and found it very interesting, so I made a video where I first started by printing and assembling all the parts using a 3D printer.
Step 1: Printing and Assembling Parts
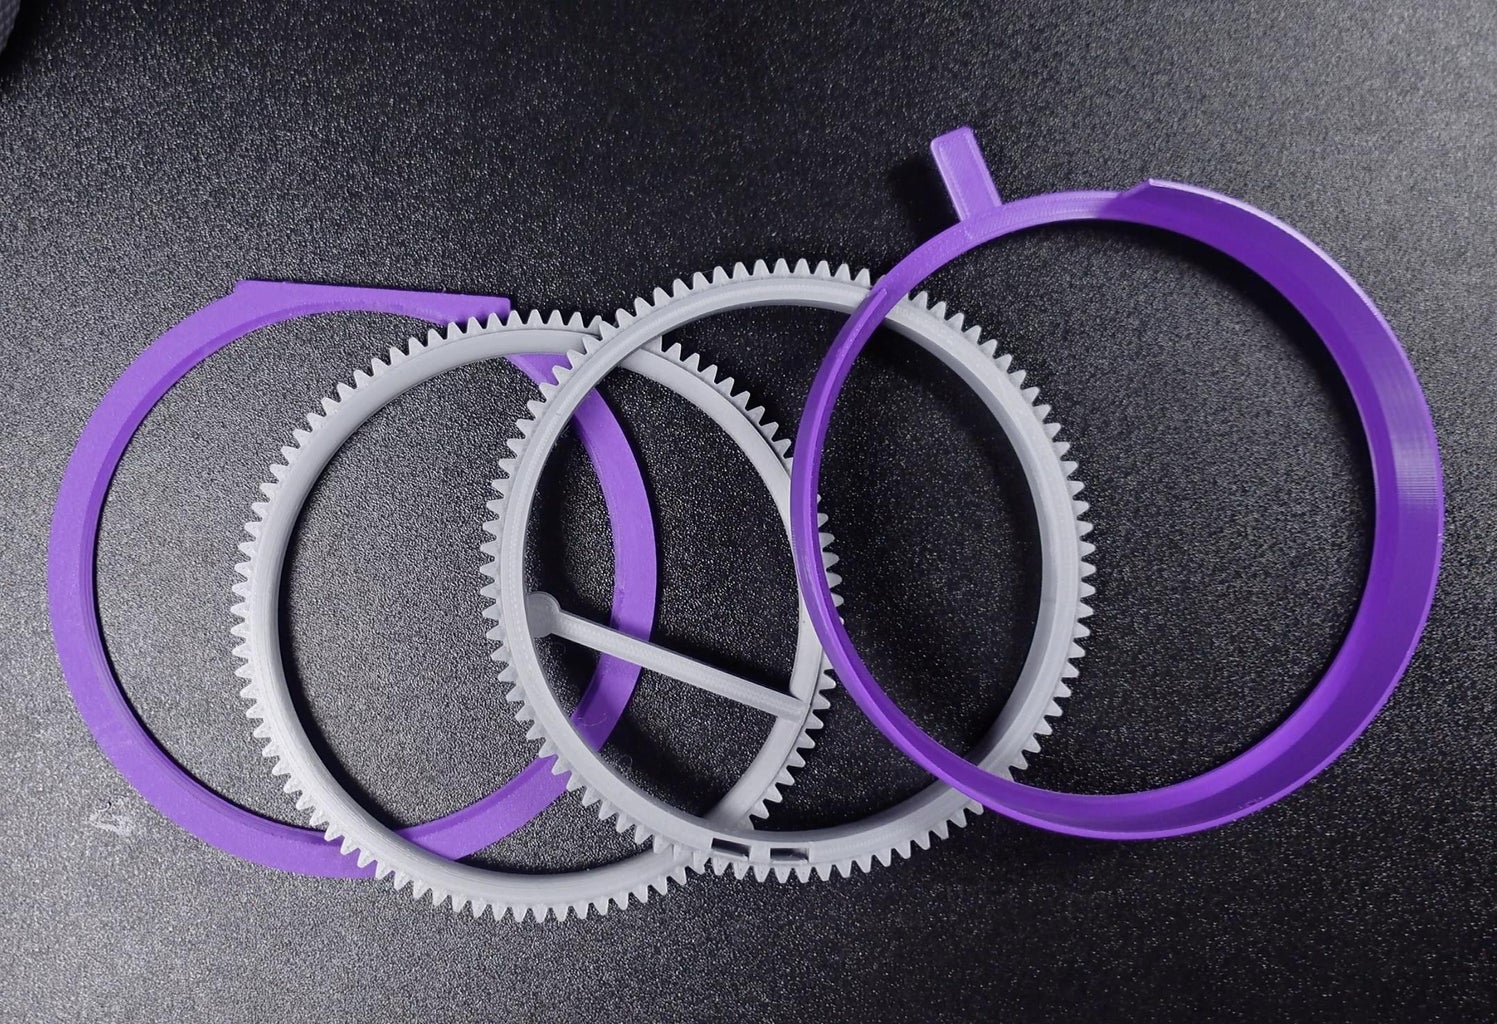


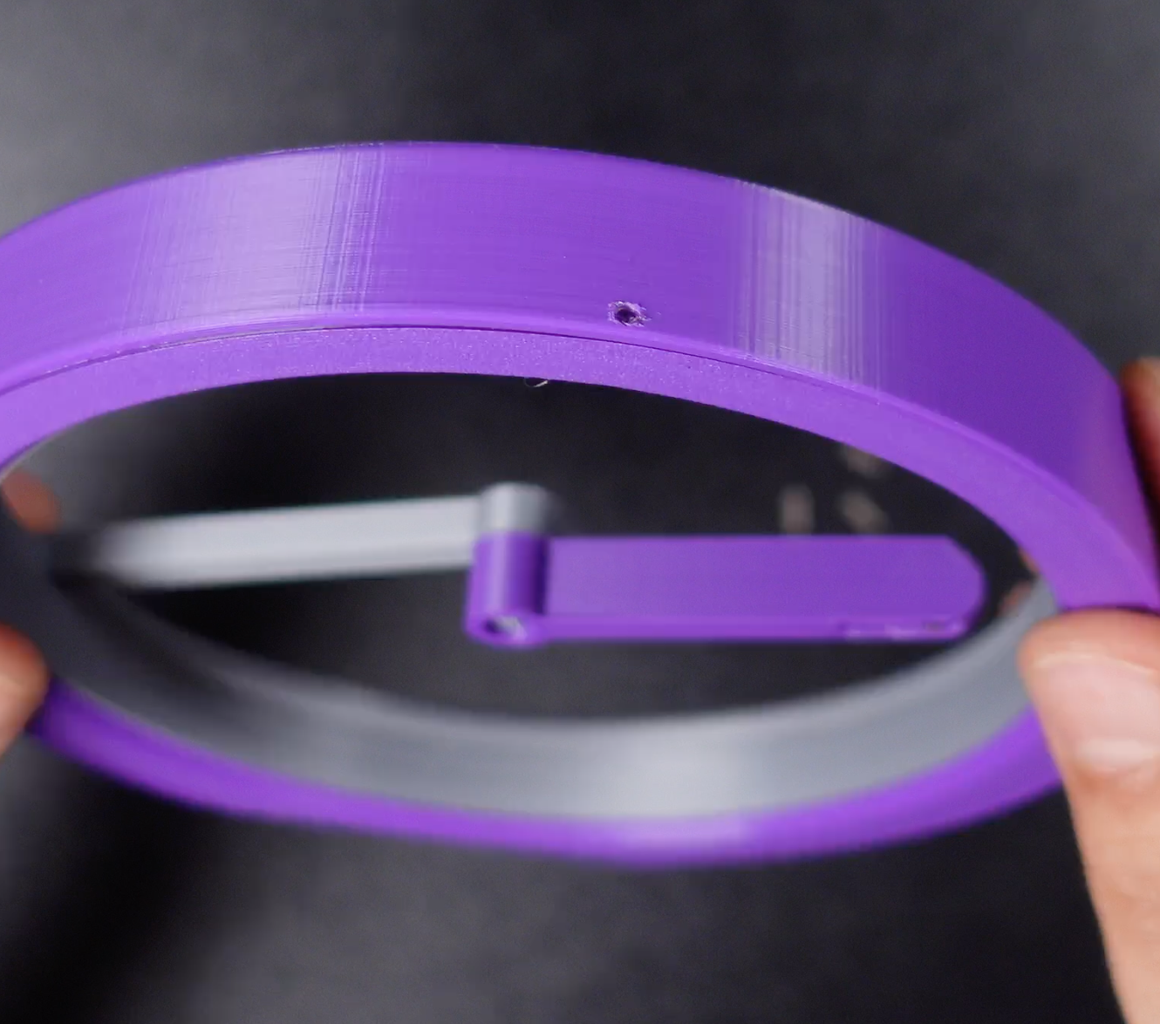


Print all parts with the provided posture. No support is needed. "washer1.stl" and "washer2.stl" are optional parts to adjust the backlash of the gears.
In this design, the angle of the hour and minute hands is controlled magnetically, not mechanically. Setting the time is very easy. Attach the hour and minute hands with a screw of a certain length. Insert the magnets and test how they align with gravity. Please make sure that all axes rotate properly before assembly.
Step 2: Circuit Components and Printed Circuit Board


We need an Arduino Nano, a stepper motor, a driver, and some wires. But in this case, the circuit might be a bit complicated, I want to give it a more professional and cleaner look. So I designed a custom printed circuit board, created a Gerber file, and ordered it from PCBWay.
Required Components:
- Three 8mm x 3mm neodymium magnets
- 28BYJ-48 stepper motor and driver board (ULN2003)
- Arduino nano board
The BOM list and Gerber file are available on the PCBWay project page.
To use the space efficiently, remove the stepper motor header and solder the wires to the board in the color order shown.
Step 3: Source Code
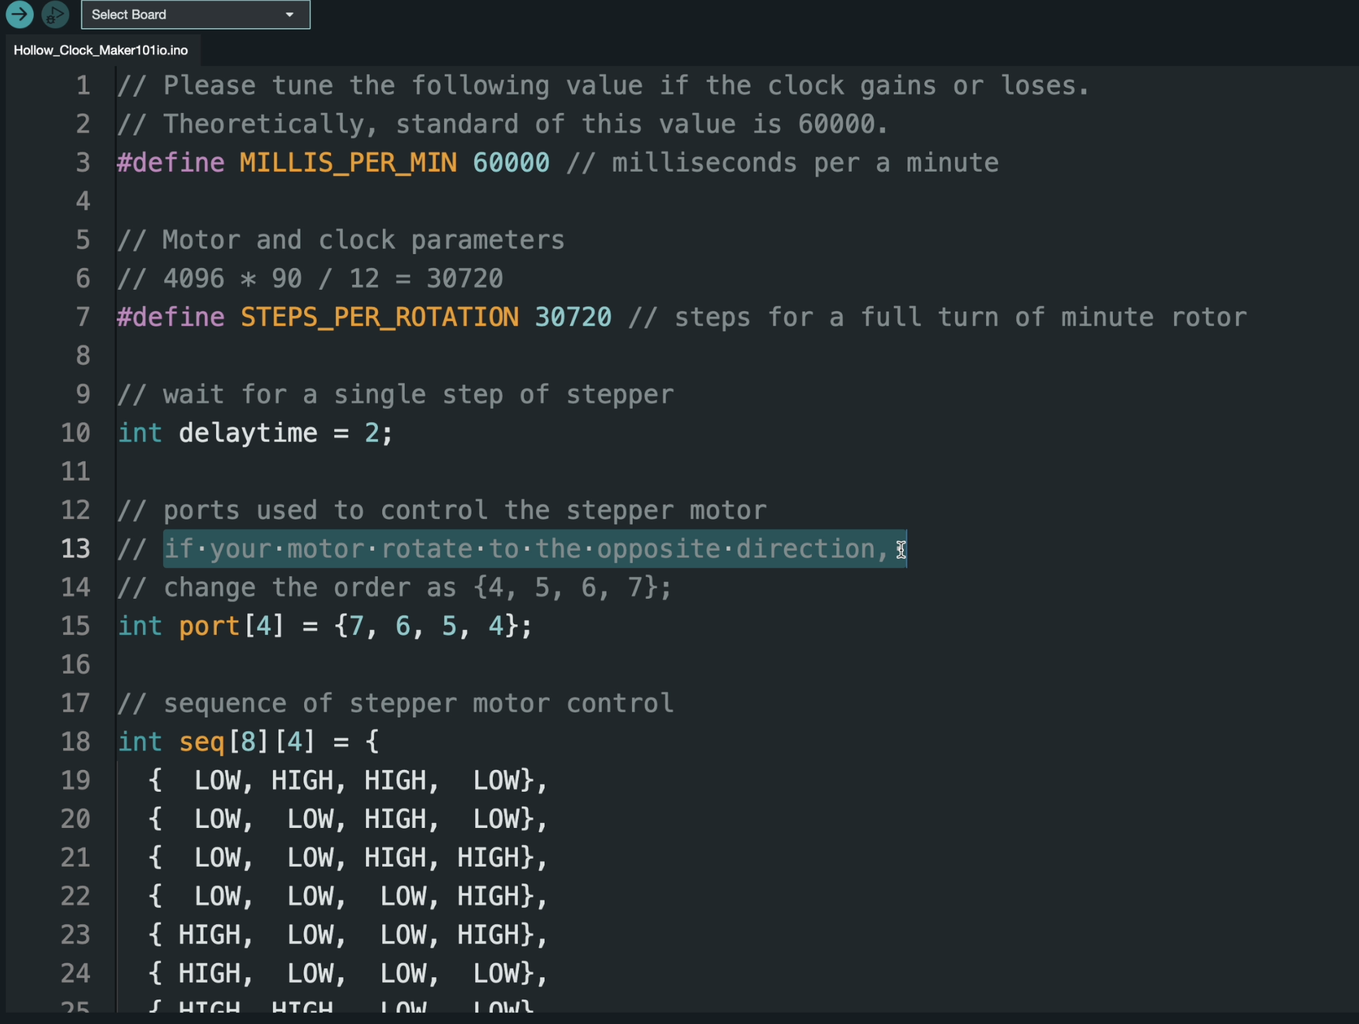


Open the shared source code, and select the Arduino Nano board to upload the code. If the motor moves in the opposite direction, change the motor connection order in the code.
A jumper header on the board is used to supply 5-volt power to the Arduino Nano and Motor via the Type-C USB port.
Another project is over, first of all, thanks to PCBWay for their support. If you like the project, you can follow and press the like button. Thank you for reading.


