

Introduction: Arduino Neopixel Music Visualizer (18 Bit VU Meter)


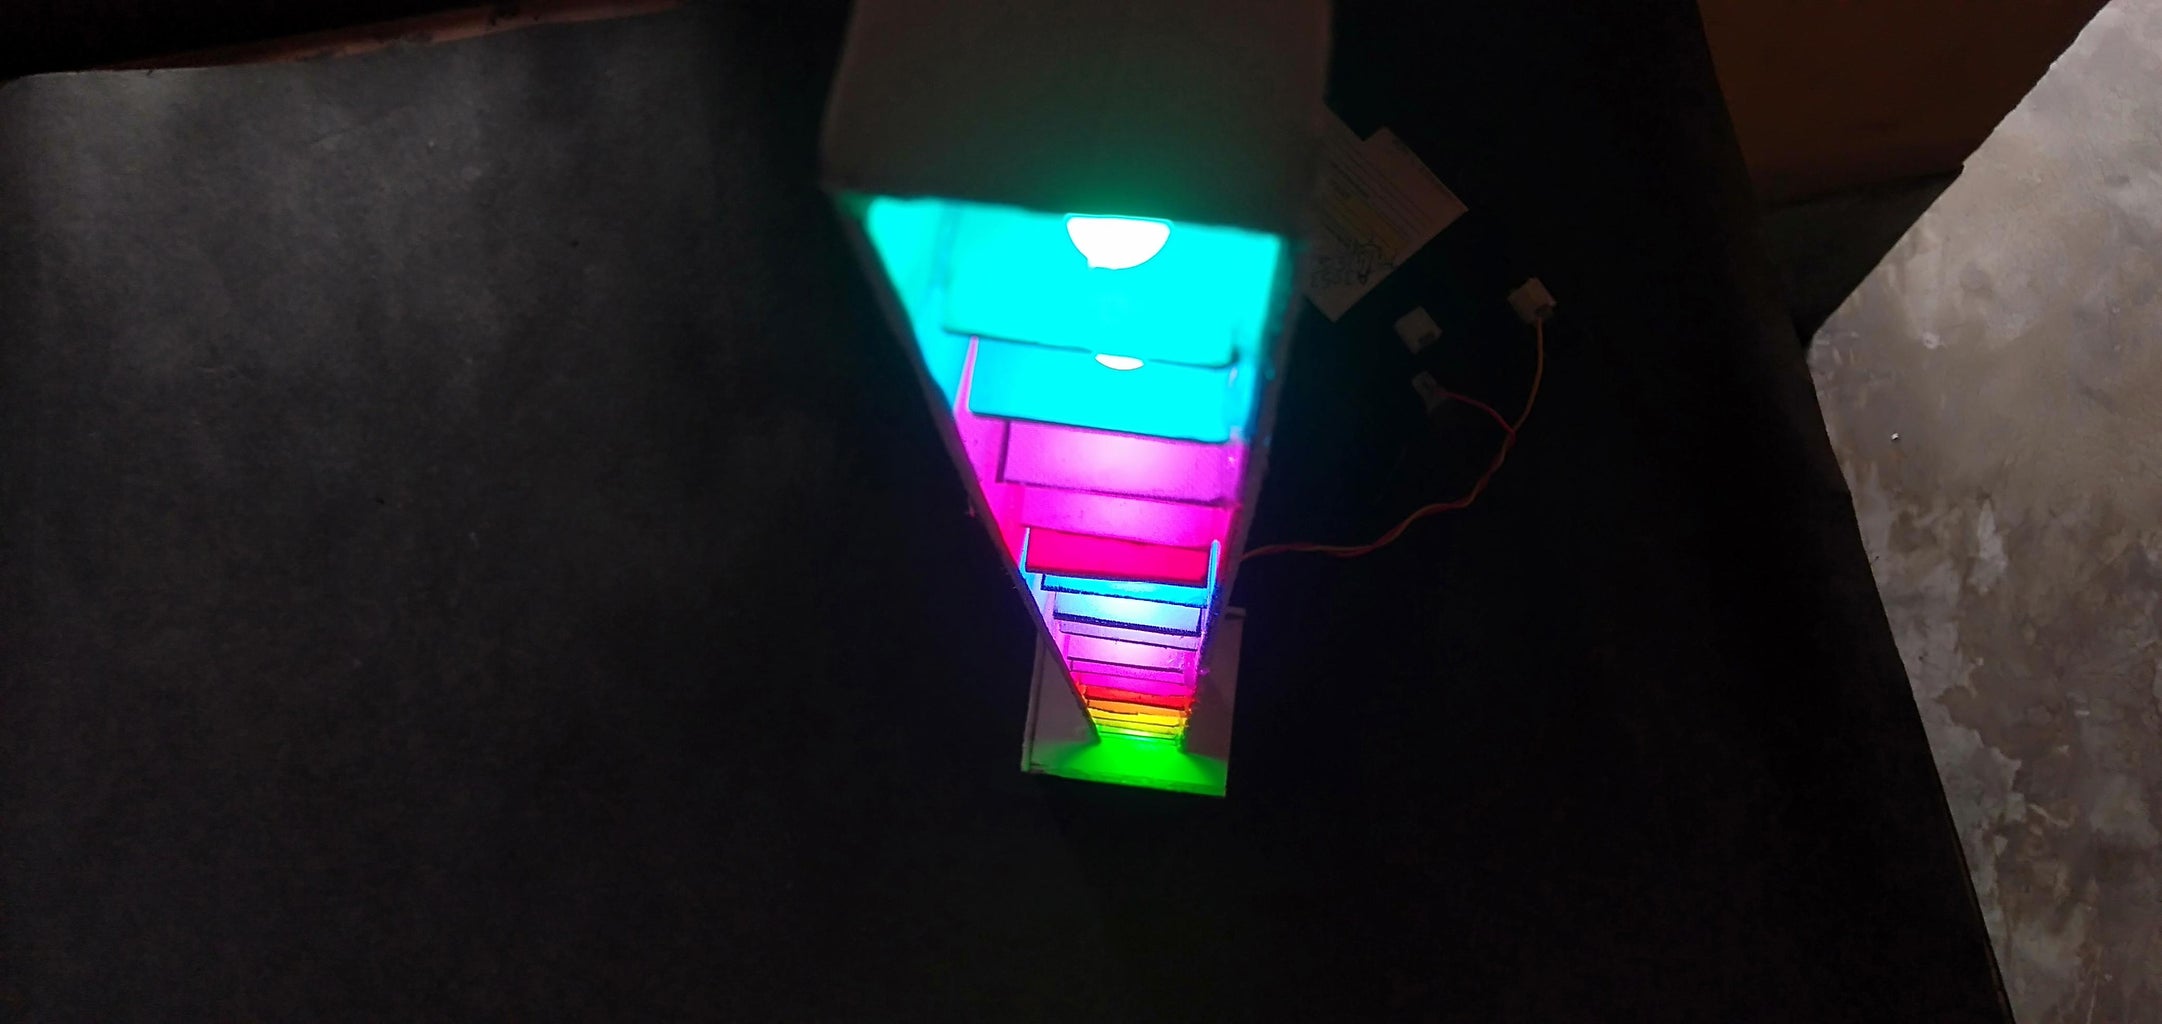


Everyone have gaming setup with RGB led’s but RGB’s led did not work like led reactive its only perform simple color changing it too old but here this music visualizer work like awesome. This is stand version you can buy Strip led and attach in your table as you want. This is cheap and work perfectly with audio balance or frequencies.
In this blog you are learning about an Arduino Neopixel Visualizer which follows:
>>Neopixel Led’s (WS2811)
>>How This Project Works
>>Parts Need
>>Libraries
>>Circuit Diagram
>>Complete Code
Step 1: Parts:
Arduino Nano: https://amzn.to/3cOU5KA
WS2811 Neopixel leds: https://amzn.to/3gKAH2s
WS2812 Neopixel leds(optional): https://amzn.to/3gKAH2s
LM7805 Module: https://amzn.to/3gKAH2s
Buck Converter (optional): https://amzn.to/3gKAH2s
Neopixel Power Module(optional)
Purfboard:https://amzn.to/3iQFsdn
Female Male Connector: https://amzn.to/3gKAH2s
Wires: https://amzn.to/3gKAH2s
Cardboard:https://amzn.to/3q5Z9PU
Glue Gun: https://amzn.to/3gKAH2s
Step 2: How This Project Works:
This is also work like Neopixel Audio VU Meter. This project takes Audio input in Arduino Nano Analog pin (A0) which I am use a single audio connector you can replace it with Microphone module. Here I am also using a LM7805 voltage regulator with proper heatshink that supply 4.5 to 5V output for power supply you can change it with buck converter or power supply module. If you don’t want my color shades than you can change colors in Code or Programming section. Its not necessary to use arduino nano a better option for cheap ATMEGA328-PU microcontroller.
Step 3: Libraries:
Here you need to download and install some important libraries for this project like Adafruit Neopixel Master from here and Fast led Master from here, this is Github master libraries for universal neopixel leds, and this two libraries can handle varieties of neopixel models.
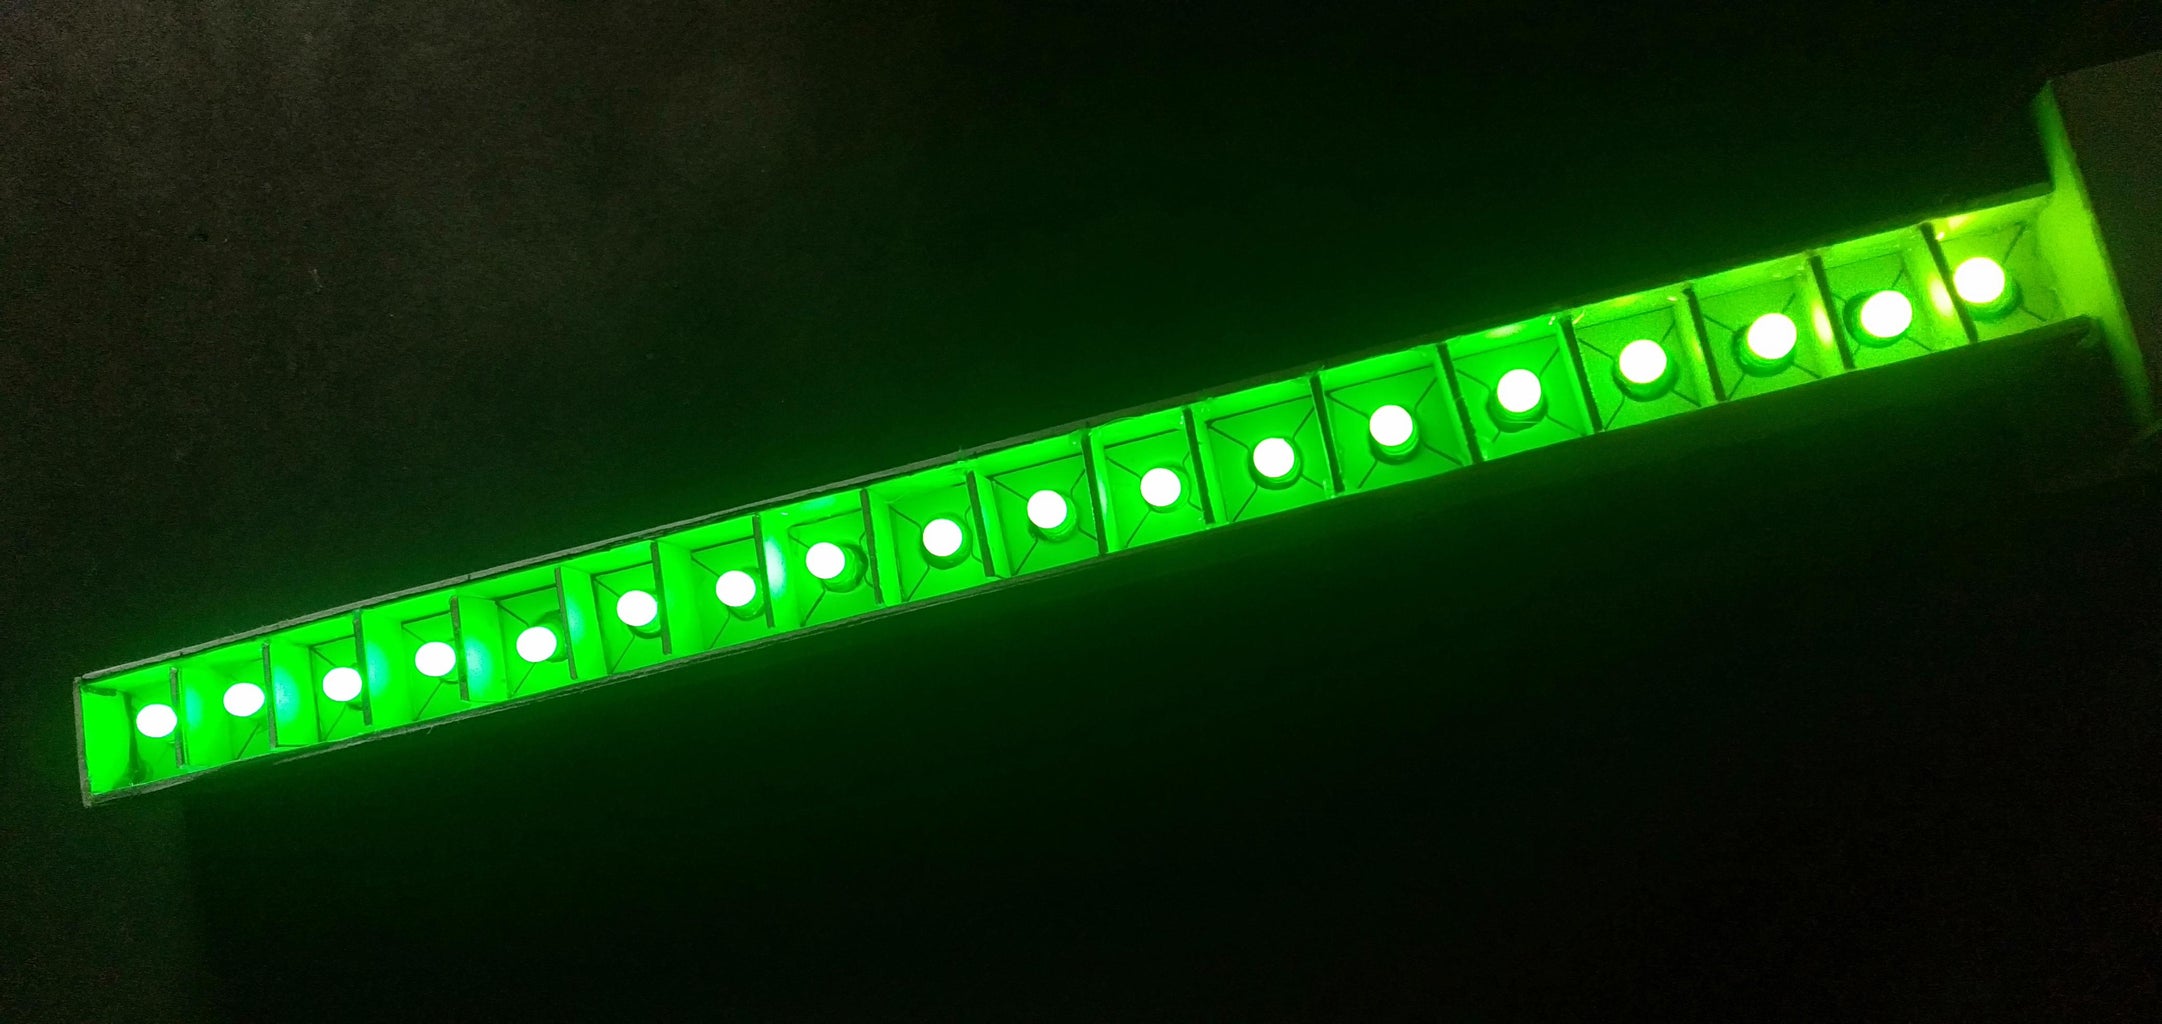
Step 4: Assembly:
Cut the white board in long 45cm, I am using total 18 neopixel led’s which takes 45 cm of long cover, make a middle base and make holes of 2mm sizes for glue the led’s in the base. Simply cut the mini white board for cover areas of led’s glow here, I am using 2.5 cm short pieces. Make a mini box for cover the Microcontroller board, and also add a 45cm cut of white paper for cover the light area its look good but optional, you can open the front area if you want.
Step 5: Circuit Diagram

Here is a simple circuit diagram just solder properly to purf board, make sure check all the voltage and current limit in neopixel leds before making the circuit and change this circuit by replacing a new buck converter or power module.
Step 6: Complete Code:
You can copy the code from here - Code
and now paste in your Arduino IDE
