

Introduction: Casting in Pre-made Molds


The easiest way to get into concrete is by casting into pre-made molds.
Concrete will take the shape of whatever it's poured into and can have a surprising amount of detail. A fun way to see what we're working with are with silly silicone ice molds, just make sure that you don't use them for anything edible after you've used them for concrete.

Let's get pouring!
Step 1: Removing Aggregate

Since concrete has aggregate. we'll have to take that into account before starting a mix. Even pea gravel aggregate can be much too large for small molds, so consider what you are casting into to determine if you need or want to remove aggregate.

To remove aggregate you'll need a sieve. I got an inexpensive sieve at the hardware store for $2.00, the mesh size was perfect for removing the large gravel aggregate, but left the small aggregate and sand.
After sifting a few scoops into my mixing bucket I was ready to start making my concrete.
Step 2: Prepare Before Pouring

Before pouring your concrete mix into the molds it's a good idea to use a release agent, this will make removing the concrete from the mold after it has cured very easy.
There's special concrete release agent, like Pol-Ease 230, but ordinary cooking spray works just as well.


Spray the release agent into the mold, ensuring coverage in all nooks of the mold. Careful not to spray so much that the release agent pools and causes drips.
Step 3: Fill Molds

As described in the Mixing and Pouring Lesson, mix the concrete until a good water to cement ratio is achieved, then scoop a small amount of the aggregate-free concrete mix into the molds.

Using a thin stick or skewer to poke the concrete into all areas of the mold.

Smooth and level the mold with the trowel, remove any excess concrete and clean up the edges so there's less over-pour flashing that needs to be cleaned up later when the concrete is cured.
Step 4: Vibration

Then, vibrate your mold to release any air bubbles and allow the mix to settle in the voids of the mold.
Using the techniques discussed earlier, vibrate the mold to release any air bubbles. Shake the mold, tap it, vibrate the table by striking a hammer around the mold, or use a power tool like a sander to cause the mold to vibrate and release any trapped bubbles.

Since these molds are silicone, you can also stretch and warp them to help get air air bubbles out in addition to the vibrating methods.
Step 5: Remove Flashing

Any over-pour of concrete will set around the backside of the casting, this excess pouring is called flashing and can easily be removed.
![]()
Since flashing is so thin it can be broken off with your fingers, after the edges can be smoothed over with 120 grit sandpaper.
Step 6:
Making solid concrete casts is easy, just remember the basics: achieve a good mix, use mold release, and vibrate our air bubbles.
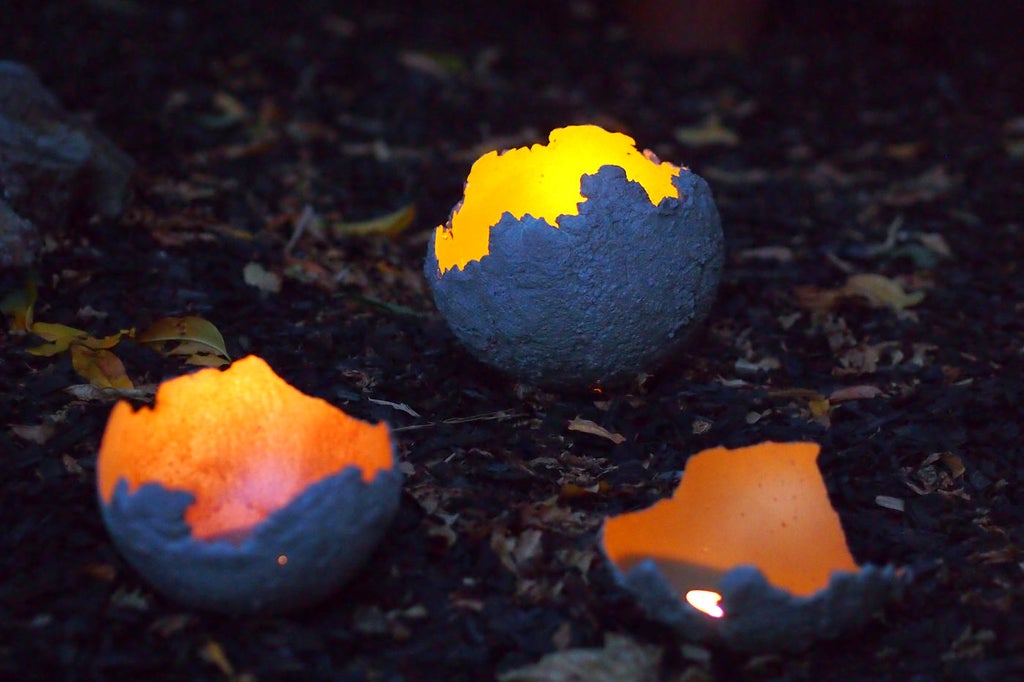
A fun and easy project to try with concrete is to make Concrete Balloon Candle Holders. This is a great project to get your hands dirty and make something simple, yet very cool.
The next skill to learn is how to make concrete casts that have voids or cavities.


