

Introduction: Control Servo Using PIR Sensor, Arduino
How to activate a servo motor with a PIR sensor
This was originally used for a candy dispenser, activated by movement
If you have any questions pls ask
Step 1: Step 1: Components


1. Arduino UNO (I'm using the MEGA but there's no difference)
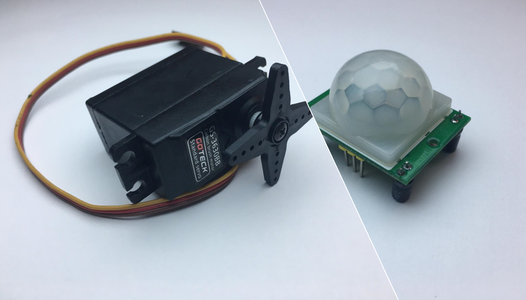
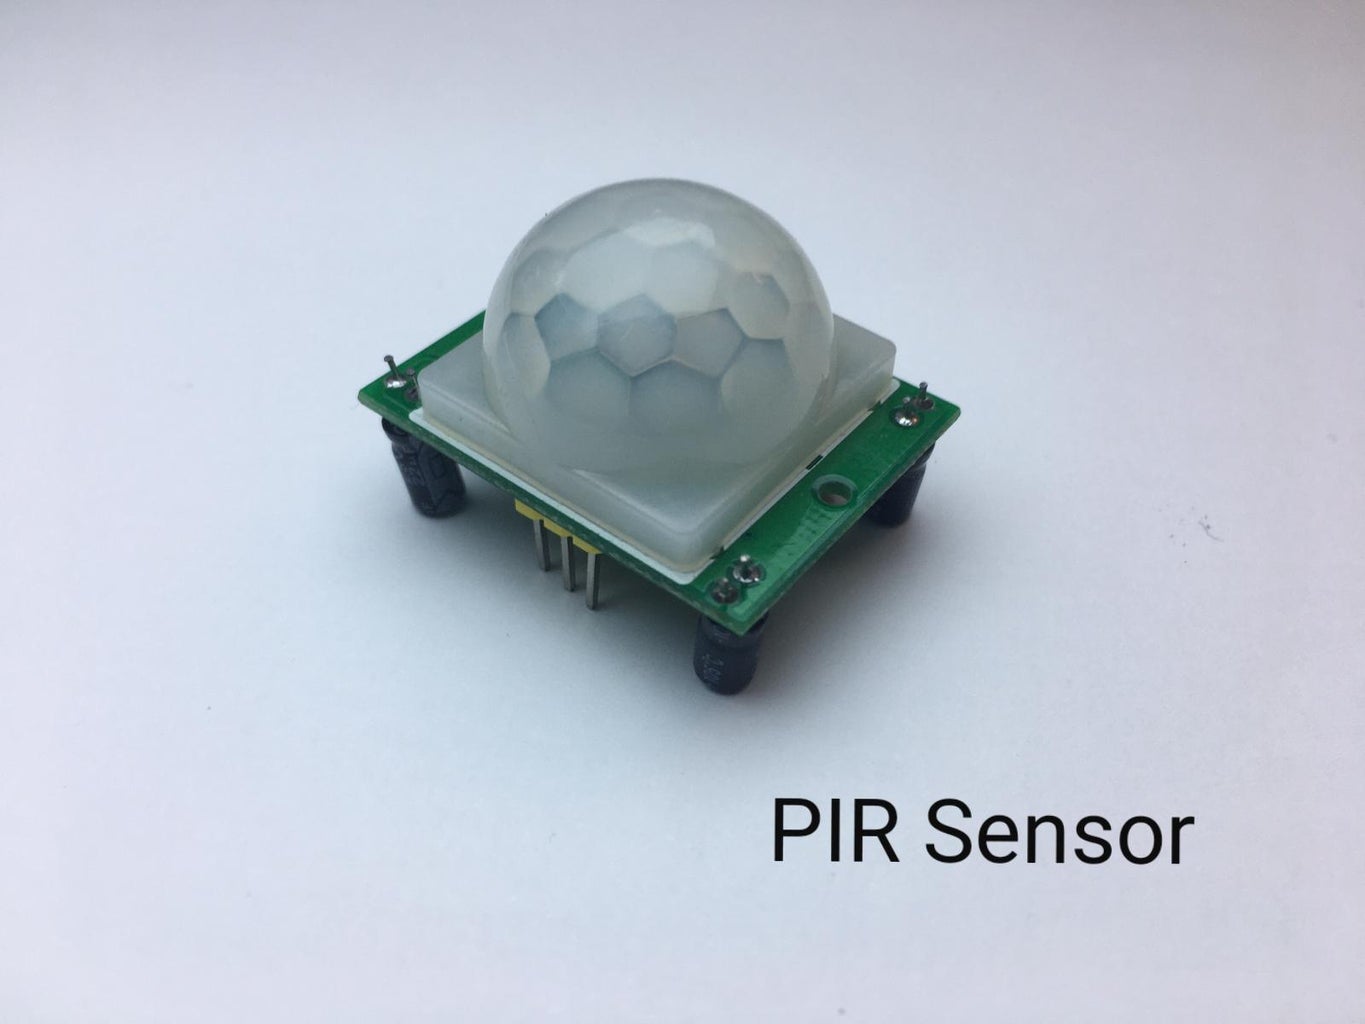
2. PIR Sensor
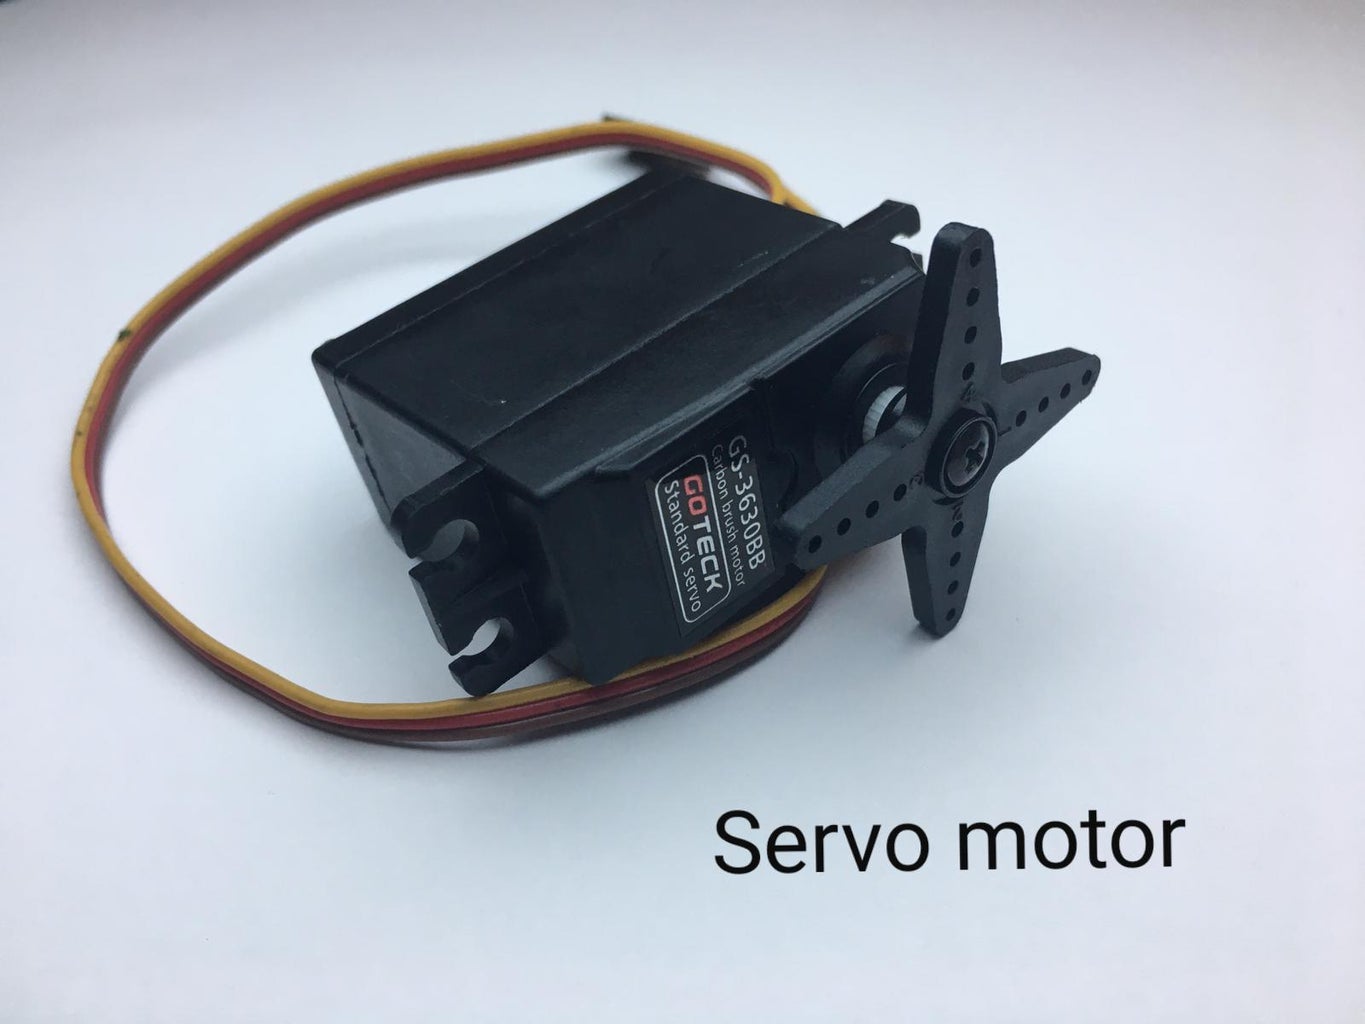
3. Servo motor
4. Bread Board
5. Wires
6. LED and Resistor (optional)
Step 2: Wiring PIR Sensor

The PIR Sensor has three pins: GND(Ground), OUT(signal) and VCC(Voltage)
■ VCC to the Positive railings of the Bread board.
■ OUT pin to the Digital pin 2 of the Arduino board.
■ GND pin to the Negative railings of the Bread board.
Step 3: Wiring Servo Motor
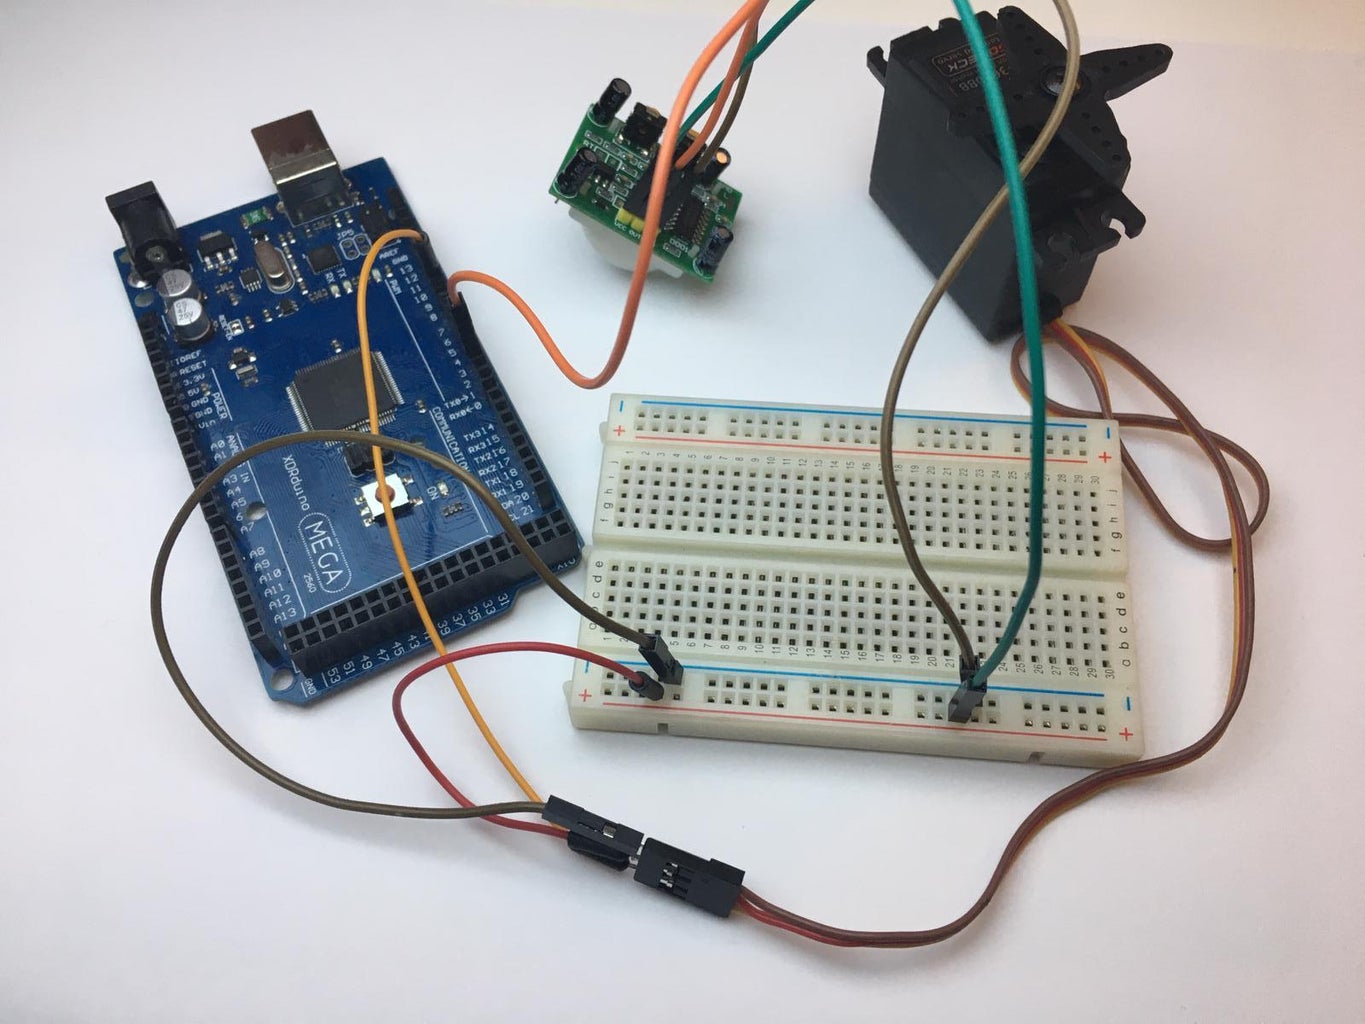
The servo has 3 wires coming out of it: Signal(Orange), Voltage or VCC(Red in most cases) and Ground(Black or Brown)
■ Signal wire(Orange) to the Digital pin 9 in the Arduino board
■VCC wire(Red) to the Positive railings of the Bread board.
■ Ground wire(Brown)to the Negative railings of the Bread board.
Step 4: Final Wiring + LED
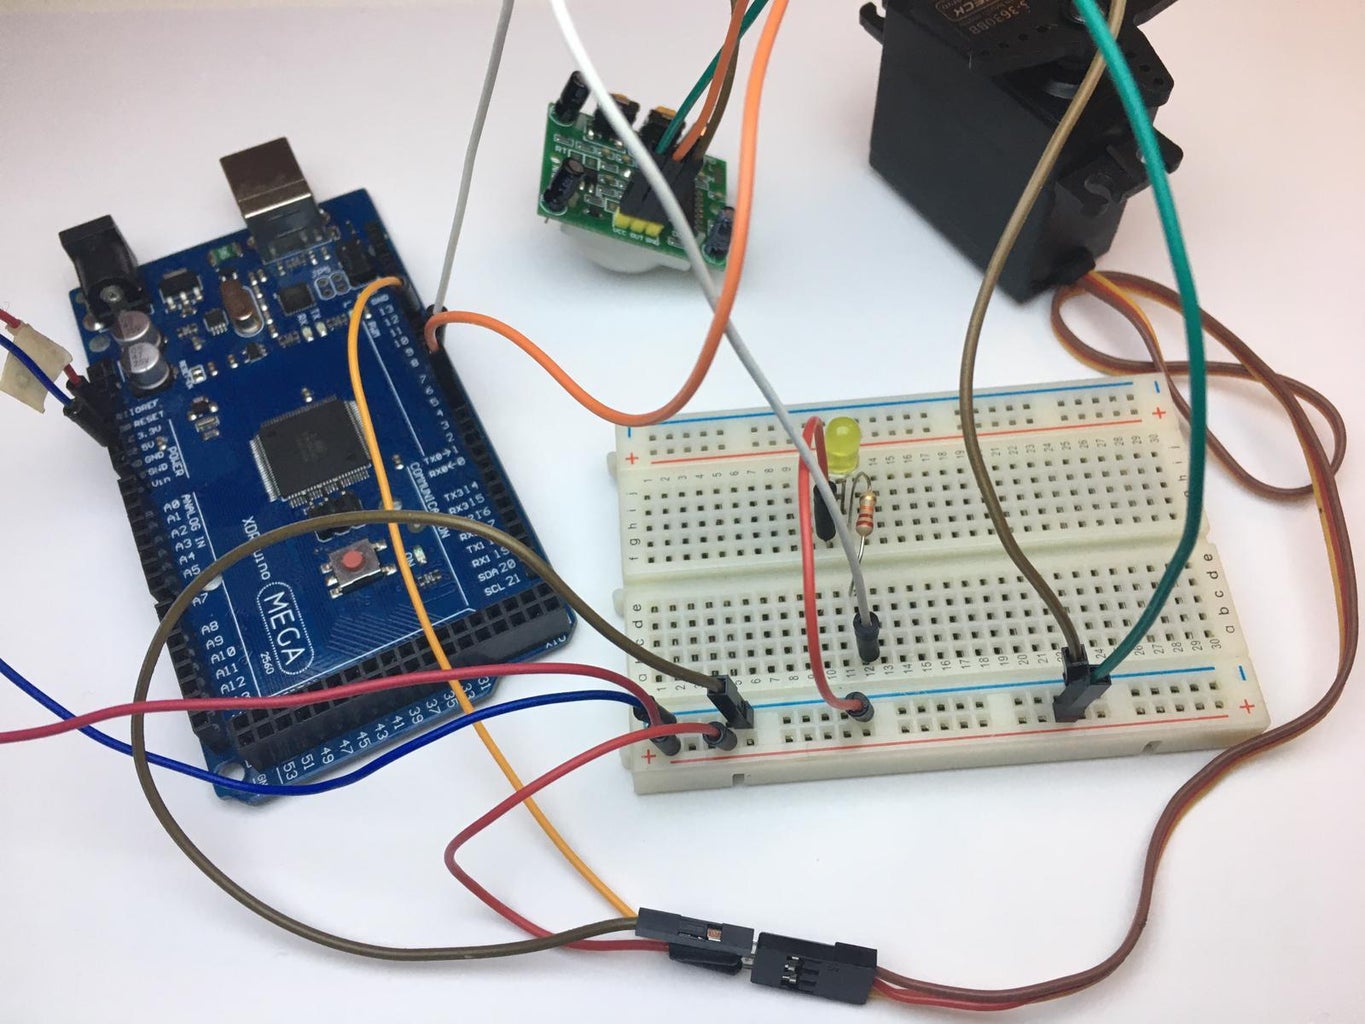
To finish off:
■ Wire together the 5V power pin in the Arduino board with the Positives railings of the Beard board
■ Wire together the Ground power pin in the Arduino board with the Negative railings of the Beard board
If you want to add an LED:
■ Wire together the Digital pin 6 in the Arduino board with pin a-12 in the Beard board
■ Place the LED with the longer leg in pin h-12 and shorter leg in pin h-11 in the Beard board
■ Place the Resistor connecting pins e-12 and f-12 in the Beard board
■ Wire the Negative railing with pin f-11 in the Beard board
Step 5: Code
#include <Servo.h>
//if error stray /342 occurs, type this line yourself, it could be a unicode error
Servo myservo;
int led=6;
int pir=2;
void setup()
{
pinMode(pir,INPUT);
pinMode(led,OUTPUT);
myservo.attach(9);
myservo.write(60); //starting position of the servo motor
Serial.begin(9600);
}
void loop()
{
int val = digitalRead(pir);
Serial.println(val);
if(val==HIGH) {
digitalWrite(led,HIGH);
myservo.write(140);
delay(1000);
myservo.write(60);
digitalWrite(led,LOW);
delay(2000);
}
delay(100);
}
Just in case i attached the arduino file :)

