Introduction: Getting Started
Buying candy from the store is amazing, but making your own is even better. In this project we will make a custom candy mold.
I am going to make my mold the size of a small candy bar.
Let's get started!
Instructions
- Place a box on the workplane and size it to be 75mm long 20mm wide and 10mm tall.
- Continue to the next step.
Step 1: Making a Hole
We need to position the hole in the center of the first box to cut material away. The cavity or open space created by this hold will hold the candy.
Instructions
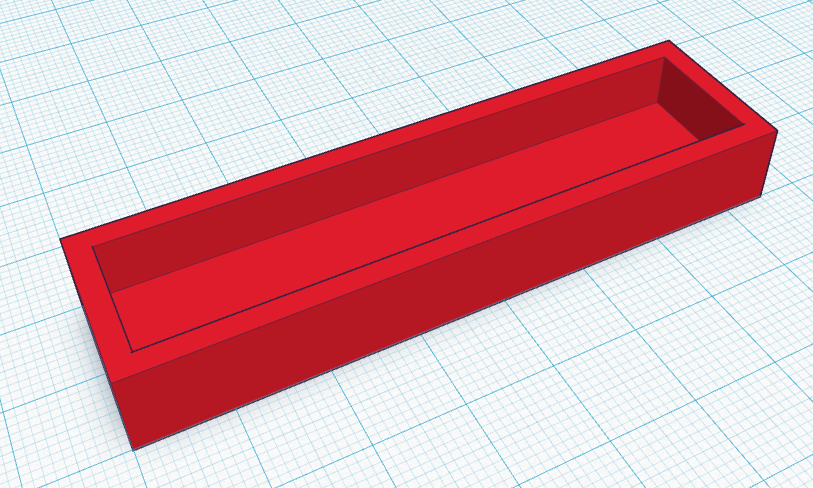
- Place a second box on the workplane and size it to 70mm long 15mm wide and 20mm tall. We will use this box to remove material from the inside of the candy mold.
- Make the smaller box a hole.
- Let's properly align the boxes so they are centered on one another. Select both boxes, click Align on the toolbar, and then align to the shapes vertically. Clicking the middle dots that are on the workplane will complete the align.
- Right now the hole is sitting on the workplane and if you were to group the shapes you the small box would cut all the way through the first box. We want a bottom to this mold, so we need to lift the hole off the workplane a bit. Select the hole and use the black arrow on the top of the shape to lift the hole off the workplane 3mm.
- To remove the hole from the red box we need to group the shapes. Select both boxes and click the Group button on the toolbar to cut the hole shape from the larger box.

Step 2: Create Your Word
We now have the mold created, but right now this mold would simply create a block of candy. I think we can spice that up a bit.
Let's customize our mold by adding some text. The text we add will shape the candy, so the word we create will show up on our candy.
Instructions:
- Select Text from the Shape drop down near the top of the shapes panel.
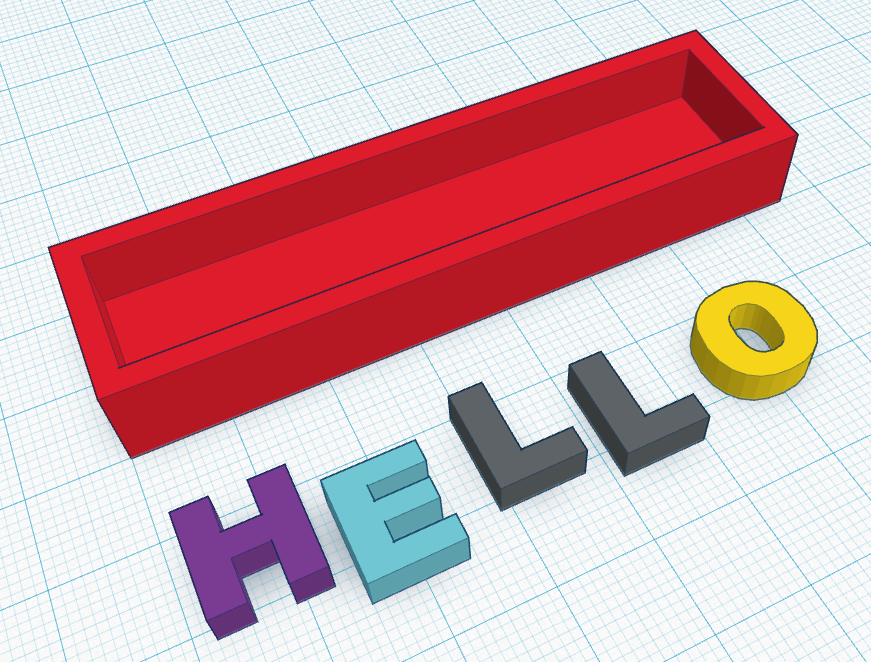
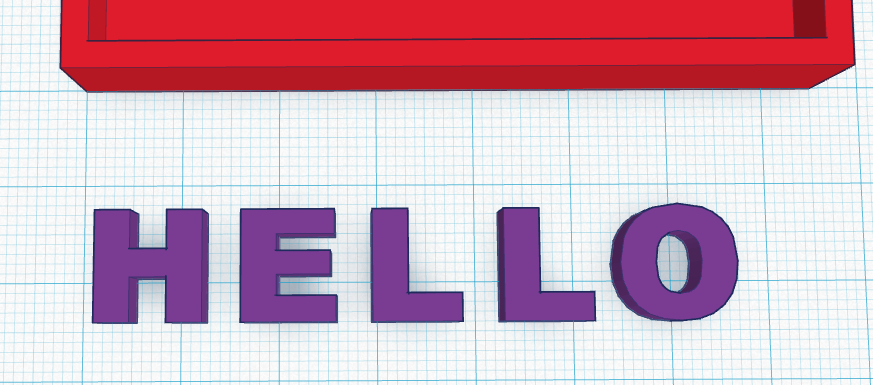
- Select a word to put on your candy. I will use the word "HELLO", but you could use other words as well. Place each letter of the word on the workplane near your mold shape.
- Now we need to line up all the letters in a straight line. We can so this by aligning them all to the bottom of each letter. Select all the letters and select Align from the Adjust menu. Click the align button near the bottom of the letters to align them.
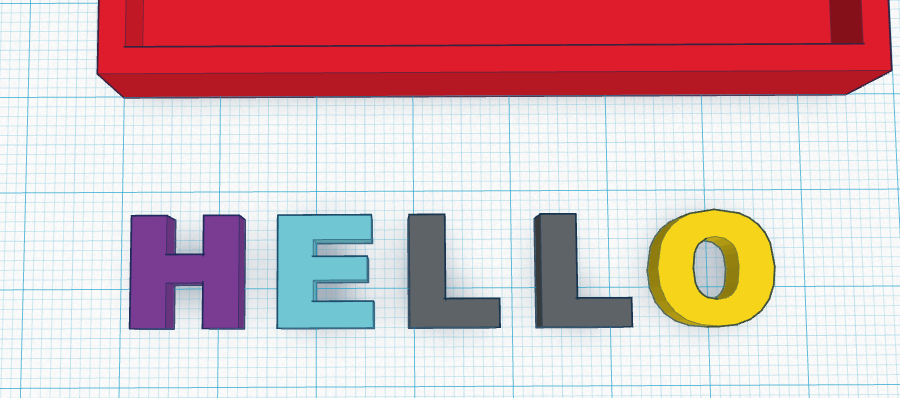
- Rotate your view so you are looking down on the letters and use the right and left arrow keys to evenly separate each of the letters.
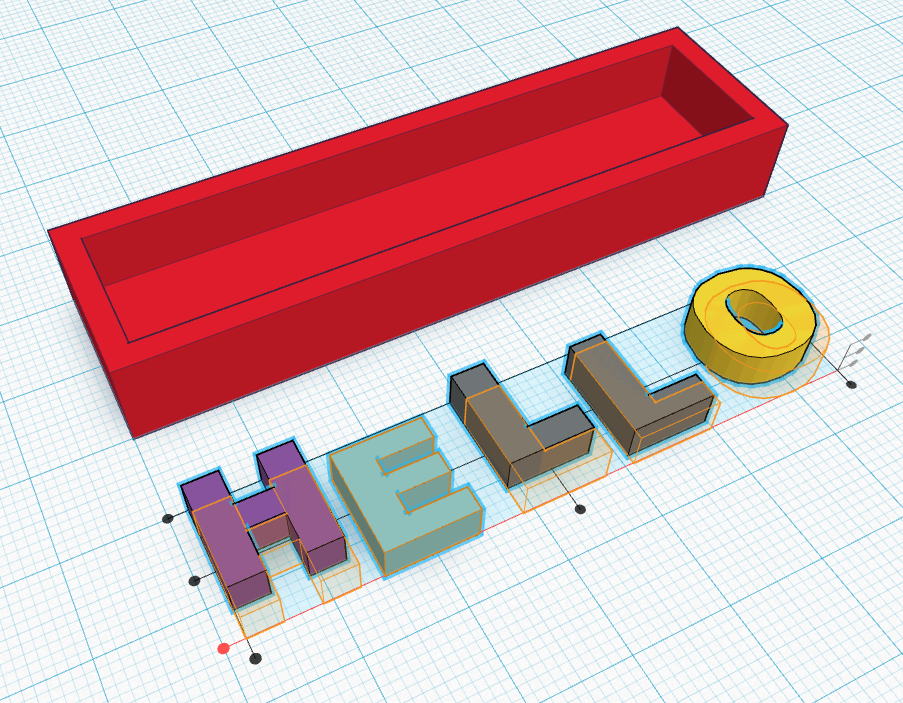
- Make your letters a single word by grouping them together. Select all the letters and click the Group button on the toolbar. Grouping the letters will make it easier to position your word in the mold you created earlier.You will know the letters are grouped if they all change to the same color.
- Continue to the next step.
Step 3: Position and Scale Your Word
Now that you have your word created it's time to position it and adjust the size as needed.
Instructions
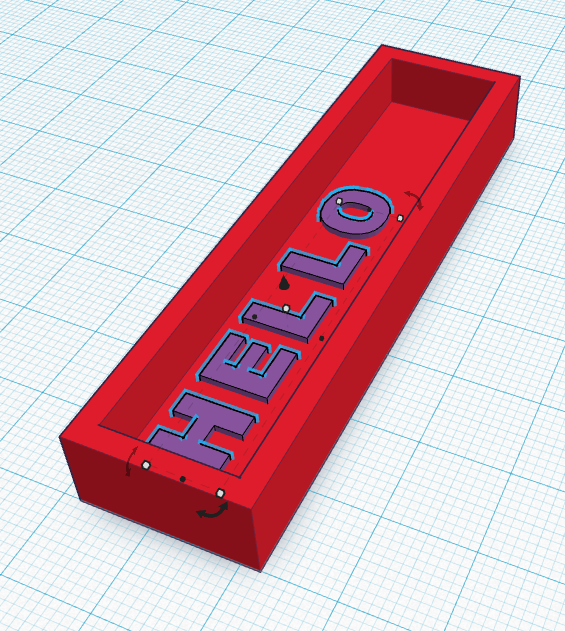
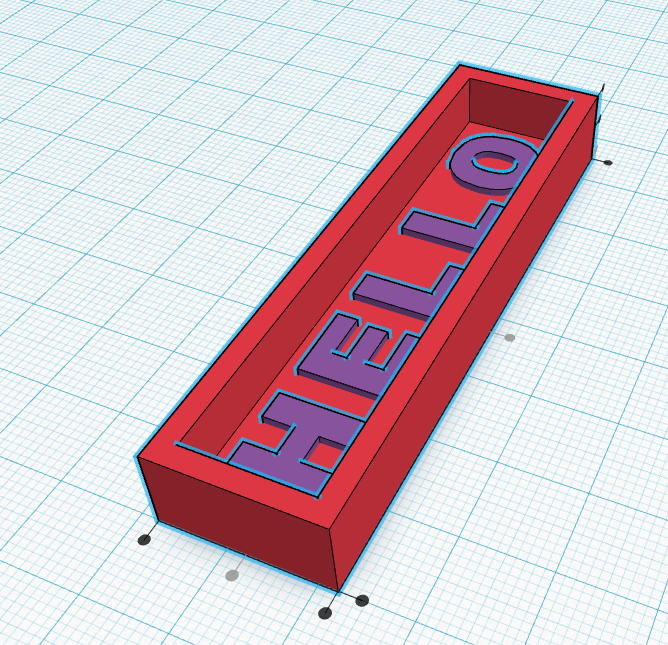
- We need to position the word inside the mold.With both shapes selected, click the Align button on the toolbar. Align the shapes vertically so the word is centered in the block.
- As you can see my word takes up most the entire length of the mold, which is fine, but depending on the word you selected you may find your word is a bit too long. If you want, you can scale your word larger or smaller to fit the way you want it to in the mold.
- To adjust the scale of your word you need to select your word, then hold SHIFT down on your keyboard, and left-click and drag one of the white corner dots. Tip: Holding shift down while doing the scaling will maintain the current proportions. If you do not hold down shift your word may end up looking stretched or squished.
- If you scaled your word you will need to align it to the mold one more time. If you don't want your word perfectly centered you can select your word and use the arrow keys to position it where you want in the mold.
Step 4: Finishing Up Your Mold
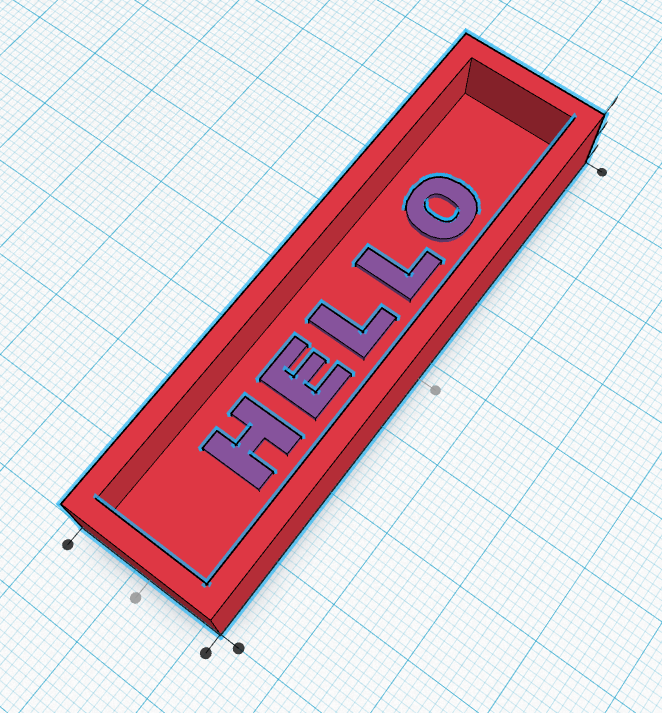
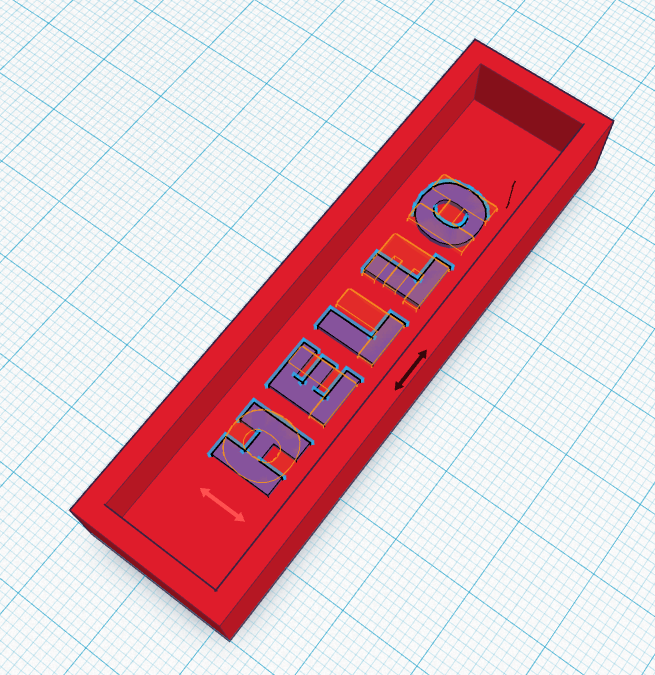
With you mold complete and your word positioned you need to make a couple more changes to complete your mold. If you grouped your shape now, when you created your candy the word would show up backwards on your candy.
To prevent this we can mirror or flip the word over so people will be able to read our word on the candy.
Instructions
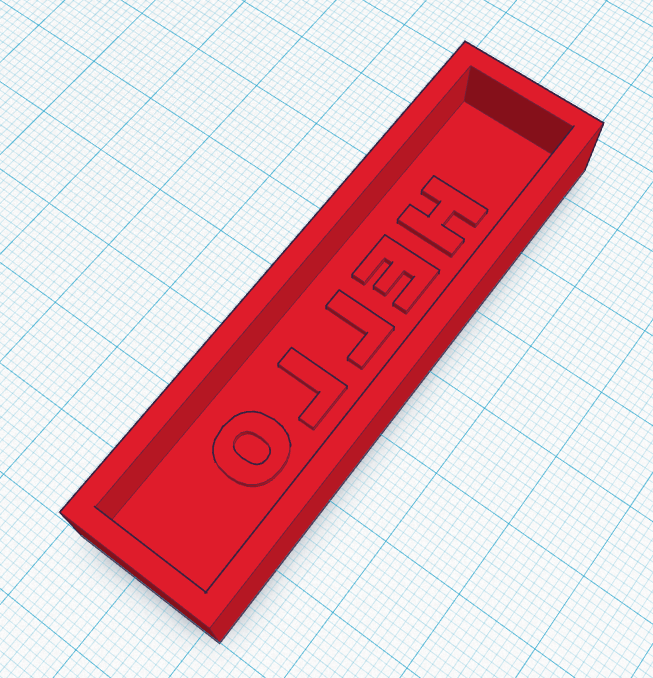
- Select your word, then click the Mirror button on the toolbar. Select the arrow at the end of the word and you will see the word flip over. In the mold your word should be backwards, so when the candy is made the word will show correctly.
- The final step is to group your shapes into a single object. Select both shapes and select Group from the toolbar.
- Continue to the next step.
Step 5: Prepare for 3D Printing
It's CANDY TIME!
You will need to download your design as a .STL file to 3D print it.
Instructions
- From the design menu select "Download for 3D Printing".
- Select the .STL option.
- Save your file with an appropriate name. This STL file can be imported into your 3d printer software
Congratulations, you have completed this project!
Check out other great projects on Tinkercad.


