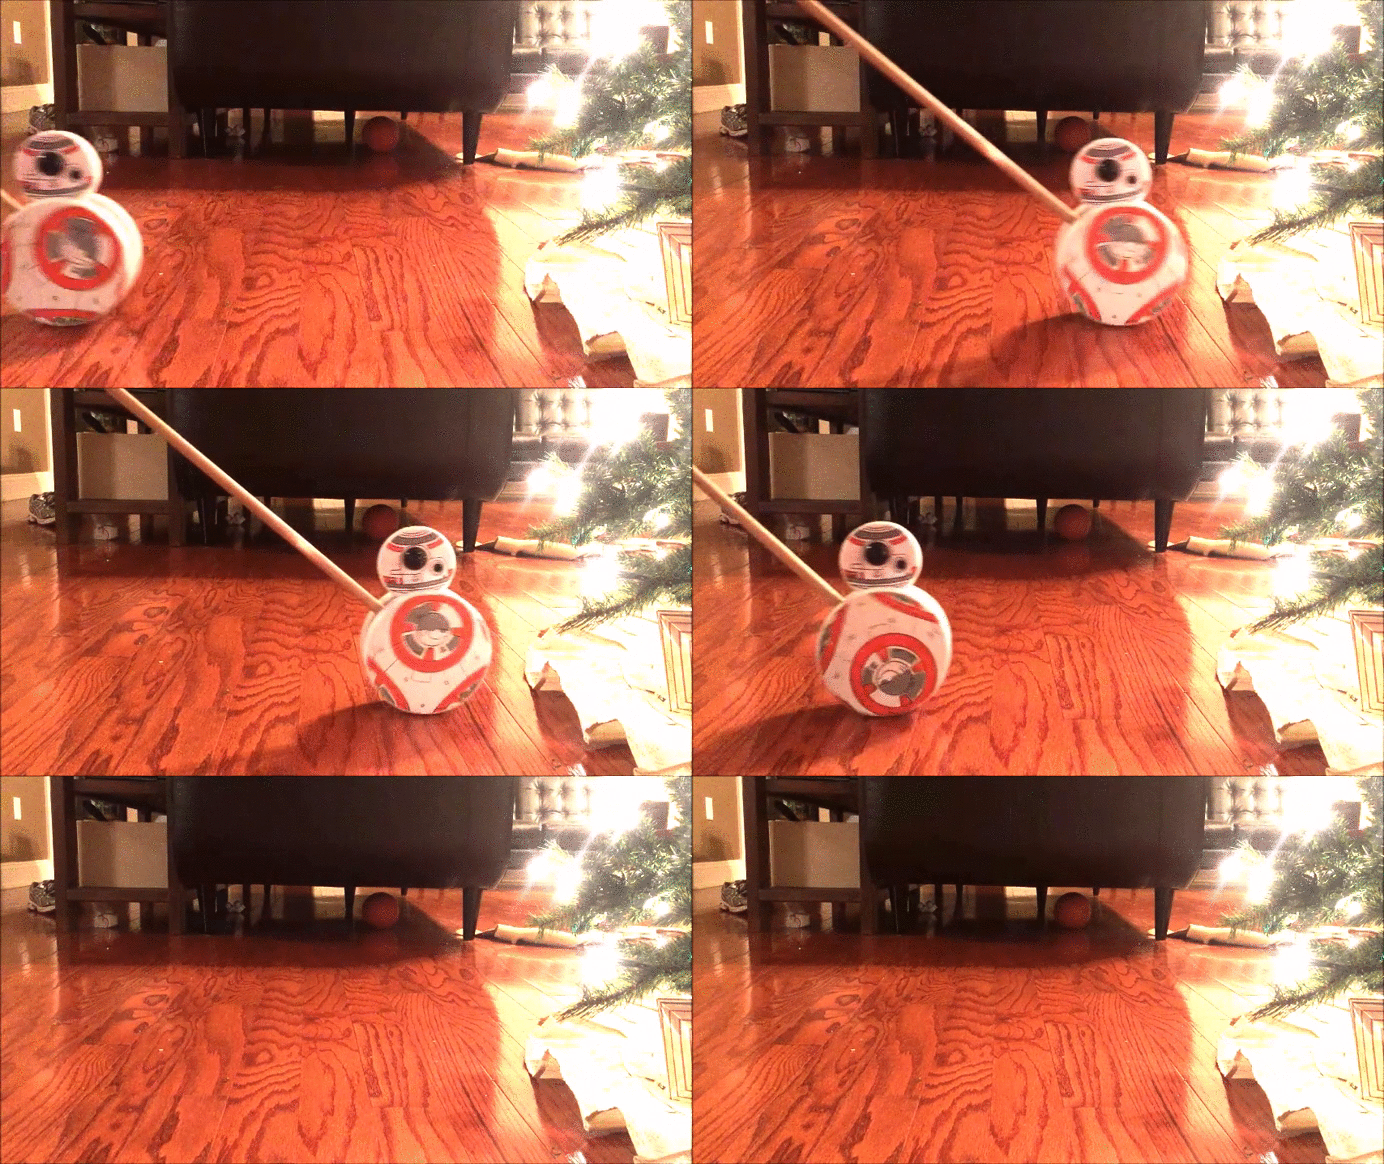
Introduction: DIY BB-8 Push Toy Tutorial
Hi, I'm Ashley and I'm a Star Wars geek. I enjoy combining Star Wars with woodworking (see TIE Fighter Bookshelf). Today, I'm sharing how to build a wooden BB-8 Push toy. This would be a cute homemade gift for the little Star Wars fan in your life.
Tools and Supplies
The following items are the tools and supplies you'll need to build the BB-8 push toy.
(affilate links)
Tools
- Something to cut circles with (I used my trim router with a circle jig)
- Orbital Sander
- Handsaw
- Drill
- 1/2" Forstner bit
- 9/16" Forstner bit
- 1/16" Drill bit
- Router with 1/4" roundover bit
- Printer
- Paint brush
Supplies
- Scrap wood (1x8 - 24")
- 1/2" Wooden dowel rod (48" long)
- 1" Dowel cap for a 1/2" dowel
- 1" Split ball
- 1/16" wooden dowel (2)
- Wood glue
- Triple Thick Gloss Glaze
- Mod Podge Photo Transfer Medium
- Mod Podge Dimensional Magic
- Spray primer
- Acrylic Paints (black, white, orange, gray)
- Black marker
- BB-8 Coloring page (page 2, print 2 copies at 125%)
Step 1: Cut Out Four Circles
Cut 4 circles from your scrap piece of lumber. You will need two 6" circles and two 3.5" circles.
I used a 3.5" hole saw to cut out my circles. I don't recommend this method. However if you do decide to use a hole saw, please handle with care. For the larger 6" circles, I used my trim router equipped with a circle jig. I own a Rockler circle jig. It's not compatible with my Makita trim router out of the box. I just needed to make a quick mod to make it work.
Step 2: Drill Holes for the Axel and Body
- Find the center of the 6" circles. Drill a 1/2" wide hole no more than 1/2" deep at the center point of each large circle.
- Find the center on one of the 3.5" circles. Drill a 9/16" hole through the entire circle.
- On each 3.5" circle drill a 1/2" deep hole with the 1/2" bit. This will hold BB-8's head.
- Find the 3.5" circle with a hole for the axle. Drill another 1/2" deep hole with the 1/2" bit 45 degrees from the hole for BB-8's head. This will hold the toy handlel.
- Find the 3.5" circle with one hole. Drill two 1/16" holes on the opposite end of the existing hole for BB-8's antennas.
Step 3: Round Over the Circle Edges
Round over the edges of each circle with a 1/4" roundover router bit.
Step 4: Paint BB-8's Body
- Sand the surface of each circle.
- Prime each circle with white spray primer.
Instead of freehand drawing BB-8's pattern onto the circles, I cheated. I found an activity pack that contained several coloring book pages from The Force Awakens one of which is BB-8 (it's on page 2). Print two copies enlarged at 125%.
I used Mod Podge Photo Transfer Medium to transfer the coloring page outline onto the circles. Follow the instructions here on how to use it. Now here's where I made a really awful mistake. I ran out of normal copy paper, but I had some colored copy paper. I mistakenly believed that the medium would only transfer my laser printer toner ink, but it also transferred pigments in the paper. Oops!
Once the photo transfer is complete, fill in BB-8's colors. Be careful to stay between the lines. I used a black marker to touch up in areas where I painted over the line.
Paint the 1" split ball black, the 1/2" dowel cap orange, and 1/16" dowels gray.
Apply your favorite sealer to protect the paint.
Step 5: Add a Layer of Dimension
Once the paint has dried, coat the 1" split ball with triple thick gloss glaze. Cover the small black dot on BB-8's head with a few drops of the Mod Podge Dimensional Glaze. The glazes give BB-8's eyes a glass-like look.
Step 6: Assemble the Toy
With wood glue and clamps, assemble BB-8.
Start with gluing in dowel in one of the 6" circles. Once the glue has tried, thread the 3.5" axel circle and glue the dowel to the remaining 6" circle.
Attach BB-8's head and handle with glue as well.
Step 7: Enjoy!
If you build the push toy, please leave a comment below or tag me on Instagram @handmadewithashley or Twitter @handmadewithash. I’d love to see your pictures!


