Introduction: DIY Smart Home Voice Control
If you are not familiar with Amazon Echo — it is a novel personal assistant that responds to your voice commands and, therefore, performs simple tasks tasks for you. For example, it can control your smart lights or turn on and off anything plugged into your Internet-connected power outlets.
In this instructable we will learn how to build a similar system using Raspberry Pi with Prota OS. To get a sense of what you can control with your voice, watch a quick video demonstration above. As you can see it's not a full Amazon Echo replacement because it cannot respond to your questions, however it still does a pretty good job in helping you out with your smart items, especially when you don't have your smartphone or tablet by your side.
Step 1: Check If You Have the Following Items.
This item list is not conclusive. In this instructable we will show how we use voice to control Philips Hue connected lightbulbs and an electric fan plugged into a DIY smart socket.
In theory you can set up personal voice commands to control other devices that are plugged into Raspberry Pi's GPIO pins or even control your web services if you connect them to Raspberry Pi via Prota Web-hook app.
To replicate what's been shown in the demo above, you will need:
- To enable speech recognition:
- Raspberry P
- Webcam with a microphone)
- SD card with Prota OS (download here)
- Speech app for Prota (install via Prota App Repository)
- WLAN dongle
- To remotely control lights
- Philips Hue
- To remotely control an electric fan
- DIY smart sockets (learn how to make here)
- RF antenna module for Raspberry Pi
- Bread board
- ON OFF app (install via Prota App Repository)
Step 2: Set Up Smart RF Sockets.
Please read a full instructable about how to make your own DIY smart electric sockets.
Short version:
- Install Prota OS on Raspberry Pi
- Connect RF module to Raspberry Pi using a bread board
- In your browser go to http://myprota.me
- Find and open App Repository
- Find and install ON OFF app (just click install)
- Go back to shell and open ON OFF app
- Click to add new RF socket
- Long press a physical button on your smart socket to activate the discovery mode
- Once the socket is discovered (LED stops flashing), click remember in the ON OFF app.
Step 3: Plug in Your Webcam and WLAN Dongle.
Once you finish setting up smart sockets, plug in remaining parts: webcam and WLAN dongle (you'll need this for wireless Internet connection).
Step 4: Once Everything Is Connected and Raspberry Pi Is Up and Running, Go to Http://myprota.me.
Step 5: Go to App Repository and Install Speech, Hue and ON OFF Apps.
Step 6: Go Back to Shell and Then Go to Ambience App.
This is where you'll set your keywords and voice control rules. Click on + icon to add a new rule.
Step 7: Let's Set Up a Command for Turning Lights on and Off.
First select the Speech app as your sensor and Philips Hue app as your actuator.
Step 8: Choose That If Specific Phrase Is Recognized, Philips Hue Should Be Turned On.
Step 9: Click on the Green Tick Sign to Confirm Your Sensor, Then Click Funnel Sign to Set Up Your Phrase.
Step 10: Enter What Keyword Should Your Phrase Contain and Click the Tick Sign Again.
Step 11: Review Your Rule and Click on the Green Tick Sign Again.
Step 12: Name and Save Your Rule.
Step 13: Repeat the Process to Set Up Other Keywords and Rules. This One for Example Turns the Electric Fan Off.
That's it!
Hope it works well for you. Enjoy!
You like our projects? Make your own!
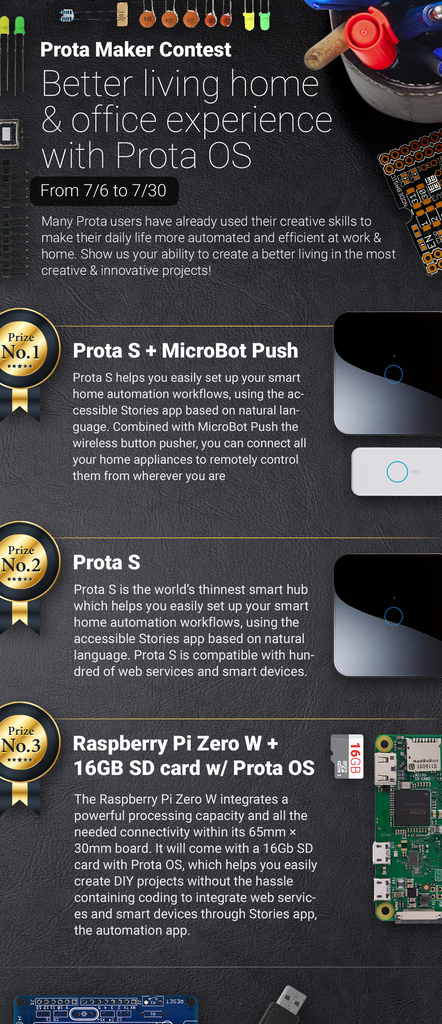
We are currently (and until July 30) running a maker contest. Show us the creative projects you can do with Prota OS and win awesome prizes!
More info here - https://support.prota.info/hc/en-us/community/top...


