Introduction: How to Design a Bansuri (Indian Flute) Using SelfCAD


Learn How to Design a Bansuri (Indian Flute) Using SelfCAD with the help of this article
Step 1:
How to Design a Bansuri (Indian Flute) Using SelfCAD
The bansuri, a traditional Indian flute made from bamboo, has been a cornerstone of Indian classical music for centuries, known for its soothing, melodic tones. Designing such a culturally significant instrument may seem like a task reserved for expert artisans, but with modern 3D modeling tools like SelfCAD, even novices can explore the intricacies of bansuri design. SelfCAD’s intuitive interface and powerful features make it possible to digitally create a bansuri, balancing aesthetic accuracy with acoustic functionality. This article will walk through the steps of designing a bansuri using SelfCAD, covering everything from the flute’s cylindrical body and precise hole placement to ensuring the design captures the essence of this timeless instrument
To access the interactive tutorial to this article, check out https://www.selfcad.com/tutorials/59x2d1w4t4v4z3d16105md4xg3h4r3d4w4r1
Once you’ve launched the editor;
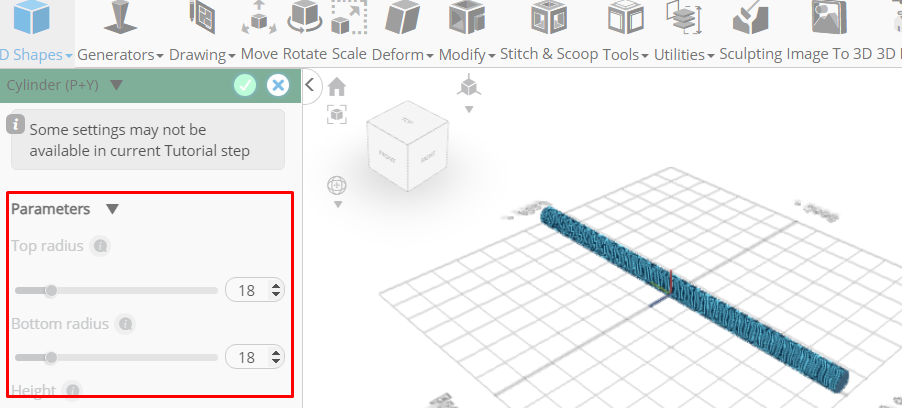
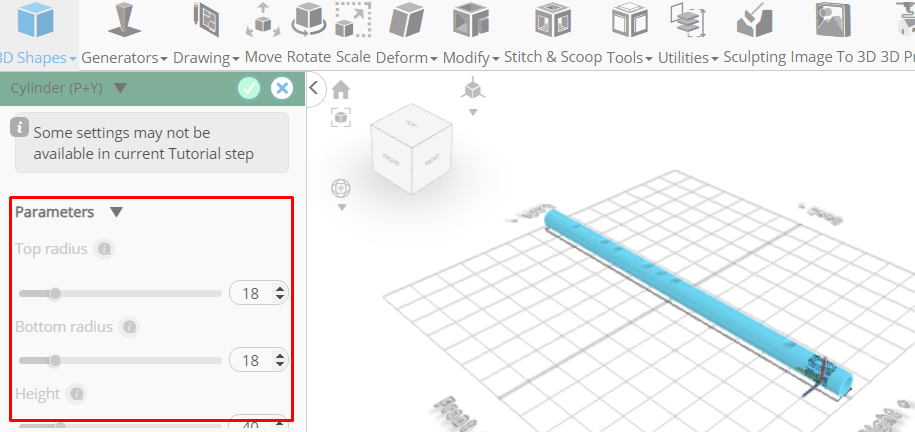
From the 3D Shapes category on the toolbar choose Cylinder; Set top radius to 18, bottom radius to 18, height to 680, horizontal segments to 64, vertical segments to 64, rotation z to 90
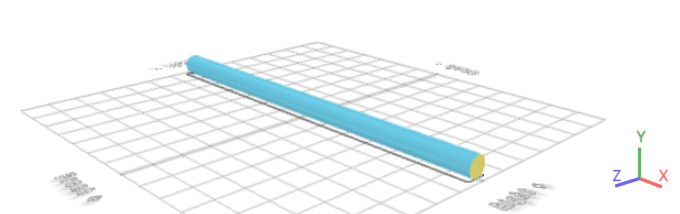
Click to finalize cylinder
Click to activate polygon selection; Click on highlighted region to select it
Click delete button to delete selected object
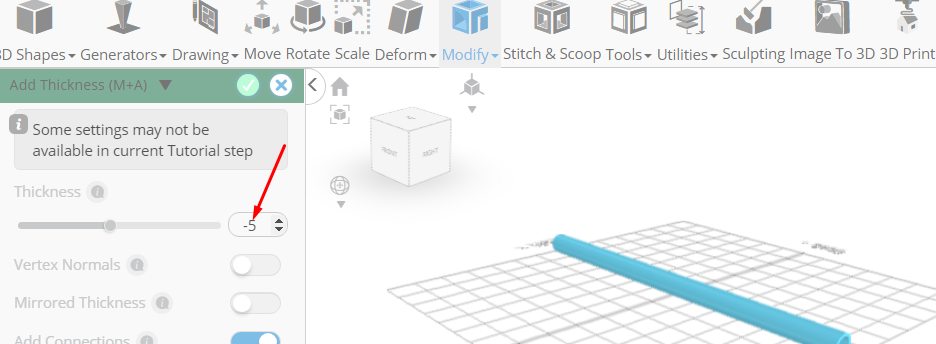
From the modify category on the toolbar choose add thickness; Set thickness to -5
Click to finalize add thickness
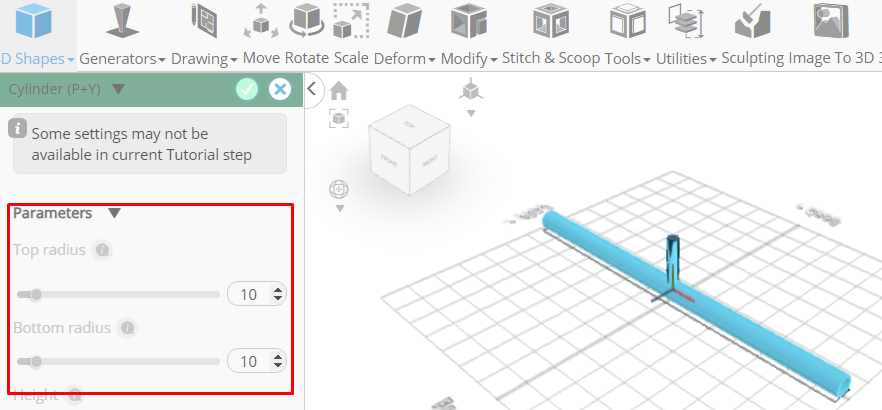
From the 3D Shapes category on the toolbar choose Cylinder; Set top radius to 10, bottom radius to 10, vertical segments to 32, position y to 18
Click to finalize cylinder
Click move on the toolbar; Click copy button to copy selected objects, Set x to -33

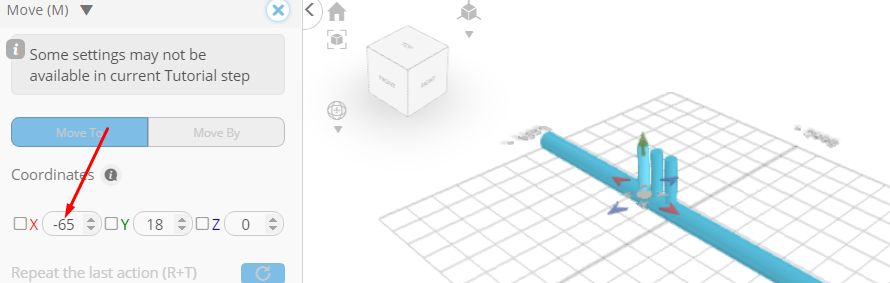
Click copy button to copy selected objects, Set x to -65
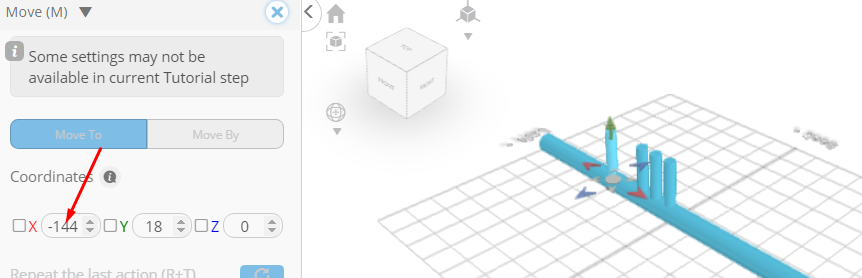
Click copy button to copy selected objects, Set x to -144
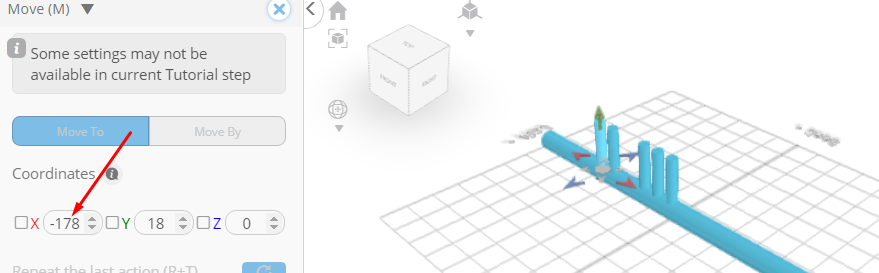
Click copy button to copy selected objects, Set x to -178
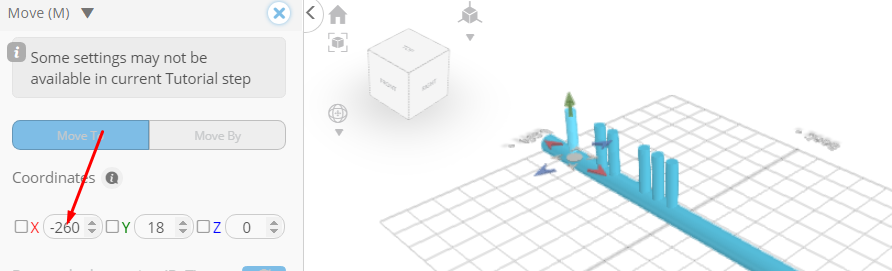
Click copy button to copy selected objects, Set x to -260
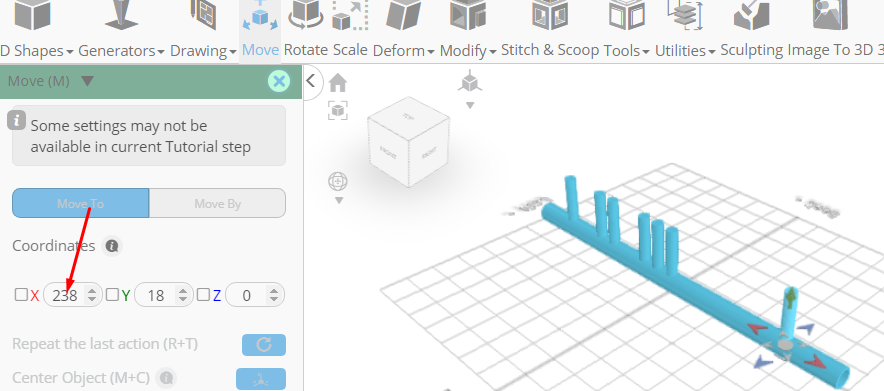
Click copy button to copy selected objects, Set x to 238
Click ‘x’ to close transformation panel
Click highlighted part on selection cube to turn off region selection
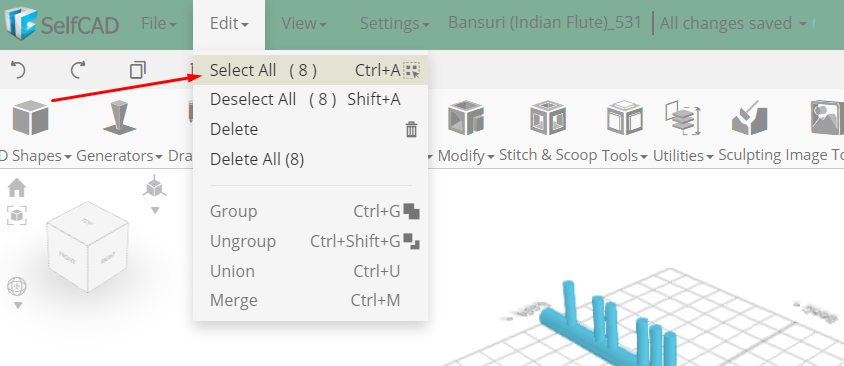
From the edit menu on the top toolbar click select all
Click stitch & scoop on the toolbar; From the tool panel choose difference, Choose mesh 8, 8(1), 8(2), 8(3), 8(4), 8(5), 8(6) to subtract

Click to finalize difference
From the 3D Shapes category on the toolbar choose Cylinder; Set top radius to 18, bottom radius to 18, height to 40, vertical segments to 64, position x to 300, rotation z to 90
Click to finalize cylinder
Click isolate button to isolate selected objects
Click to activate polygon selection; Click on highlighted region to select it
Click delete button to delete selected object
From the modify category on the toolbar choose add thickness; Set thickness to 1
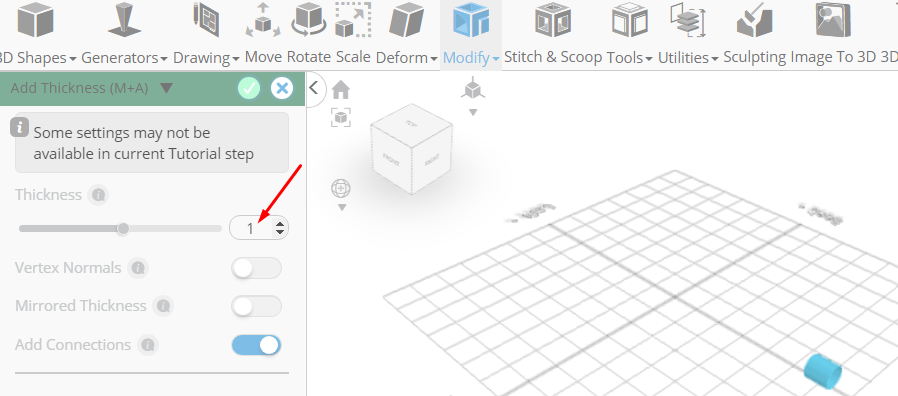
Click to finalize add thickness
Click show button to show difference 1
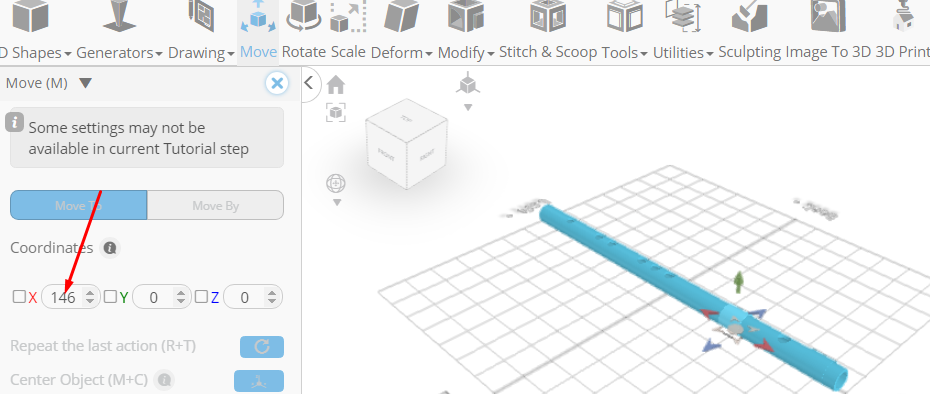
Click move on the toolbar; Click copy button to copy selected objects, Set x to 146
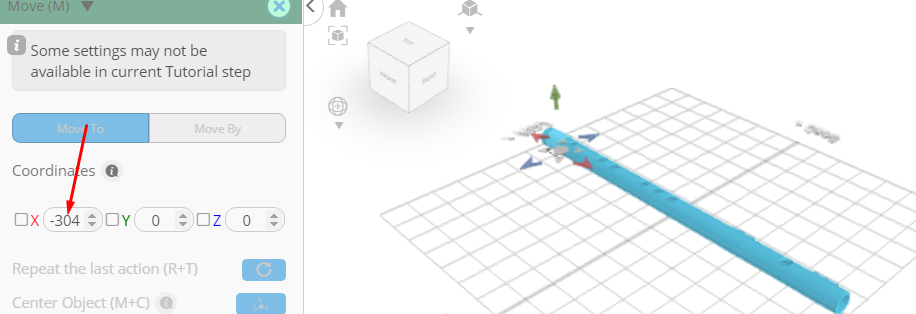
Click copy button to copy selected objects, Set x to -304
Click highlighted part on selection cube to turn off region selection
Click on difference 1 to select it. Click on mesh 12(2) to deselect
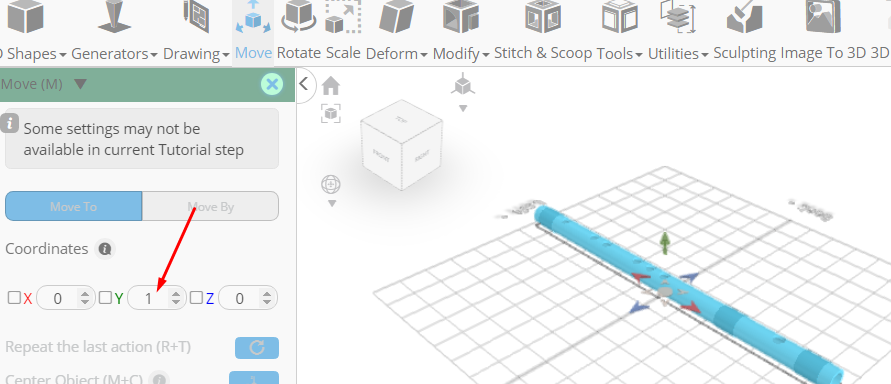
Click move on the toolbar, Set y to 1
Click ‘x’ to close transformation panel
As you continue honing your design skills, remember that SelfCAD offers a wealth of resources to support your learning journey. To deepen your understanding and explore more advanced features, consider checking out the interactive tutorials (https://www.selfcad.com/tutorials) available on the SelfCAD website. The tutorials page provides a treasure trove of guides, tips, and tricks that cater to designers of all levels.
More structured learning experience can also be accessed at the SelfCAD Academy (https://www.selfcad.com/academy/curriculum/), https://www.youtube.com/@3dmodeling101, and 3D Modeling 101 series (https://www.youtube.com/playlist?list=PL74nFNT8yS9DcE1UlUUdiR1wFGv9DDfTB). This comprehensive resource offers in-depth courses taught by industry experts, allowing you to master the intricacies of SelfCAD at your own pace.