

Introduction: How to Design a Rocket Launcher Tripod Using 3D CAD Software


Learn How to Design a Rocket Launcher Tripod Using 3D CAD Software with the help of this article
Step 1:
How to Design a Rocket Launcher Tripod Using 3D CAD Software
In the world of engineering and design, precision and stability are crucial when creating support structures for heavy-duty equipment. A rocket launcher tripod serves as a stable platform for launching projectiles, ensuring accuracy and safety. Instead of relying on pre-made designs, SelfCAD, a powerful 3D modeling software, offers the tools necessary to create a custom tripod tailored to specific needs. This article will guide you through the step-by-step process of designing a rocket launcher tripod using SelfCAD, exploring key modeling techniques, structural considerations, and design optimizations. Whether you're a hobbyist, student, or aspiring engineer, this guide will help you develop a sturdy and efficient tripod ready for practical application or prototyping.
To access the interactive tutorial to this article, check out; https://www.selfcad.com/tutorials/346u2o182b674u6e4y273x2t1t4m1f5f3b3m
From the 3D Shapes category on the toolbar choose cylinder; Set top radius to 10.8, Bottom radius to 10.8, height to 70

Tick the checkmark to finalize cylinder
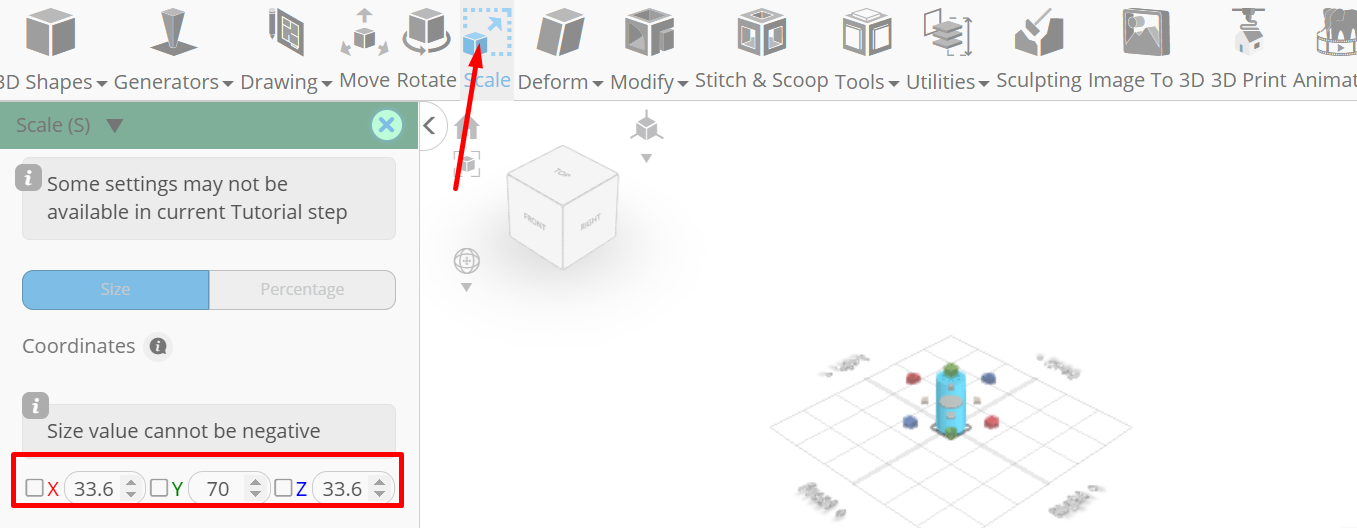
Click copy button to copy selected objects; Click scale on the toolbar; Set x to 33.6, z to 33.6
Click ‘x’ to close transformation panel
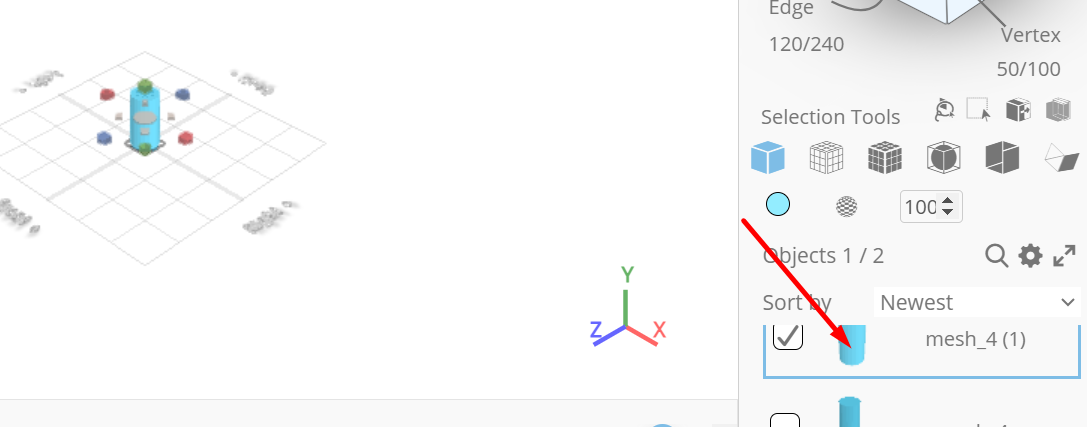
Change object name from mesh 4 to inner and from mesh 4(1) to outer, Click on inner to select it
Click copy button to copy selected objects
Click on inner(1) to deselect it
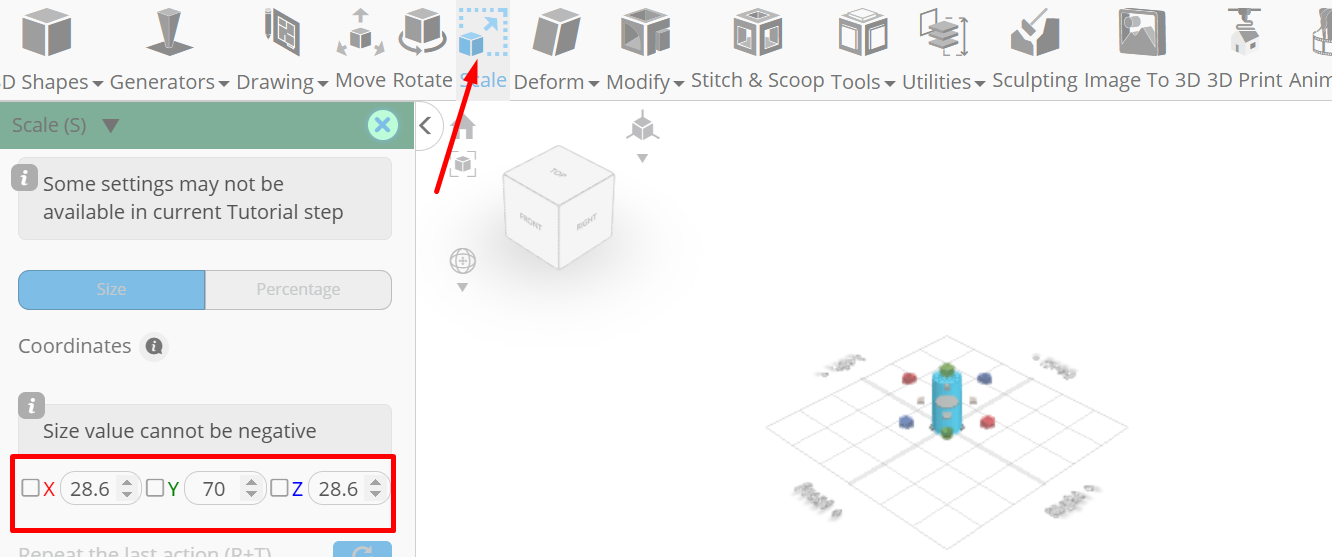
Click scale on the toolbar; Set x to 28.6, z to 28.6
Click ‘x’ to close transformation panel
Click on inner(1) to select it
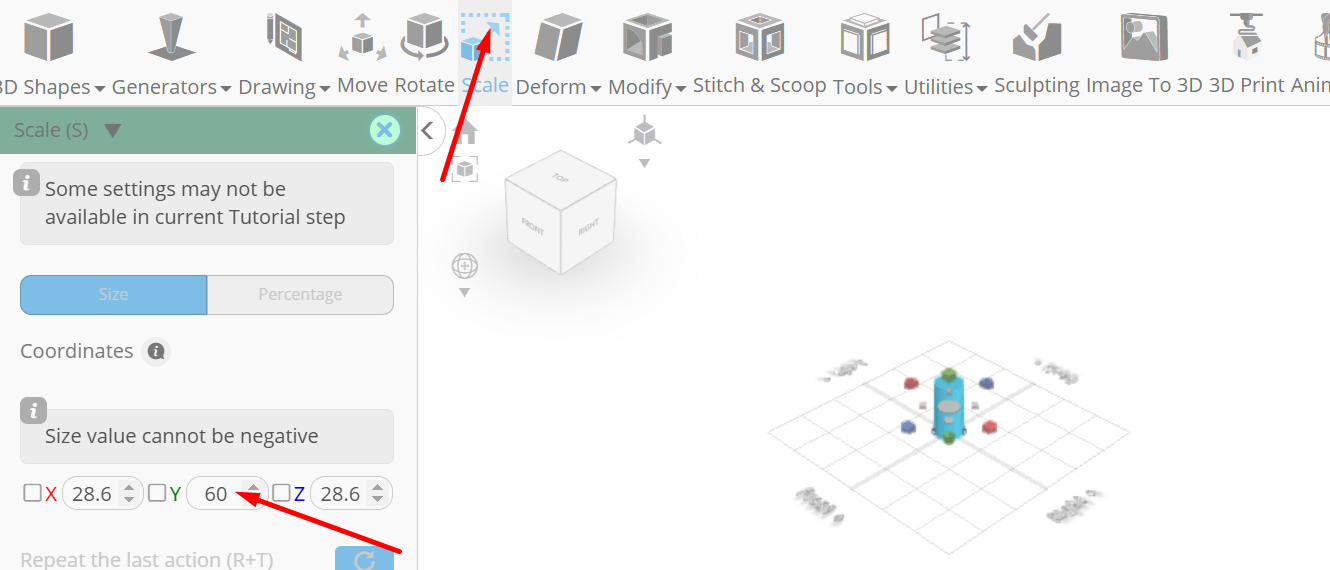
Click scale on the toolbar; Set y to 60
Click ‘x’ to close transformation panel
Click stitch & scoop on the toolbar; from the tool panel choose difference, Choose inner(1) to subtract.
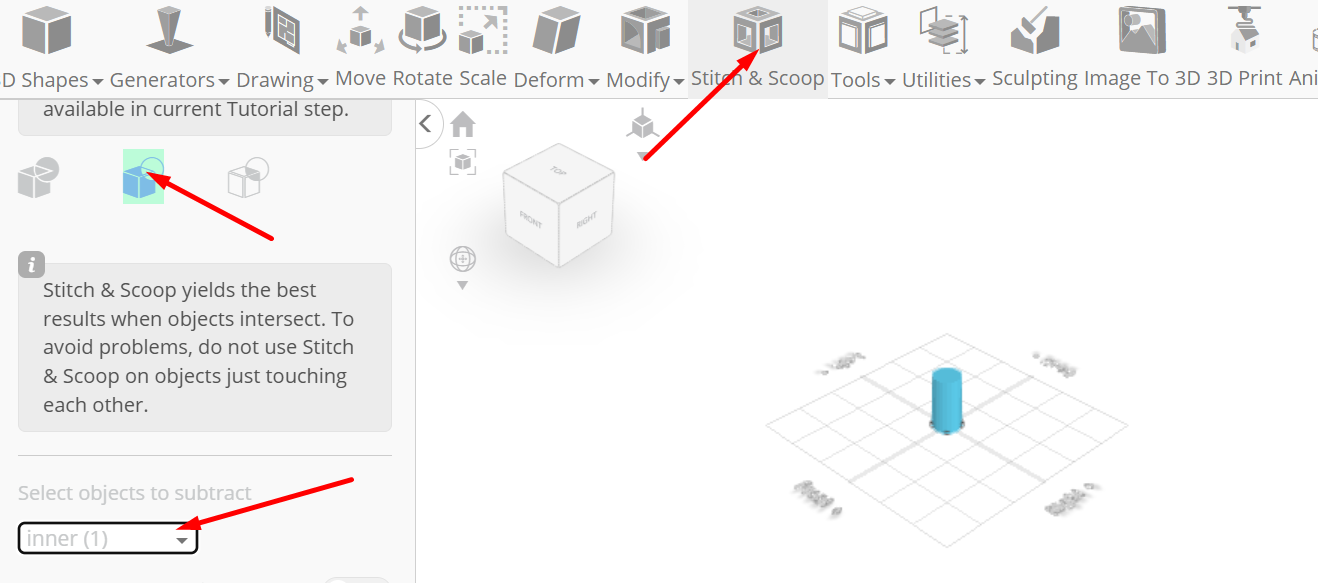
Tick the checkmark to finalize difference
Click rotate on the toolbar; Set z to -40.
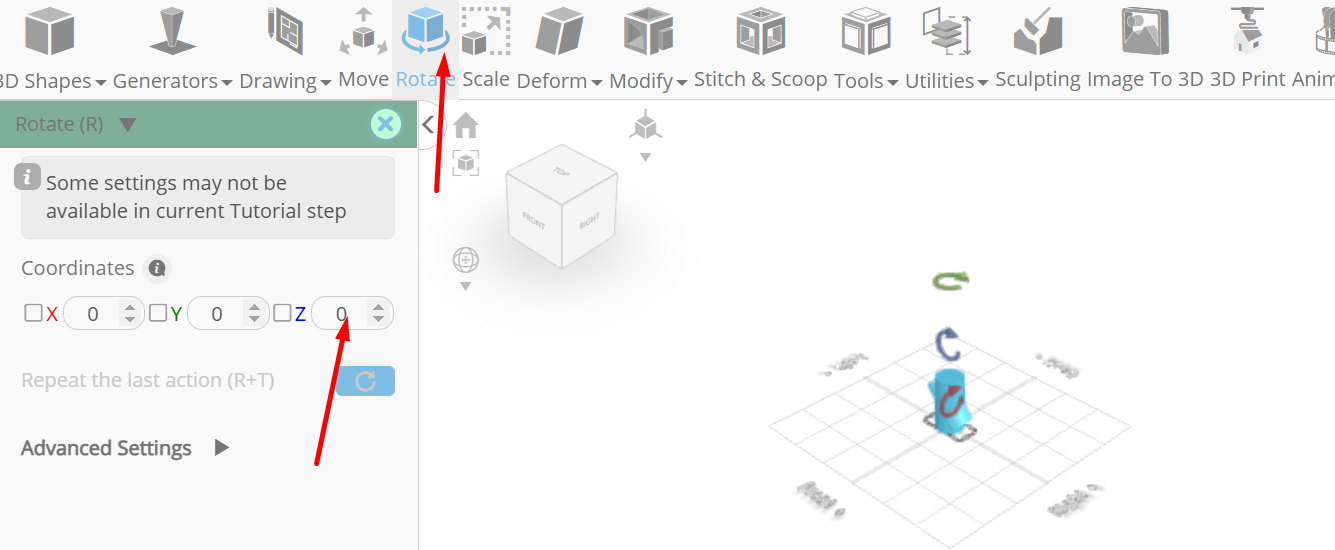
Click ‘x’ to close transformation panel
Click move on the toolbar; Set x to 20, y to 0
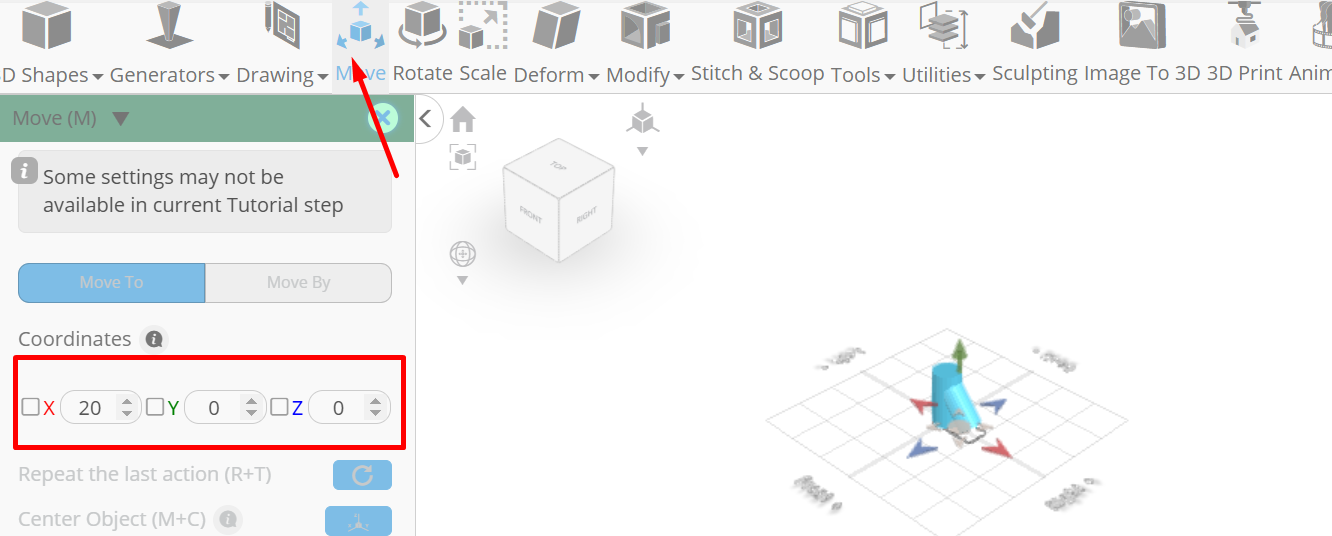
Click ‘x’ to close transformation panel
From the tools category on the toolbar choose copy offsets; Set operation to pivot, y to 120, amount of copies to 2, Click copy button to create copies.

Click ‘x’ to close copy offsets panel
Click on outer, inner to select
Click stitch & scoop on the toolbar; from the tool panel choose difference, choose inner to subtract.
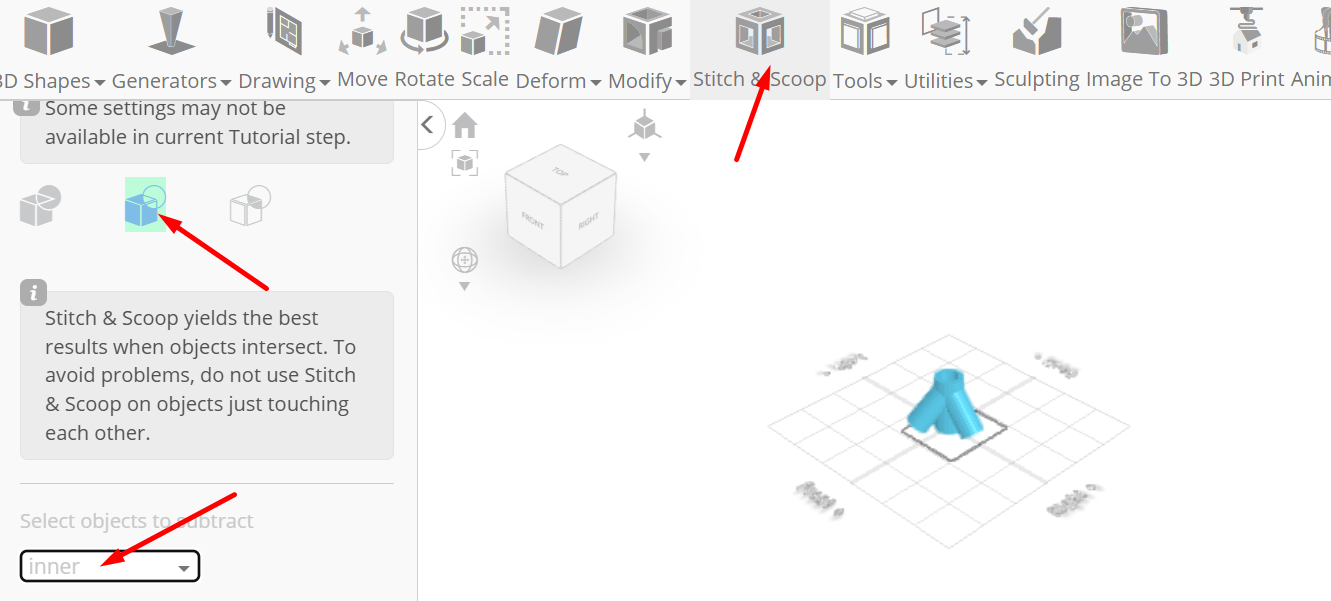
Tick the checkmark to finalize difference
As you continue honing your design skills, remember that SelfCAD offers a wealth of resources to support your learning journey. To deepen your understanding and explore more advanced features, consider checking out the interactive tutorials (https://www.selfcad.com/tutorials) available on the SelfCAD website. The tutorials page provides a treasure trove of guides, tips, and tricks that cater to designers of all levels.
More structured learning experience can also be accessed at the SelfCAD Academy (https://www.selfcad.com/academy/curriculum/), https://www.youtube.com/@3dmodeling101, and 3D Modeling 101 series (https://www.youtube.com/playlist?list=PL74nFNT8yS9DcE1UlUUdiR1wFGv9DDfTB). This comprehensive resource offers in-depth courses taught by industry experts, allowing you to master the intricacies of SelfCAD at your own pace
