Introduction: How to Design the Lego Rocket Using SelfCAD


Learn How to Design The Lego Rocket Using SelfCAD with the help of this article
Step 1:
How to Design The Lego Rocket Using SelfCAD
One of the most exciting challenges for LEGO enthusiasts is building intricate models like rockets, which blend imagination with real-world physics. While traditional LEGO sets are assembled piece by piece in the physical world, 3D modeling software like SelfCAD opens up new possibilities for designing custom LEGO creations digitally. SelfCAD's intuitive interface allows users to construct complex models with precision and creativity. In this article, we will walk through the process of designing a LEGO rocket using SelfCAD. Whether you're a LEGO fan or a digital design enthusiast, this guide will help you bring your ideas to life in 3D.
To access the interactive tutorial to this article, check out https://www.selfcad.com/tutorials/5lc2s323h01r5u1f1y2s2i643d536u6614m5
Once you’ve launched the editor;
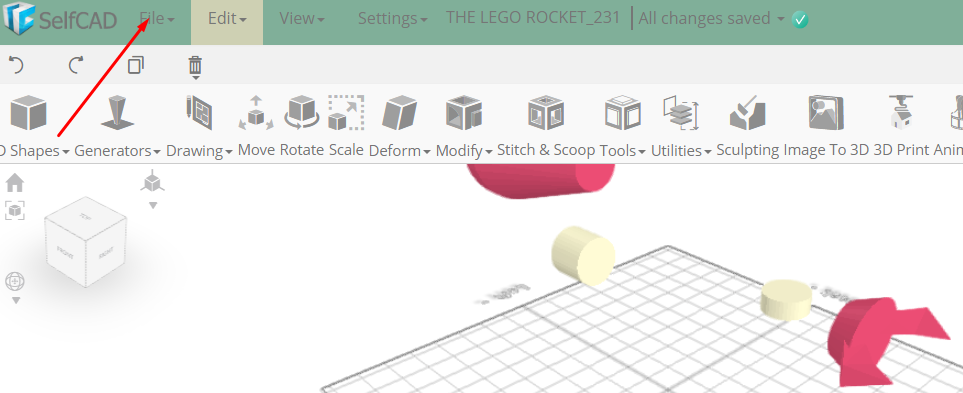
From the file menu on the top toolbar click import; Click load object from tutorial button to add object
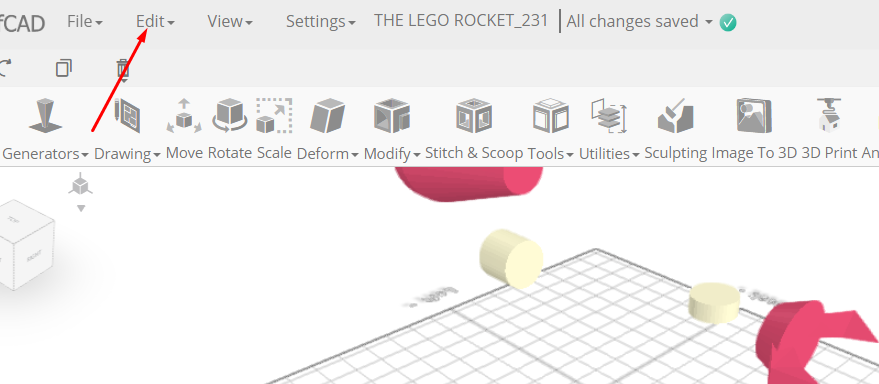
From the edit menu on the top toolbar choose ungroup
Click on mesh 234, 234(1), union 1 to deselect
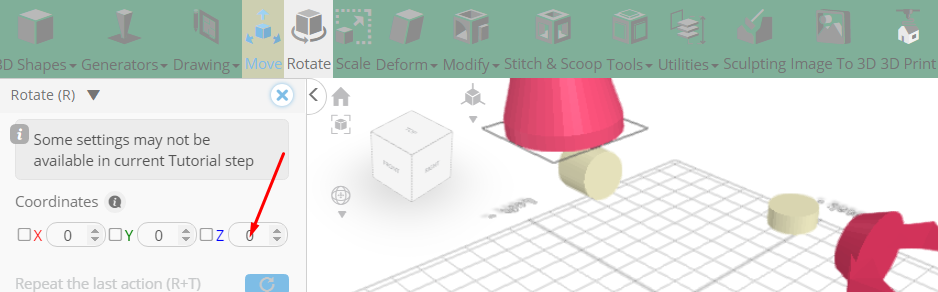
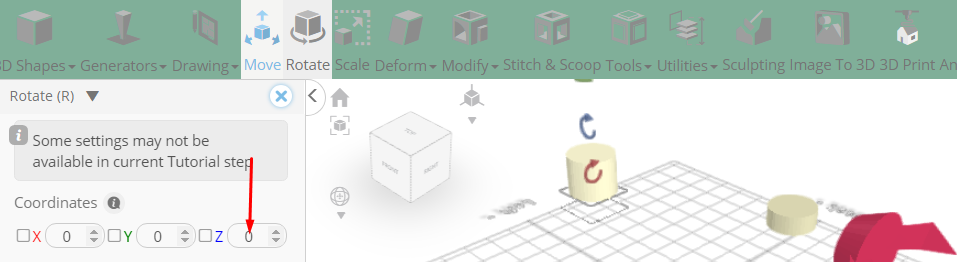
Click rotate on the toolbar; Set z to -90
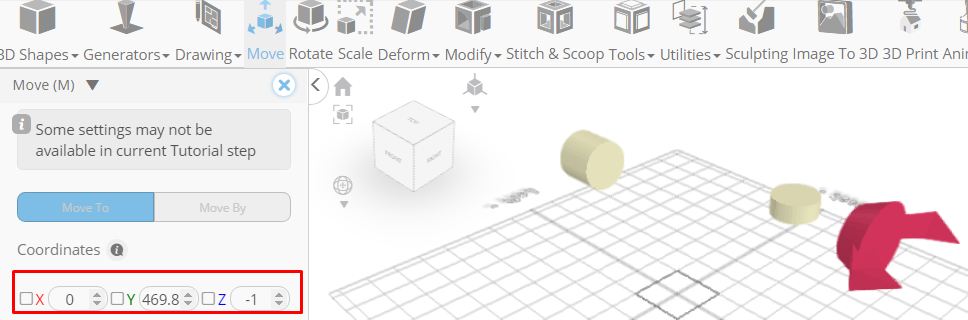
Click move on the toolbar; Set z to -1, x to 0
Click on mesh 234(3) to select
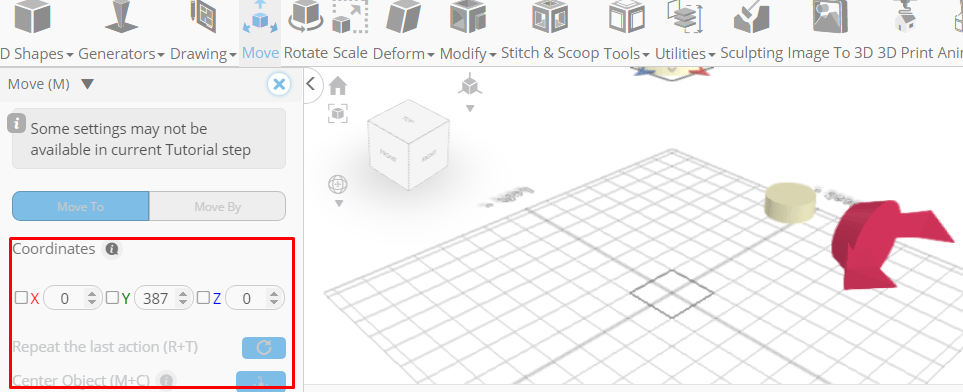
Click rotate on the toolbar; Click on mesh 165 to deselect, Set z to -270
Click move on the toolbar; Click center object button to center object, Set x to 0, y to 387, z to 0
Click on mesh 234(3) to select, Click on mesh 234(3) to deselect
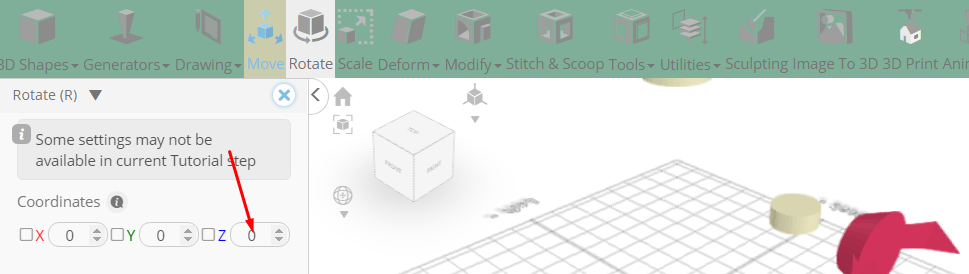
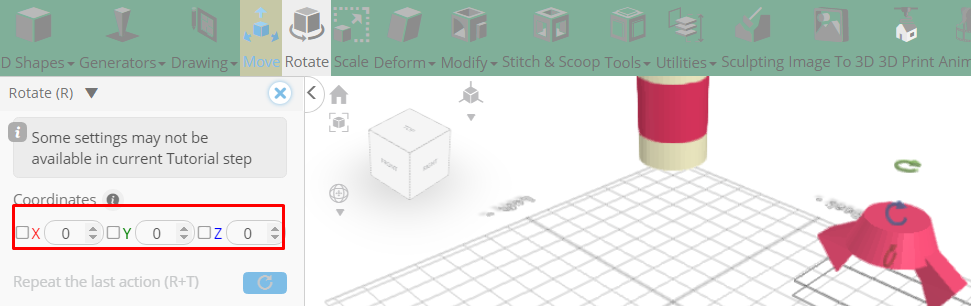
Click rotate on the toolbar; Set z to 270
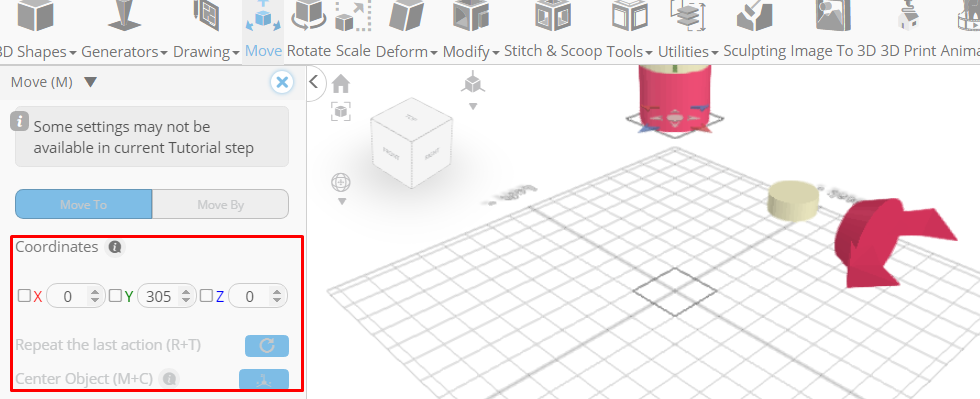
Click move on the toolbar; Click center object button to center object, Set x to 0, y to 305, z to 0
Click on mesh 234(3) to select, Click on mesh 234(3) to deselect
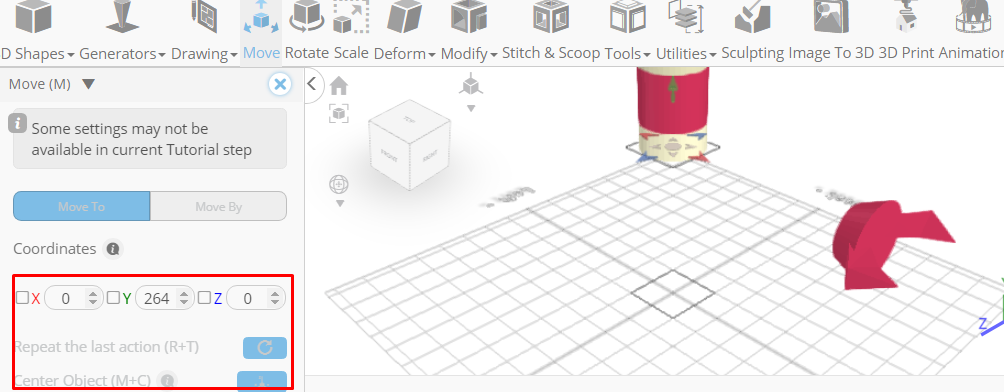
Click center object button to center object, Set x to 0, y to 264, z to 0 using highlighted gizmo
Click on union 1 to select it, Click on mesh 234 to deselect
Click rotate on the toolbar; Set y to 270, x to -270
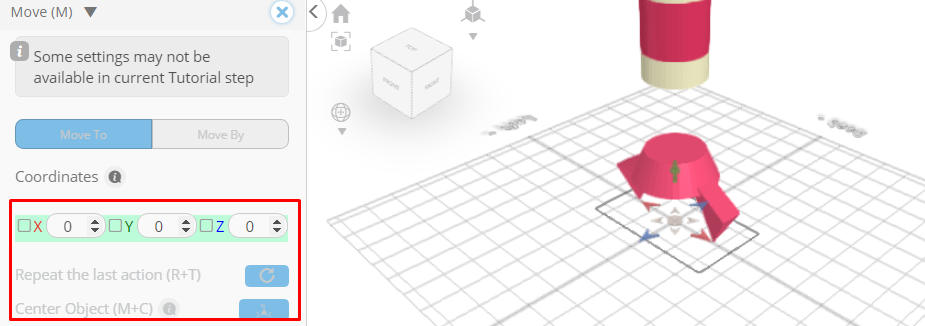
Click move on the toolbar; Click center object button to center object, Set x to 0, y to 123, z to 0
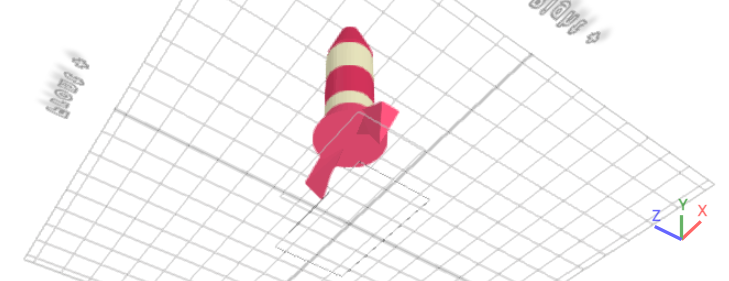
Click ‘x’ to close transformation panel
As you continue honing your design skills, remember that SelfCAD offers a wealth of resources to support your learning journey. To deepen your understanding and explore more advanced features, consider checking out the interactive tutorials (https://www.selfcad.com/tutorials) available on the SelfCAD website. The tutorials page provides a treasure trove of guides, tips, and tricks that cater to designers of all levels.
More structured learning experience can also be accessed at the SelfCAD Academy (https://www.selfcad.com/academy/curriculum/), https://www.youtube.com/@3dmodeling101, and 3D Modeling 101 series (https://www.youtube.com/playlist?list=PL74nFNT8yS9DcE1UlUUdiR1wFGv9DDfTB). This comprehensive resource offers in-depth courses taught by industry experts, allowing you to master the intricacies of SelfCAD at your own pace.