Introduction: How to Make an Animated Gif in Photoshop (and Print a Flipbook!)
I wanted to make an animated gif of a mechanical leg system that I designed (and will be publishing an instructable about soon), and I thought I'd post a quick tutorial on how to make animated gifs in photoshop.
Step 1: Assemble your layers
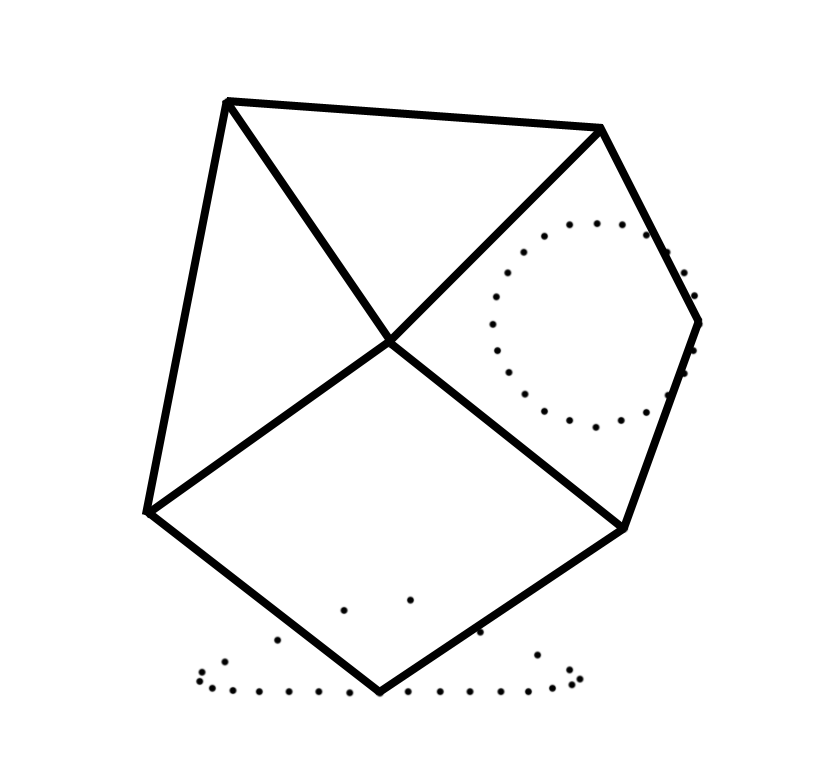
Using layers, generate all the frames of your animation. You do not need to make a separate layer for each frame, just make sure that some combination of your available layers will generate each of the frames of your animation the way you like. For instance, in my animation I used the same background image of a white background with black dots to indicate the path of certain parts of the linkage, but I drew in the black lines representing the mechanism in their own separate layers (fig 1).
Step 2: Isolate the first frame
Use the hide tool (the eye to the left of each layer) to hide all the layers that are not involved in your first frame (fig 2). Once your first frame looks right go to Window>>Animation. You will see a screen like fig 3. The image in the first frame of the animation will be the same image that you are currently viewing on the main canvas.
Step 3: Add more frames
Click on the duplicate frame button (looks like page that is starting to turn, see the note on fig 3). Select this new frame and then edit your canvas so that it correctly displays your second frame (fig 4). Repeat the duplicate frame and edit steps until you have all the frames you need (fig 5).
Step 4: Select frame speed
Use the drop down tab on each frame to select the length of time for each frame to be displayed.
Step 5: Export
Go to File>>Save for Web and Devices... set the type to GIF (see fig 6) and hit Save.
Here is my finished gif:

I also made a little flipbook of my gif by opening the gif file in preview and then printing out the frames.
Step 1: Assemble your layers
Using layers, generate all the frames of your animation. You do not need to make a separate layer for each frame, just make sure that some combination of your available layers will generate each of the frames of your animation the way you like. For instance, in my animation I used the same background image of a white background with black dots to indicate the path of certain parts of the linkage, but I drew in the black lines representing the mechanism in their own separate layers (fig 1).
Step 2: Isolate the first frame
Use the hide tool (the eye to the left of each layer) to hide all the layers that are not involved in your first frame (fig 2). Once your first frame looks right go to Window>>Animation. You will see a screen like fig 3. The image in the first frame of the animation will be the same image that you are currently viewing on the main canvas.
Step 3: Add more frames
Click on the duplicate frame button (looks like page that is starting to turn, see the note on fig 3). Select this new frame and then edit your canvas so that it correctly displays your second frame (fig 4). Repeat the duplicate frame and edit steps until you have all the frames you need (fig 5).
Step 4: Select frame speed
Use the drop down tab on each frame to select the length of time for each frame to be displayed.
Step 5: Export
Go to File>>Save for Web and Devices... set the type to GIF (see fig 6) and hit Save.
Here is my finished gif:

I also made a little flipbook of my gif by opening the gif file in preview and then printing out the frames.


