

Introduction: Make Your Own Burning Book Night Light!


*Better demonstration coming!*
Hello fellow makers,
In this Instructable I will be showing you how I made a rechargeable "burning book" night light that uses no complicated microcontrollers or expensive addressable LED's but simply some cheap off the shelf flickering 5mm LED's and a magnetic reed switch to keep all the trickery hidden.
![]()
If you enjoy my Instructables and would like to support my future projects you can Buy Me A Coffee.
Step 1: Supplies:

To make your own you will need the following:


- Old used/discarded hardcover book
You can find a huge selection of used books on Amazon for a fraction of the new price.
- 5mm Flickering "candle" LED
Amazon - 5mm Round Top Yellow/Gold Candle/Flicker LED
- 5mm Warm white LED
- Wood glue
Amazon - Titebond III Wood Glue 4 oz
- Access to a 3D printer
Amazon - Creality Ender 3 3D Printer
- Lithium-Ion pouch cell
Amazon - 505060 3.7v Lithium pouch cell
- TP4056 Li-ion charging board
Amazon - TP4056 Lithium Battery Charger Module
- Reed switch
Amazon - Reed Switch Normally Open
- NPN transistor
Amazon - Adafruit NPN Bipolar Transistors (PN2222)
- 47K0 Resistor
Amazon - 47k Ohm Resistors, 1/2 W, 5% (Pack of 100)
- 47E0 Resistor
Amazon - 47 Ohm Resistors, 1/2 W, 5% (Pack of 10)
- Small thin neodymium magnet
Amazon - 10mmx1mm Tiny Round Neodymium Magnets
*As an Amazon Associate I receive a small percentage from sales made through provided links at no cost to you, this helps fund future projects.
Step 2: Preparing Our Book:


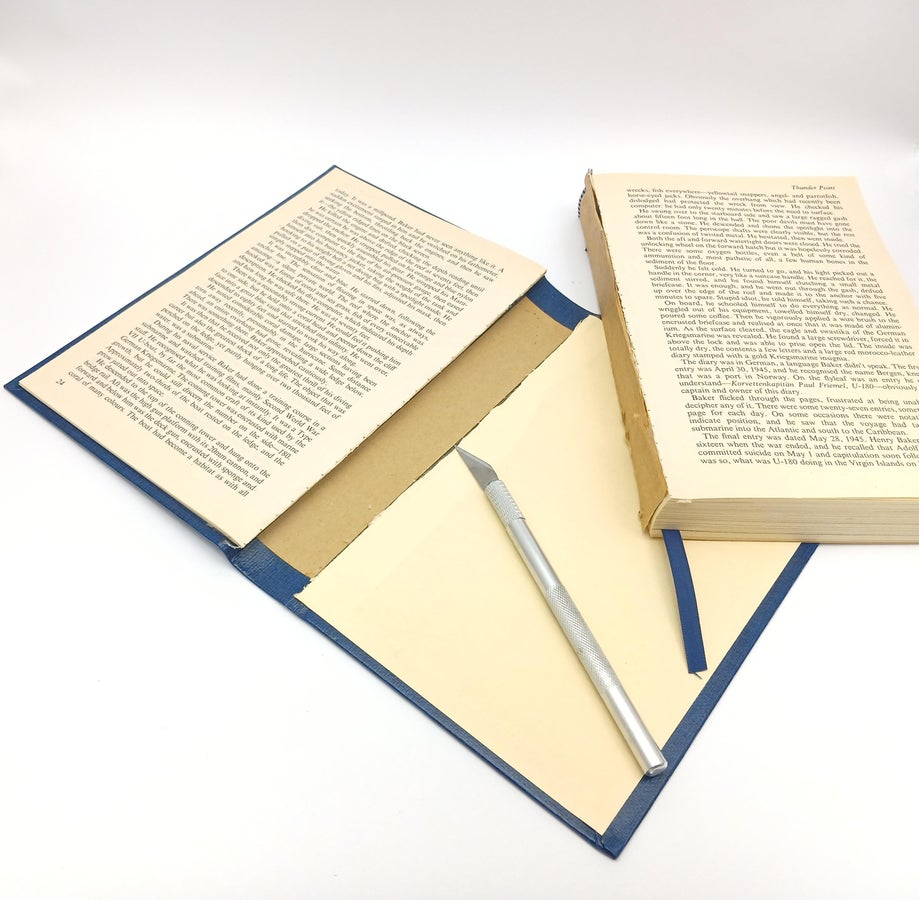
First we will need to separate the hardcover from the pages to make cutting the void later easier.
I start by opening up the book about 20 to 30 pages depending on the thickness of your magnet, then using a sharp hobby knife carefully cut down the centre hinge in order to separate these first pages from the rest of the book pages.

Next we flip the book over and cut down the back hinge in order to separate the pages from the hardcover.
You should now be left with 30'ish pages attached to the front pastedown in the hardcover and the rest of the bookblock separate.
Step 3: 3D Printed Inner: Optional

Now this step is completely optional but does make assembly much easier as all of your components are neatly held together and protected by the 3D print.

I designed a simple two compartment enclosure using Fusion 360, the larger compartment houses the battery and acts as a reflector for the four 5mm LED's. The smaller compartment is for the TP4056 battery charger and switch components.
As this enclosure will never be exposed to excessive heat or direct sunlight we can print it using normal PLA filament.
Book Light
Attachments

Step 4: The Electronics:


Now it's time to wire up the electronics of the lamp.

I started by wiring up the four LED's in parallel (two candle and two warm white), I used the holes in the enclosure to hold the LED's in place while soldering to ensure the spacing is correct.
Make sure to match the polarity of the LED's when connecting them in parallel.

Next starting on the TP4056 board as a base I assembled the electronics "dead bug style" following the diagram above, note that your NPN transistor pinout might be different.

The USB-C port will be soldered onto the positive and negative wires of the TP4056 IN later when we assemble it into the enclosure.
Step 5: Assembly: Part 1

With the electronics sorted we can start work on assembling the book.
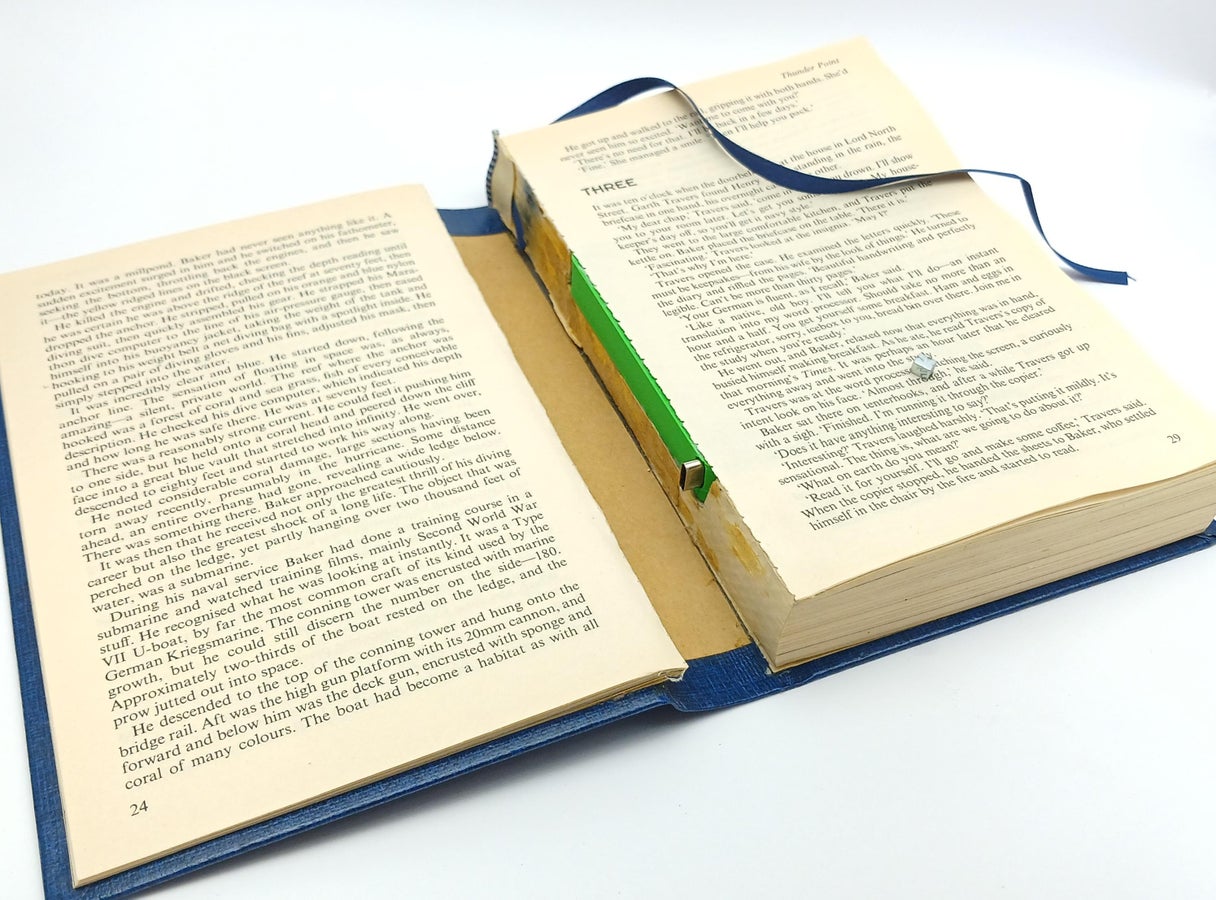
In order to cut out a void I take the 3D printed enclosure and place it against the hinge edge on the top of the bookblock, then using a pencil I drew its outline onto the page. We will then use this line to cut out the void.

You can use a sharp hobby knife to cut out a few pages at a time until your enclosure can sit flush with the bookblock inside of the void. I find a much quicker way to cut away the pages is to simply use a fine wood cutting disk in a Dremel, I simply placed some spring clamps on the edges to hold all the pages in place and then cut along the lines.

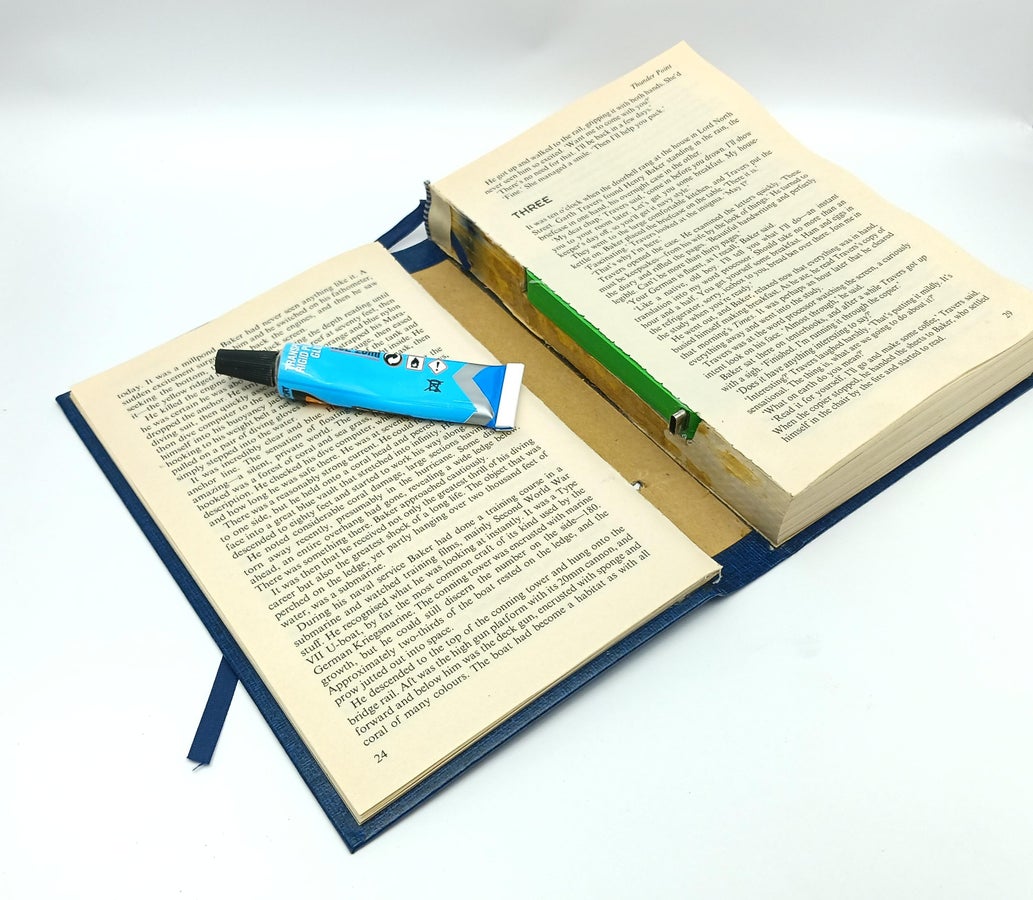
To secure the enclosure inside of the book and to reinforce the cut pages I smeared some wood glue into the void making sure to work some of the glue into the walls.
I then positioned the printed enclosure inside of the void and pressed everything together by placing a glass pane on the book (I placed a plastic sheet between the glass and book to prevent the two sticking together) weighed down by an iron ingot.

Allow the glue to dry overnight before removing.

Step 6: Assembly: Part 2

Next we can install the electronics inside of the book.
Before placing the electronics into the enclosure I masked around the large enclosure cavity with painters tape and sprayed the inside as well as the top of the battery (if it's not already silver) with some chrome paint, this will act as a reflector for the LED's.

Once the paint has dried I positioned the electronics in the enclosure before doing some final soldering to attach the USB-C port and the battery. The battery and PCB was secured using some VHB double sided tape.
Your lamp should immediately start working when you solder on the battery as the reed switch will be open, if it is not working plug in your charger to activate the batteries BMS board.
Once you've confirmed that the circuit is working you can cover up the electronics by gluing a single book page over the top of the enclosure,looking back I would suggest adding a piece of transparency over the enclosure before gluing the page on top to provide some protection to the page if you accidentally press on it.

I weighed everything down again with the pane of glass to prevent the pages from wrinkling whilst the glue dries.

Step 7: Assembly: Part 3

Our bookblock is now complete and it's time to reunite it with the cover.
Using PVA wood glue again we can glue the bookblock back into place on the back pastedown making sure to align it in its original position.
With the bookblock in position we can mark the position of the USB-C port on the inside of the spine and then using your hobby knife cut out a slot for the port to fit through, I first made a slit then pushed the port through and cut away the excess from the outside to prevent accidentally making it too big.


Next we need to attach the magnet that will interact with the reed switch in order to switch the lamp on and off.
To mark the position of the magnet on the opposite page I started by placing the magnet on the reed switch (the reed switch is magnetic so the magnet should snap into place where it is supposed to be over the switch) I then placed a drop of water on the magnet and closed the book in order to mark the exact position on the opposite page.

Flip over a single page and then using the hobby knife cut out a cavity for the magnet around the mark, the one page will be used again to hide the magnet.

I placed the magnet inside of the cavity and then filled over it with some 2-part CA glue to secure it in place and then you can glue the leftover page over the magnet to hide it.

Finally you can repair the hinge by using a thin bead of your preferred glue along the edge, I used some clear contact adhesive.
Once the glue has dried you can charge up your burning book lamp and give it a test!
Step 8: Enjoy!
I hope you guys find this Instructable useful and if you have any questions please feel free to leave me a message or comment bellow.

Thank you for taking the time to read through my project and as always..
Happy making!
- - -

Second Prize in the
Books and Bookshelves Contest


