Introduction: Make Your Own Smart Pocket Watch!
Hello fellow makers,
Continuing on my quest to reuse all of the broken pocket watches I bought from marketplace in this Instructable I will be making a stylish "smart" pocket watch from one of the old watch cases and a dirt cheap smart watch.
You can find some of my projects using the pocket watches here and here.


This project turned out to be much simpler than I initially thought and if you like me don't wear watches this is a great way to get all the features of a smart watch but clipped onto your jeans.
If you enjoy my Instructables and would like to support my future projects you can Buy Me A Coffee.
Step 1: What You Will Need:
To make your own smart pocket watch you will need the following:

- An old broken pocket watch or an inexpensive modern reproduction like linked below
Amazon - Vintage Mechanical Pocket Watch
- A smart watch, I chose the ridiculously cheap D18 watch that has all the features I was looking for and is very easy to disassemble.
- Access to a 3D printer, preferably a resin printer as there are some small parts needed in the build.
- SIP connector.
Amazon - 10pcs 2.54mm 40Pin Round Female Socket Pin Header Strip
- 2 part CA glue.
Amazon - MITREAPEL CA Glue with Activator
- A USB cable, by using a USB A to USB A cable you get more use out of a single cable.
Amazon - USB to USB Cable 3 ft, USB 3.0 Male to Male Type A to Type A
- Black EVA foam.
Amazon - Black EVA Foam Sheets, 30 Pack, 2mm Thick
- Lens tinting spray OR clear coat with a few drops of black paint/tint
Amazon - Rust-Oleum 253256 Specialty Lens Tint Spray Paint
*As an Amazon Associate I receive a small percentage from sales made through provided links at no cost to you, this helps fund future projects.
Step 2: Disassemble the Smart Watch:
Now the D18 might not be anywhere near as technologically advanced as an Apple Watch but it sure is easy to reuse in projects like this!
When it comes to disassembly smart electronics it doesn't get simpler than this, first with your hobby knife separate the screen cover from the body by simply unclipping it don't worry there's no sensitive screen cables to be found here. I was careful not to damage the screen cover as I wanted to use it in the pocket watch but it ended up taking up too much space and was discarded.

All of the electronic components can then simply be pulled out of the enclosure, I desoldered the battery first making sure not to short the leads anywhere then the vibration motor next and finally the "blood pressure monitor" sensors, as with most of these cheap smart watches the blood pressure feature is just a hoax and the sensor is simply a green LED with a current limiting resistor and can be discarded.

Step 3: The Donor Pocket Watch:
Now I needed to find a donor watch to salvage.
Rummaging through my box of broken pocket watches I was very glad to find that the innards of the D18 watch fit perfectly inside the most common ~42mm watch bodies, the only problem I encountered is that some watches had a thicker face bezel that got in the way of the screen corners, luckily they can be marked and filed away with a metal file without interfering with the front covers thread.
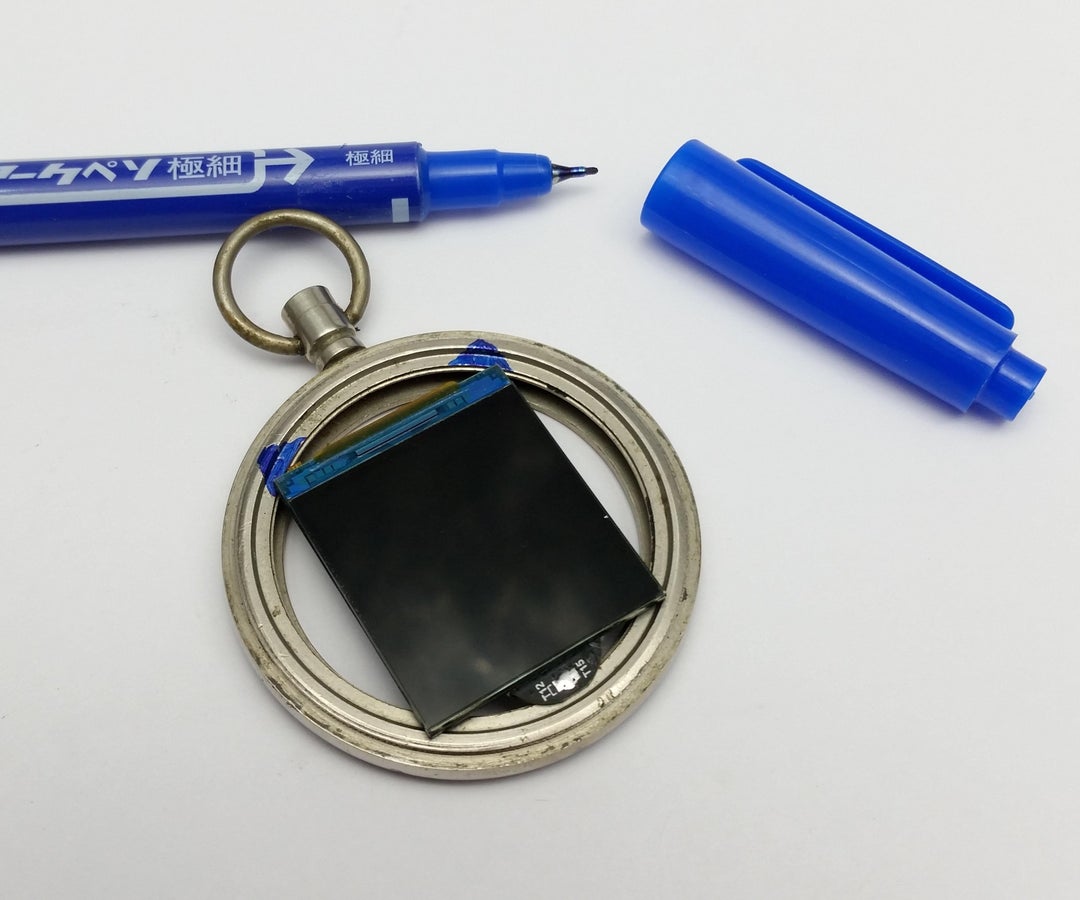
I looked for a watch that had a plastic dome instead of the glass as I wanted to tint it slightly darker and it also gives a bit more interior space compared the the glass covers.
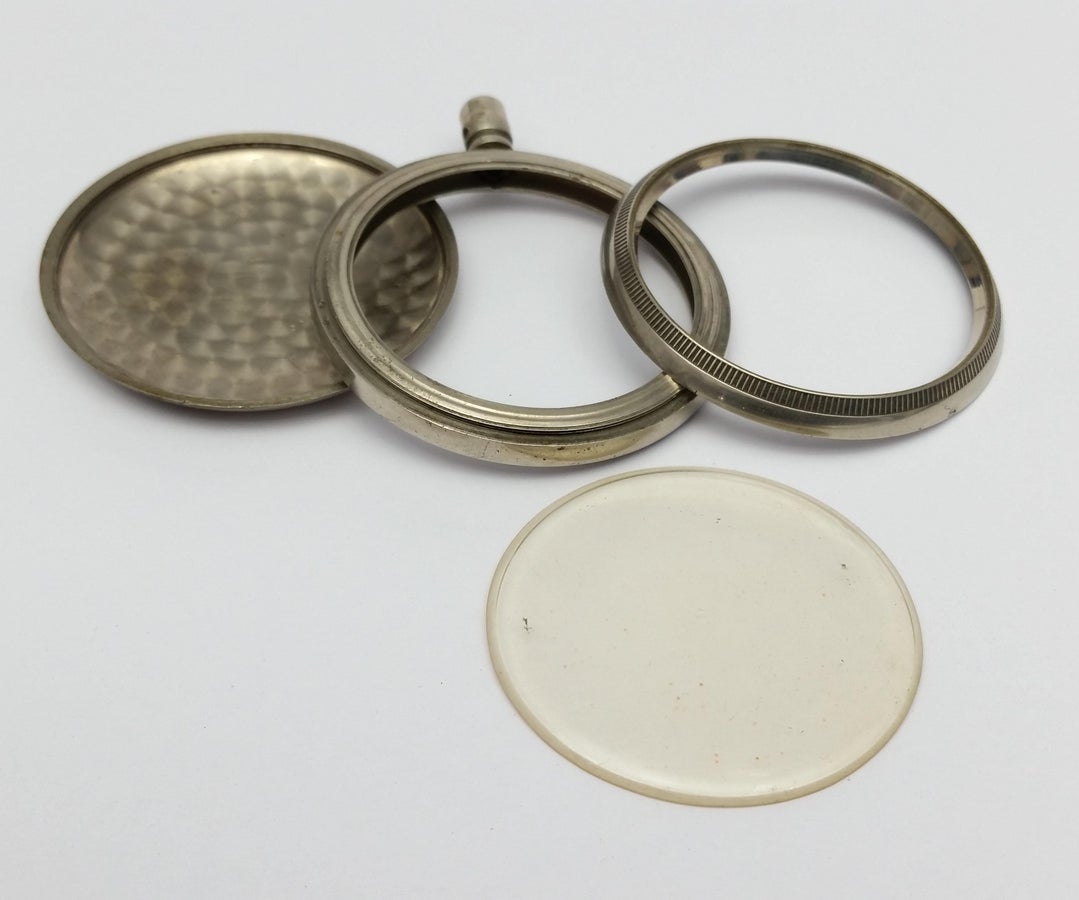
Step 4: 3D Printing the Inner Structure:
There are four printed components we will need for the build, a inner structure to house the screen, a charging port and a charger.

The parts were designed using Fusion 360 as always and I will include the newest version of the design so you can make changes as required.
The inner structure was designed for a 42mm face pocket watch with a thin inner bezel for watches with a thicker bezel you will need the adjust or just remove the retaining ring.
The whole charging setup had me scratching my head for a while as I didn't want to make a hole in the pocket watch as it will ruin the water resistance and also complicate the design.
I ended up deciding to tie the negative/ground terminal to the metal body of the pocket watch which gives us the opportunity to make the crown the positive terminal as it already has a hole into the watch.
Now I just needed to design a charger that will clip over the crown.
I used Pos DIP connectors for all of the connections in the watch as the are easy to use and create a secure connection. The charger presses the USB's negative against the body and a central male positive pin goes into the crown for the positive connection, the head is designed so that no shorts can occur when plugging in the watch and a insulating insert is inserted in the crown for the female positive terminal.
I also made a version of the electronics holder in Tinkercad for easy adaption to fit your needs.
Pocket watch
Smart Pocket Watch
Step 5: Building the Charger:
For the charger we will need the three 3D printer charger components, a piece of 0.7mm copper wire, three Pos DIP connectors and a USB cable that you can dissect.
Starting with the female positive terminal that will go into the crown of the pocket watch, start by removing the plastic from one of the DIP connectors you will notice that on the small printed crown part the hole is bigger on one side insert the connector on this side and tap it in gently, it should be held in place by friction otherwise you can add a bit of CA glue with a needle point being careful not to get any in the connector.
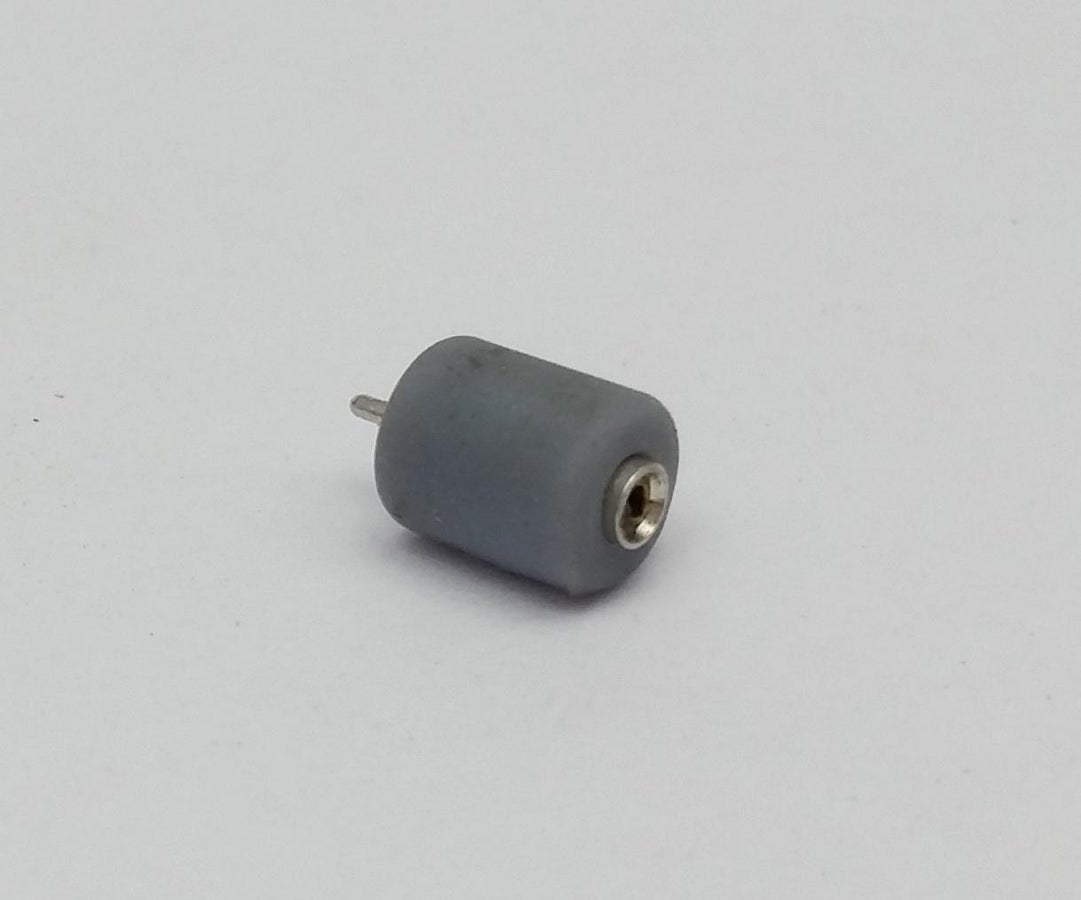
Now we move onto the "U" printed part.
At the rear of the part you will see a square hole with a slot on either side, in the square we will insert one of the DIP connectors until it the plastic cover is flush at the bottom with the printed part as pictured.
Take a piece of 0.7mm bare copper wire (burn off and clean enamel if it's insulated) of around 3cm bend it in the middle to form a U and push the points through the slots next to the square, use a bit of CA glue to glue the wire into the slots on either side of the connector and cut off any excess.


Now for the USB cable we will need the large USB type A side you can go ahead and snip off the opposite side of the cable. Removing the insulation will reveal two or four wires depending on your cable, if it's four we need the black and red and if it's two the negative can sometimes be white instead of black.
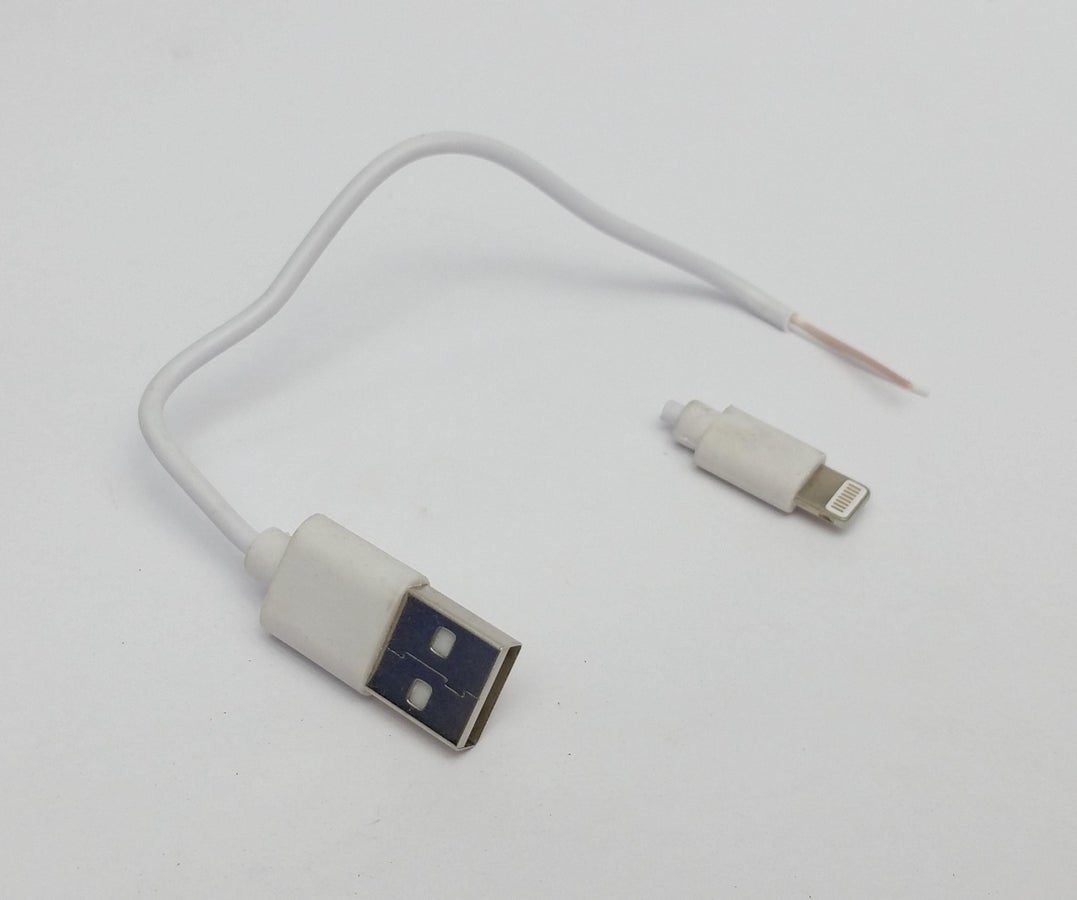
First feed the cable through the domed printed part then solder the negative/black wire to the copper wire and then the positive red wire gets soldered onto the female side of the third and final DIP connector and insulated with some heat shrink or tape.
This can then be pushed into the DIP connector that's in the square.
I added a drop of hotmelt glue onto the connection to provide some support and then screwed the two parts together.
Step 6: Assembling Your Smart Pocket Watch:
Now it's time to start assembling your smart pocket watch.
I started by taking a piece of thin PVA foam and using the electronic holder as a guide cut out a circle with a sharp hobby knife, this will go around the screen and give a nicer finish when looking at the watch face.

Next I re-soldered the battery and vibration motor along with two wires for the charger as pictured.
I removed the original touch sensor spring and soldered a piece of 0.7mm wire in its place.
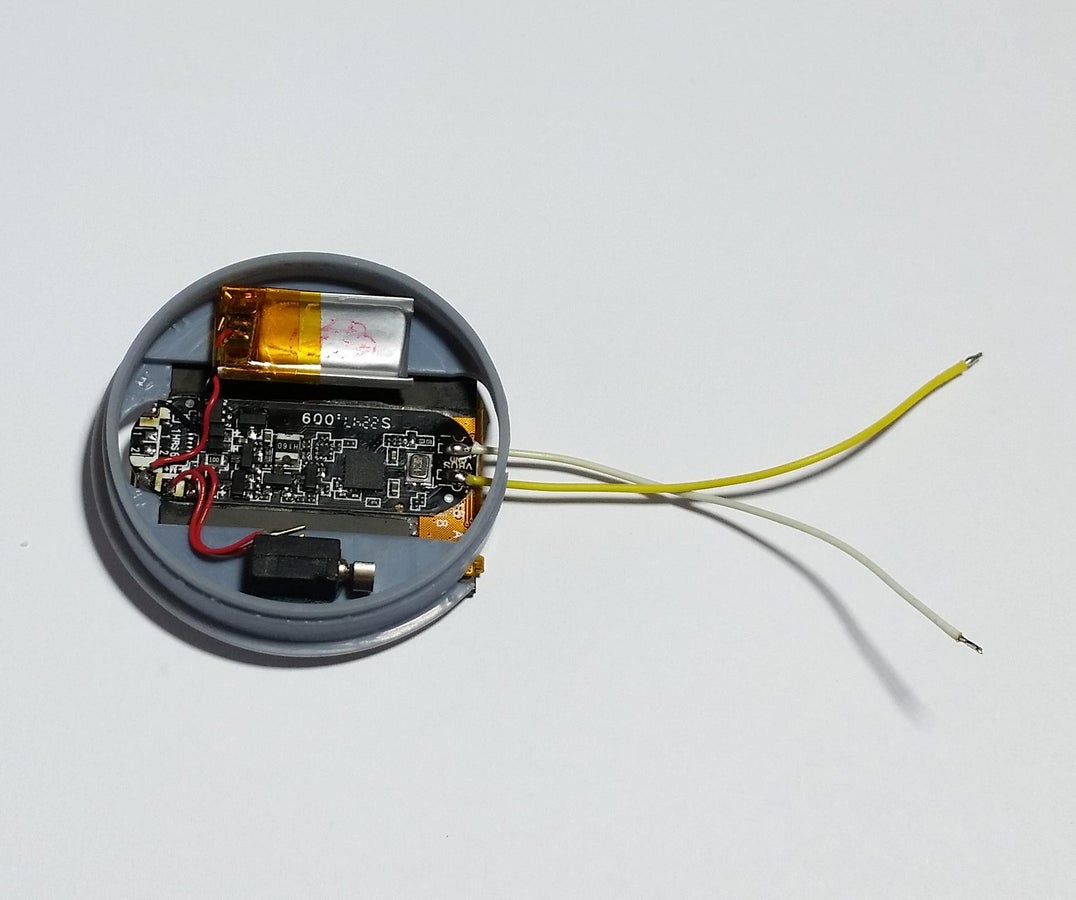
We can now glue the screen in place on the holder and arrange and glue the battery and vibration motor to the back of the holder keeping everything as flat as possible.
The positive wire of the charger can be fed through the crown hole and soldered onto the insulated Pos DIP connector and covered by shrink tubing. The connector can then be pushed into the crown neck.
Next we can solder the negative wire onto the body of the watch where it won't interfere with anything.

You can now push the holder into the watch body and plug in the charger just to test that everything works before gluing it into place.

Next I glued the foam that we cut around the screen to hide everything around the display.

Upon final fitting I noticed that the front cover of the watch catches the two top corners of the screen, to solve this issue I used a deburring tool to cut away some of the inner bevel of the lid until it cleared the screen.

Step 7: The Finishing Touches:
Now onto the last finishing touches.
First we need to tint the original pocket watch lens to hide the screen when off. The easiest way I found for me to do this is to sand the lens with wet 400 grit sandpaper until evenly opaque and then spray it with clear coat with a bit of black paint mixed in. This way I can build up the coats until I get the desired tint.

You can also use window tinting film or even color the inside of the lens with a marker.
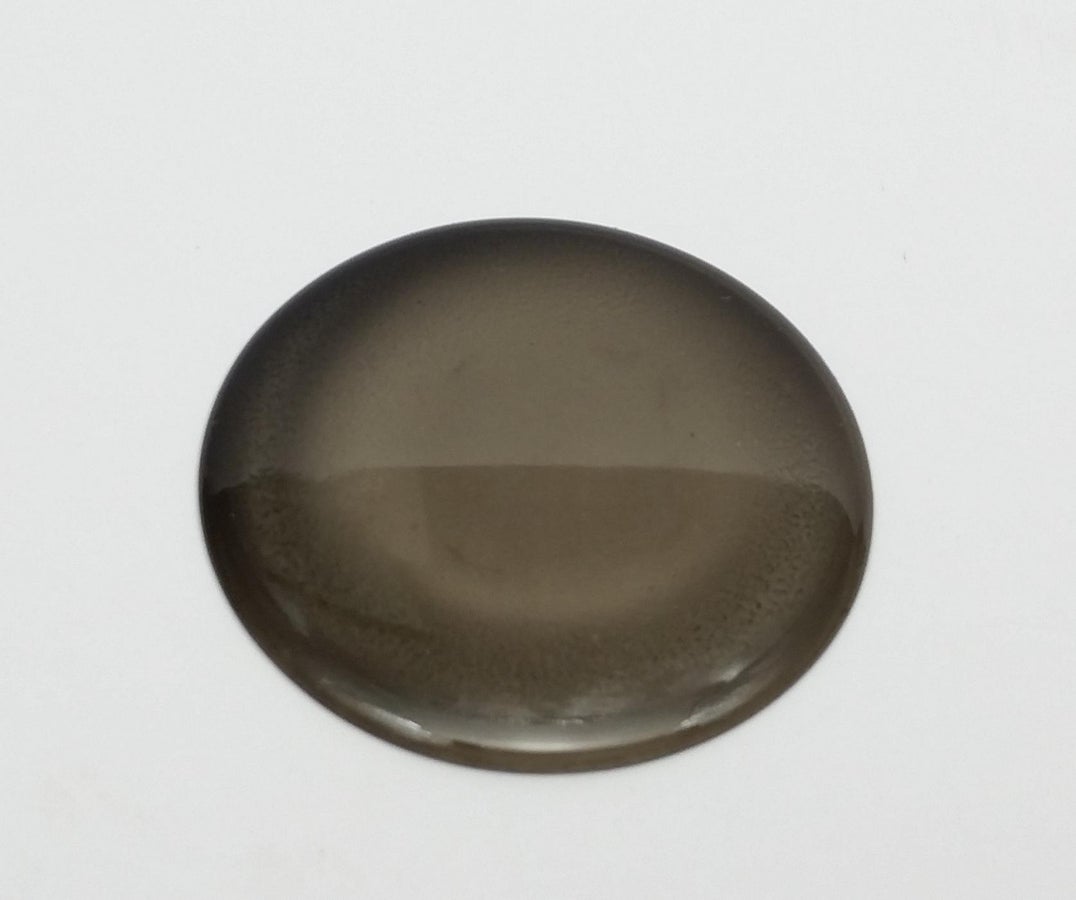
We will need to expose the piece of wire from the touch sensor for the watch to work, I used the point of my hobby knife to make a small hole in the bottom of the lens that the wire can pass through. I added a tiny amount of CA glue around the wire to seal it before cutting it flush and sanding down the bump with 1500 grit sandpaper.


This is completely optional but I took another DIP connector and soldered it into the original crown of the watch, this can now be plugged into the charging port when in use.

Finally with some automotive liquid polish I gave the entire watch a buff to bring out the beautiful lustre of the nickel.
Step 8: Enjoy Your New Creation!
I hope you guys find this Instructable useful and if you have any questions please feel free to leave me a message or comment bellow.
Thank you for taking the time to read through my project and as always..
Happy making!
---


