Introduction: Meshmixer: Scaling Models
In this section of the user manual we'll walk you through scaling 3D models in Meshmixer.
Meshmixer for Ember User Manual
Step 1: Scale Models: Transform Tool

- Click on the model you want to scale
- Click on the "Edit" button on the left toolbar and then "Transform"
Tip:
You can open the "Transform" tool directly by hitting the "t" hotkey
- To scale uniformly, click-drag on the white cube at the centre of the axis
- Click-drag up to increase size
- Click-drag down to decrease size
- Click "Accept" to save the transformation
Note: | Currently you cannot scale a model with a numeric input using the Transform tool. If you need to scale a model precisely see Scale Models: Numeric Input |
Step 2: Scale Model: Numeric Input
- Click on the model you want to scale
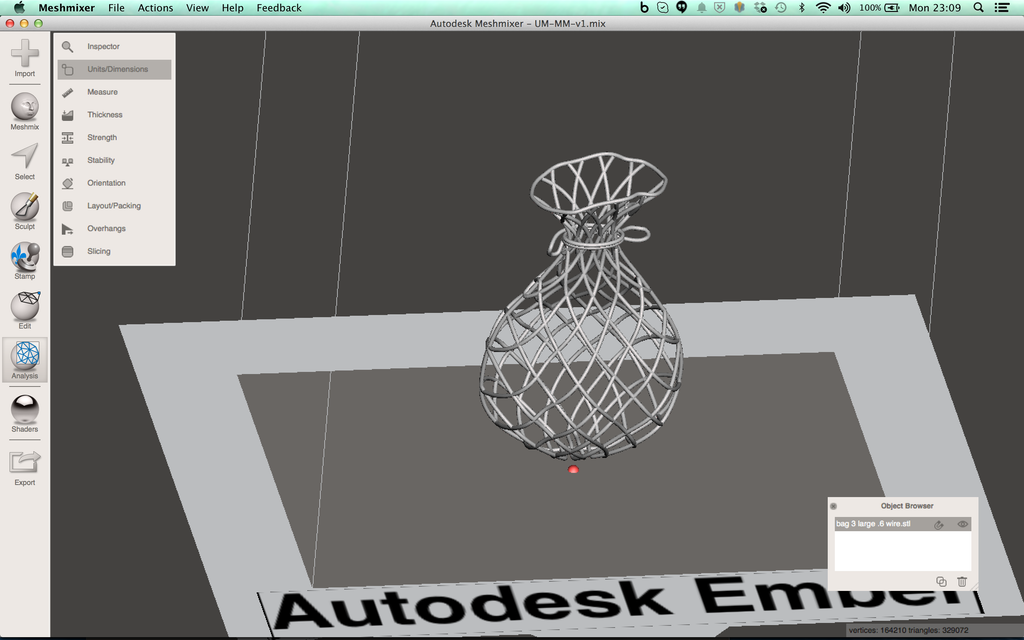
- Click on the "Analysis" button on the left toolbar then click "Units/Dimensions"

- Edit the dimensions of the model

Tip:
When you edit one dimension the other dimensions will scale proportionally
- Click "Done" to implement the scaling

Note: | Currently you can only scale one model at a time Meshmixer. If you need to scale multiple models you have to; |


