

Introduction: Mini Powerbank 8000 MAh


Hi guys! I made a big powerbank a couple of weeks ago, its perfect to have in my schoolbag as backup, but little to big to have in the pocket, so i decided to make another smaller one.
This one is can also be customized with different lids if you get tired of the design, with a capacity up to 8000 mAh. There is an assambley-video step-by-step on the youtubechannel.
Tools:
Gluegun - https://goo.gl/tqisEb
Solderiron - https://goo.gl/SE2Kiz
Solder helpinghand - https://goo.gl/nwfH0x
Cutting Plier - https://goo.gl/nwfH0x
3D-printers - https://goo.gl/FTIDCH
https://goo.gl/VTXWFa
Bill of materials:
USB-PCBCARD - (2$) https://goo.gl/L0R7sK
Batteryholder - (2,5$) https://goo.gl/jS8Eds
Batteries 4000 mAh - (13$) https://goo.gl/L0R7sK
If you like it PLEASE VOTE on me in the travel contest :)
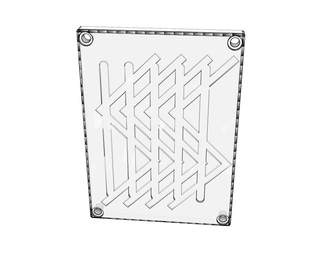
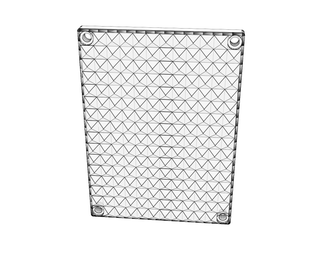
Step 1: 3D-print the STL´s

You will need a bottom, a lid and a powerbutton, you can find everything here or at thingiverse:
https://www.thingiverse.com/thing:2374637
I printed it at 20% honeycomb-infill PLA.
I used Support for the minibottom part, the other ones no support.
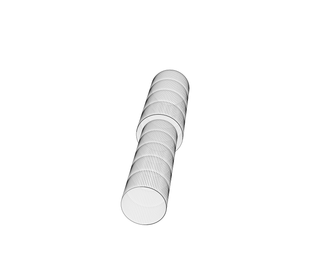
Step 2: Solder the Battery Holder


Make sure you got a Parallell circuit with your batteryholder. Like in the picture, else you will burn the PCB due to high voltage!
Step 3: Solder

The USB-PCB card to the batteryholder, Bta+ (Red) and Bta- (Black).
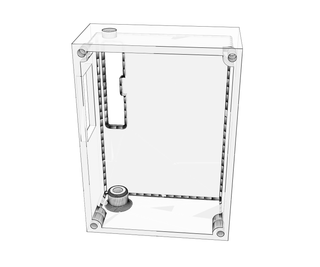
Step 4: Assamble


First insert the 3D-printed button, then the PCB and battery holder.
Step 5: Glue

Make sure everything works and glue everything where it belongs.
Step 6: Lid

Put the on the buttom and tight the 4 x M3 screws 10 mm.
Step 7: Finnished!


You have complete you Powerbank build, hope you had fun during this tutorial!
Please subscribe to my youtube to support my projects
