

Introduction: Pacman Clock - Seeed Wio Terminal
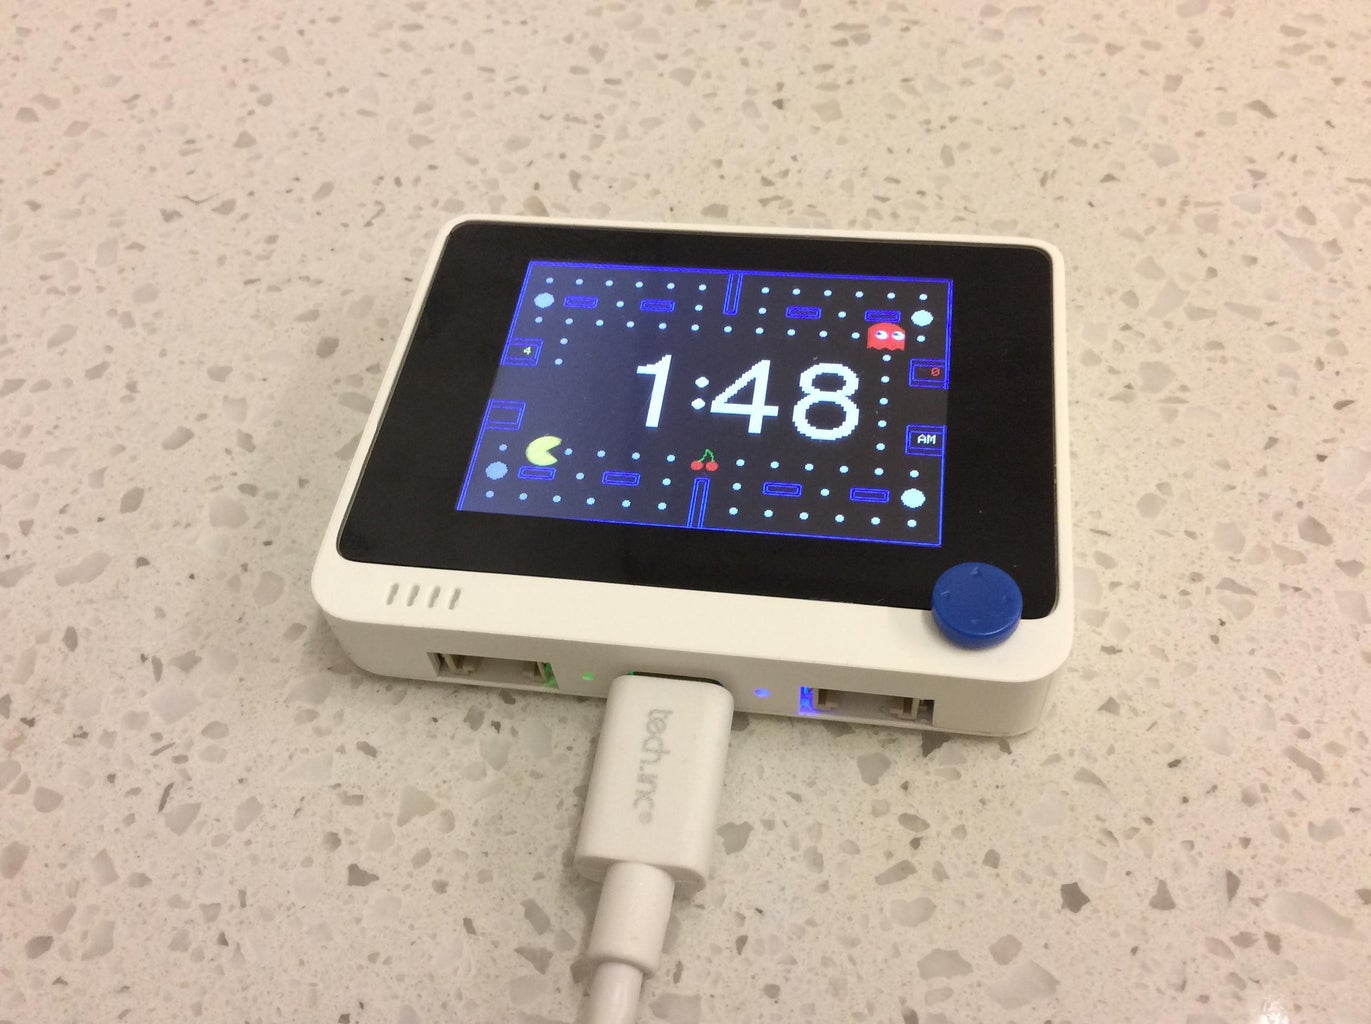


Build your own Pacman Clock for your work bench or desk!! The Clock is interactive through use of the joystick and buttons and also has an Alarm. Time is synchronised using the Wifi connectivity of the device.
Supplies

- Seeed Wio Terminal - Programmable All in one display with USB C interface, Mini Joystick, Wifi and Buzzer
- Wio Terminal Reference Instructions
- USB-C to USB-A Cable to Program the Wio Terminal
- Arduino IDE loaded on a Mac or Windows device
Step 1: Background


Some time ago I developed an Arduino and ESP32 Pacman Clock which proved to be popular with DIY electronics Makers. I was looking for an alternative all in one platform device that meant no electronics skills would be required so I reworked the code to work with a Seeed Wio Terminal and the results were pretty cool.
The Wio Terminal is a SAMD51-based microcontroller with Wireless Connectivity powered by Realtek RTL8720DN that’s compatible with Arduino and MicroPython. Currently, wireless connectivity is only supported by Arduino. It runs at 120MHz (Boost up to 200MHz), 4MB External Flash and 192KB RAM. It supports both Bluetooth and Wi-Fi providing backbone for IoT projects. The Wio Terminal itself is equipped with a 2.4” LCD Screen, onboard IMU(LIS3DHTR), Microphone, Buzzer, microSD card slot, Light sensor, and Infrared Emitter(IR 940nm). On top of that, it also has two multifunctional Grove ports for Grove Ecosystem and 40 Raspberry pi compatible pin GPIO for more add-ons.
Step 2: Setup the Wio Terminal


- Load the Arduino IDE
- Go to the Arduino IDE site and download the appropriate version of the IDE for your desktop device.
- Install Library Files
- I have compressed the correct library files into a Zip folder here - Wio Terminal Pacman Clock libraries.Zip
- Delete your existing Arduino Library directory and copy the files into the Library Directory.
- Connect your Computer to the Wio Terminal
- Using the USB-C cable connect the Wio Terminal to your computer
- The device should startup
- You can read about the basics of setting up the Wio Terminal here
- You will need to add a URL to include a new Board Library and the instructions are clearly included in the Wio Terminal site
- Configure the Arduino IDE to communicate with the Wio Terminal
- Once Connected to your desktop, make sure you have the correct port loaded and that you can see the Wio Terminal device
- Follow the Wio Terminal instructions to load the Blink sketch to test everything is working
Step 3: Check the Correct Wifi Firmware Is Loaded in the Wio Terminal

In order to use the Wifi function you have to update the “Wireless Core Firmware’ in the Seeed Wio Terminal
Seeed have changed their approach to Wifi since I wrote the code so here are the instructions on how to ensure the earlier Wifi drivers are loaded.
The Pacman Clock uses RTL8720 Firmware Version: 2.1.2
You can check your firmware version by uploading this sketch using the Arduino IDE "Check RTL8720 Firmware Version from Arduino IDE"
If this does not show 2.1.2 you need to follow the procedure to flash the Wio terminal with the correct version for this project.
The procedure is outlined here by Seeed here
The correct version of flash code for this project can be found here
Step 4: Loading the Pacman Clock Code


There are two minor changes to the code you need to do to ensure the device can connect to your Wifi and that the correct time zone is setup.
- Loading the Pacman Clock code
- I have made the code available here - Wio_Pacmanclock_Instructables_V1.Zip
- Download and extract the sketch onto your desktop device into one subdirectory.
- Open the code with the Arduino IDE
- Enter your Wifi Credentials
- Note the device only synchronises the Real Time Clock on start up and does not rely Wifi to display the time once this has been done.
- Got to lines 175 and 176 in the code and enter your Wifi Credentials. Both Router Name and Password. See picture above
- Set Your Time Zone
- Use Google Search to identify what you current time zone in UMT based on your geographic location.
- Go to line 5391 and edit the code to reflect your time zone.
- Modify the variable tzOffset to reflect the UMT time offset.
- This is expressed in seconds and must have UL at the end. See the example in the picture above.
- Save and Load the code
- If you have successfully loaded the IDE Libraries, Wifi Credentials and the Time Zone information then you are ready to load the code.
- Proceed with loading the code with the IDE. It should take seconds and you should see successful load details for the Wio Terminal in the IDE message bar as shown in the picture above.
- When loaded the Wio Terminal will take approx 30 seconds to connect to Wifi and Synchronise time befor displaying the Pacman Screen and time. You are good to go!!
Step 5: Using the Controls


I have configured the code to be able to use the 5 way switchlike a Joystick to change the direction of Pacman (Up, Down, Left, Right).
Depressing the 5 way switch also puts you into Menu Mode where you can use the menu buttons to set the Alarm, Change the Pacman Character to Ms Pacman and Change the speed of the animation. See the youtube video for this.
Step 6: Next Steps
The next step for this project would be to 3d Print mounted case or clip so you can place it on your Desk in the Office or Clip it to a screen.
Over to you to experiment, enjoy !!!

Participated in the
Anything Goes Contest


![Tim's Mechanical Spider Leg [LU9685-20CU]](https://content.instructables.com/FFB/5R4I/LVKZ6G6R/FFB5R4ILVKZ6G6R.png?auto=webp&crop=1.2%3A1&frame=1&width=306)


