Introduction: Program an Arduino on the Go With Your Android Phone or Tablet
Throughout the years Android has become a formidable mobile platform that offers a lot of functionality only previously found on PCs. Today I bring you a way to write, compile and upload Arduino programs on the go with an Android device.
Step 1: Materials Needed


For this instructable you will need:
- An Arduino*
- A compatible usb cable for your chosen Arduino
- A USB OTG** capable Android device
- ArduinoDroid application***
- OTG cable or adapter (I personally prefer adapters since they are more compact and USB drives aren't dangling from my phone or tablet)
* While the ArduinoDroid application is written to work with all Arduinos, In my experience Arduinos based on the ATMega 2560 (Mega) and ATMega328P (UNO and Nano V3) work the best. Arduino Leonardo and Dreamer Nano V4 (Leonardo in Nano form factor) may work but I have had issues with this hardware in the past.
** For those unfamiliar with USB OTG it stands for USB On The Go which allows you to connect USB flash drives, keyboards, mice and other USB devices into the microUSB port on your phone with a microUSB male to USB female adapter (or you may find it as OTG adapter or cable)
*** ArduinoDroid is a free application on Google Play but keep in mind it will require at least 210 megabytes of storage space on your phone to store the IDE, compiler and uploader. Also be aware that some advanced features like Dropbox access are available as an in-app purchase but they aren't required by this instructable.
Step 2: Checking Your Device for OTG

Before going any further, you need to check if your device has USB OTG. The best way to check is in your device's manual (assuming the manufacturer sent one to begin with).
If you don't have the manual for your device, a quick Google search for your device's specifications will most likely tell you what you need to know. GSMArena keeps a pretty good record of most phones and if they have USB OTG functionality. In my experience, most tablets have this funtionality and will sometimes ship with an adapter or cable in the box.
If all else fails, you can try to connect an old flash drive to your device with the adapter to see if it will detect it. If the notification bar says "preparing removable storage" or something along the lines of what is in the screenshot above, you're good to go. If the flash drive mounted you need to eject it by tapping the notification in the notification drawer or you'll risk damaging it.
Step 3: Downloading ArduinoDroid


Now it's time to download ArduinoDroid and get it set up for writing code.
Download ArduinoDroid from Google Play like you would any other app and as soon as you open it, the Arduino SDK will extract to your internal storage. Since the SDK extracts like it does on a PC, you can add download and add libraries to your mobile IDE like you do on the PC.
I also like to install USB Serial Monitor Lite if I need a quick and easy to use serial monitor.
Step 4: Connecting Your Arduino


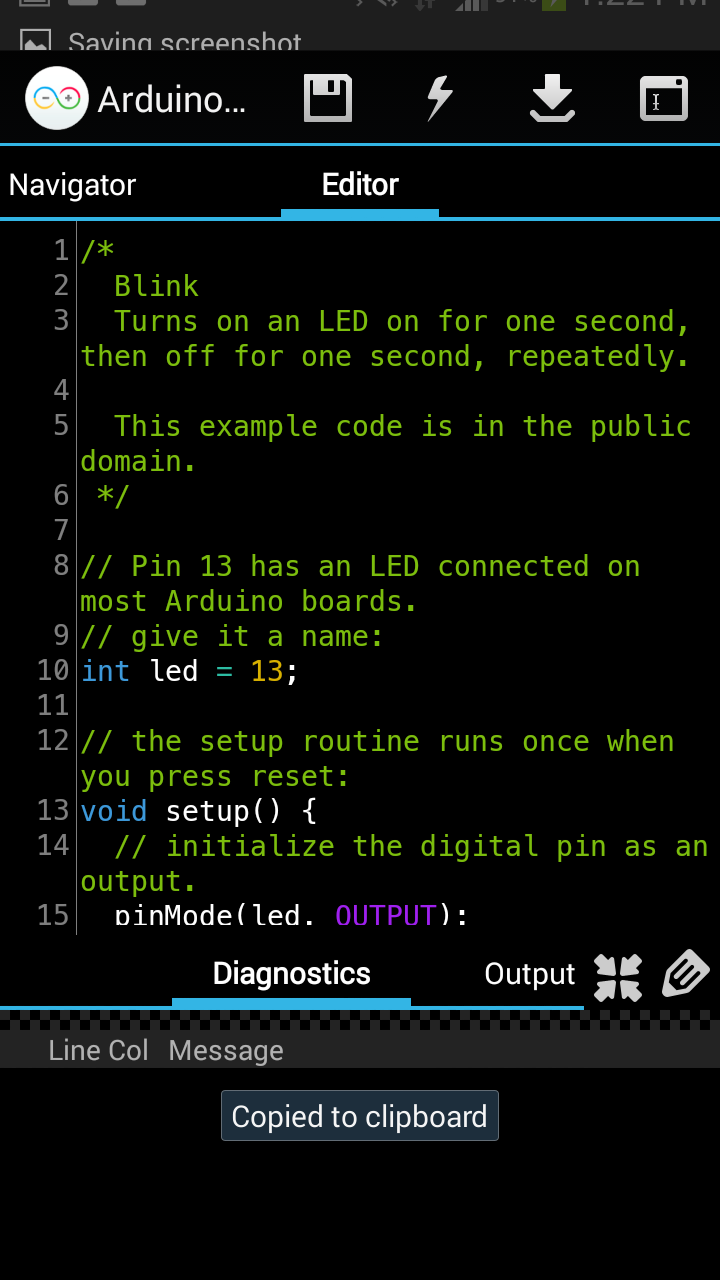
Now that ArduinoDroid is installed and the SDK is extracted, you can connect your Arduino to the device. I personally like to upload the Blink example to make sure it's working correctly.
Press your menu key or use the Android overflow menu (three dots) to open up the ArduinoDroid settings and load the Blink sketch like so: Sketch/Examples/01. Basic/Blink
You should now see the Blink sketch on your screen and you're almost ready for uploading.
Press your menu key or use the Android overflow menu (three dots) to open up the ArduinoDroid settings and load the Blink sketch like so: Sketch/Examples/01. Basic/Blink
You should now see the Blink sketch on your screen and you're almost ready for uploading.
Step 5: Uploading to Your Arduino


To upload to your Arduino you'll need to do a a few more things.
If you haven't connected your Arduino to your device, please do so now.
Now with the Arduino connected, we need to set the board type in the settings. You must open the settings with the menu key or the overflow menu (three dots). Settings/Board type/your_board replacing your_board with your Arduino board. For this instructable I'll use a nano v3 with ATMega328P.
Now that you've got that set up you'll need to compile the program. On the PC you would normally do this while uploading to the board but ArduinoDroid requires you to compile manually before uploading. The compiler button is the lightning bolt at the top.
Once you're done compiling, upload with the arrow next to the compile button.
Step 6: Note: Chinese Arduinos Using the CH340G Chip

Some users of chinese Arduinos may run into a problem uploading their sketches to their Arduinos with ArduinoDroid. This is because these cheap Arduinos are electrically identical to the originals except for the fact that instead of FTDI chips like "original", they use a CH340G chip which serves the same purpose. Many people are saying that this is because FTDI licensing would make these extremely accessible Arduino boards more expensive to produce.
Since my Nano had this chip, I had upload errors while using the Nano w/ATMega328 profile and when I changed it the Nano w/ ATMega328/CH340G profile, I had no problems uploading.
On the other hand, my UNO which was bought through an official Arduino distributor, worked perfectly without having to use the CH340G profiles.
Step 7: You Did It!
If everything went smoothly, you should now be able to program your Arduinos on your Android device. Keep in mind that external libraries you use must be added into the SDK directory so you have no compilation errors.
I hope you found my first instructable useful. If you like it, I'd appreciate it if you could vote for it in the First Time Authors Contest.
I hope you found my first instructable useful. If you like it, I'd appreciate it if you could vote for it in the First Time Authors Contest.