Screen Printing
Intro: Screen Printing
I'll show you step by step on how to screen print using the photo emulsion technique.
STEP 1: Supplies:
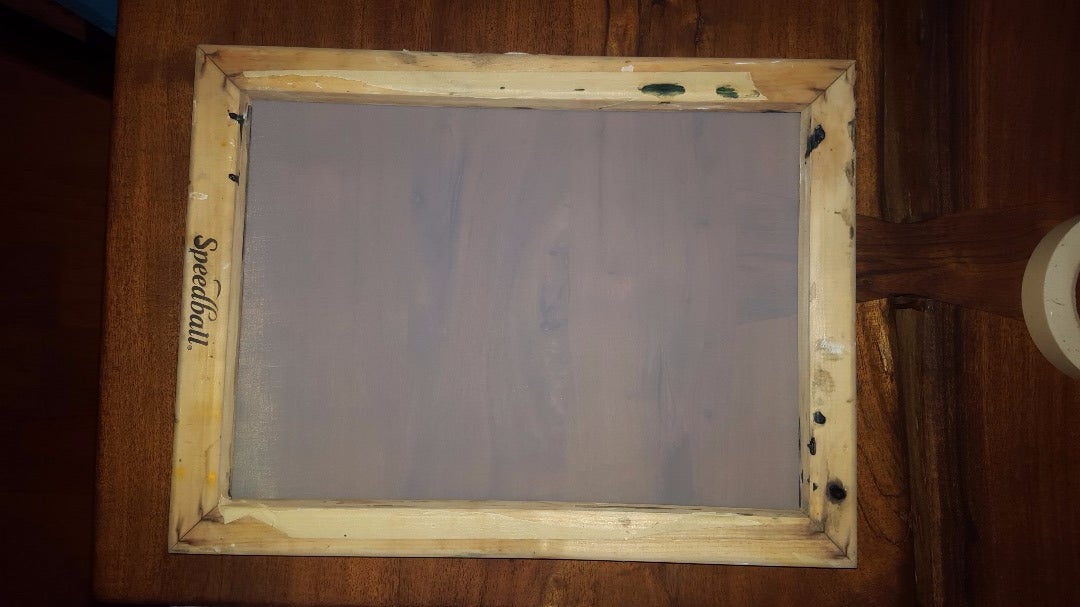
Screen printing screen: Speedball - can be found at Hobby Lobby, or online
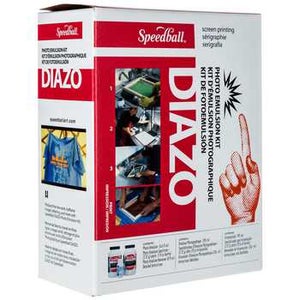
Speedball DIAZO photo emulsion kit
Masking tape
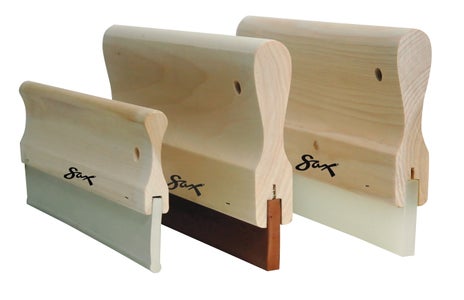
Squeegee
Transparency of the image you want to print
Dark closet
150 watt bulb
Portable shop light (Home Depot)
Flat surface with dark fabric (I use a lid to a big storage container and navy fabric)
Glass (picture frame glass is fine, it is used to flatten transparency when exposing screen)
Handheld shower head or sprayer from the sink or pressure washer
Speedball fabric printing ink (don't try using any fabric paint, this ink is thicker for printing purposes. Regular fabric paint is thin and will not give you an opaque end result. Also, acrylic paint does not hold up to multiple washes - trust me)
Tshirts (I get mine from shirtchamp.com - great prices and quick shipping - I get the Gildan Heavy Cotton™ 5.3 oz. T-Shirt - G500 (5000))
Iron
STEP 2: Preparing Your Screen
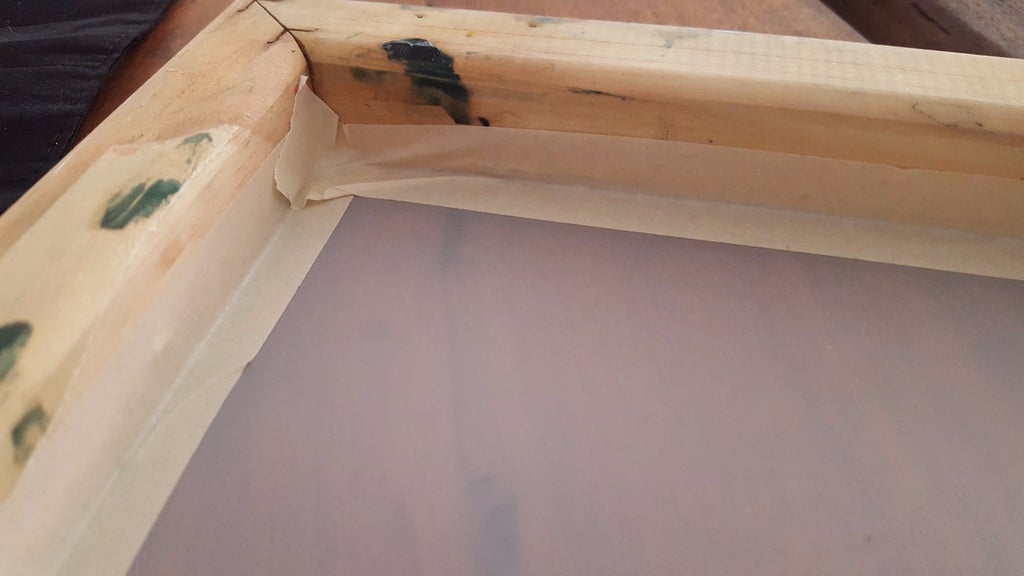
Your screen will not be prepared when you first buy it. You need to apply masking tape to the inside and back as shown to stop the flow of the emulsion when preparing your screen.
STEP 3: Emulsion


Mix the emulsion as instructed, then pour onto screen.
STEP 4: Spreading Emulsion

Using the squeegee, spread the emulsion on both sides of the screen. Because it is a liquid, on a screen, the emulsion will seep through to the other side when spreading.
Your screen should be as even as possible, hold it up to light to see if it smooth and all areas are covered.
*This does not have to be done in a dark room (as most photo emulsion would need to be kept in dark). The emulsion aspect does not take effect until the screen dries.
STEP 5: Drying Screen
Put the screen, flat side up, in a dark room to dry. I use a small fan to circulate air so it will dry faster, but it is not necessary. Without a fan, it will take about 3 hours to dry.
STEP 6: Print Your Transparency
You will need a transparency of the image you want to print. Make sure the image is in black.
STEP 7: Exposing Your Screen
On the flat side of the screen, place the transparency UPSIDE DOWN on the screen then put the piece of glass on top to ensure the transparency is flat against the screen.
You put the transparency upside down because the flat side of the screen is the back side. Trust me, it will all make sense later.
Expose the screen with the light about 2 ft away, for 13-14 minutes. Make sure to time it because an over exposed screen will not wash clean for printing.
STEP 8: Checking Your Screen
Once the time is up, turn the light off and remove the transparency and glass. It may not look like anything happened, but when you hold the screen to a light, you will see a difference in color.
By exposing the screen to the light source with the transparency, a reaction occurs. The exposed area becomes hardened and will not wash away. The unexposed area (the image on the transparency) is still soft enough to wash out in the next step.
STEP 9: Cleaning Your Screen

Using either a handheld shower head, sink sprayer or pressure washer, clean your screen. All you need is water and pressure. Don't worry, the only part that will wash away is where the screen was not exposed to light.
Once clean, hold up to light to see if you missed any spots.
Don't worry, if you see any areas on your screen with "holes" (gaps in design or missed coverage of emulsion), just cover with masking tape on the back side of the screen once the screen is dry.
STEP 10: Preparing to Print
Use cardboard or any stiff object in between the front and back of your shirt. I use old vinyl album sleeves becacue they are smooth and the perfect size. Don't use corrugated cardboard because the surface may be smooth, but when pressing down to ink your shirt, the waves of the corrugation will show as a pattern.
The reason you use a surface in between the layers is because you don't want the ink to bleed through to the opposite side of the shirt.
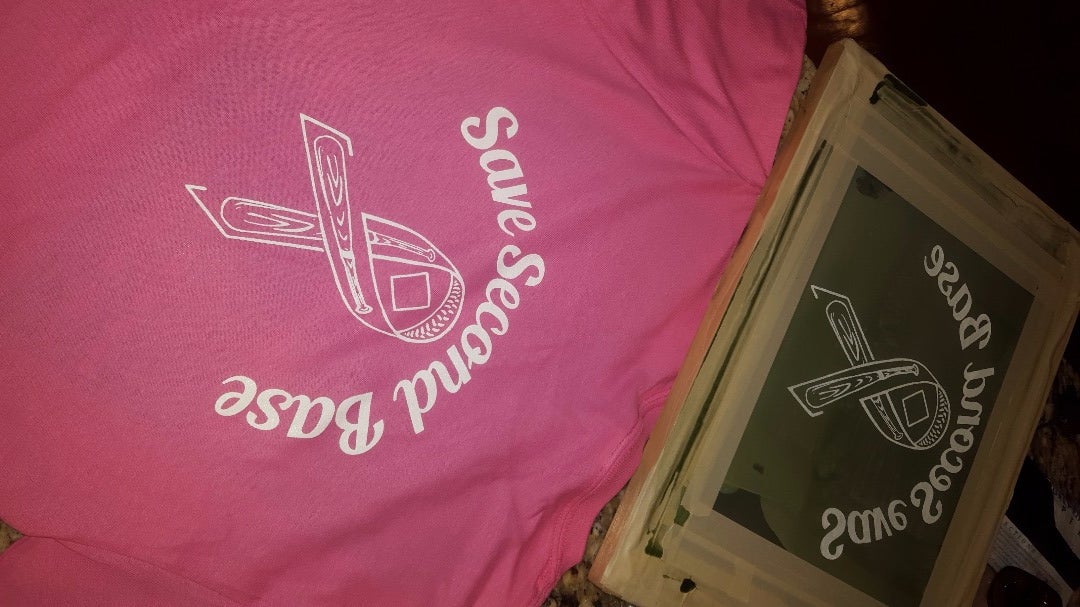
*Note: The "Pretty In Pink" cover was a happy accident when taking pictures for this Instructable.
STEP 11:
Place your screen, flat side down on your shirt. Using the flat side allows the screen to make a direct connection for printing (like when using the glass on the transparency for exposing your screen)
STEP 12: Ink the Image
Using a spoon, put a glob of ink on the screen. I drag my glob across the top for even coverage.
Use the squeegee to ink the design onto the shirt.
** Don't go OCD when using the squeegee. Just make sure it covers the design and stop! Too much will cause over-inking and you will lose the sharpness of the design.
STEP 13: Finishing
Pull the screen off, lifting from right to left to reveal your design.
Once 100% dry, iron the image using the highest setting before steam. Iron for 10-15 seconds on all areas of the design. I usually place the iron on one half (no need to apply pressure, just place directly on top of the ink) for 10-15 seconds then move the iron to the other half. This will set the ink and now the design will not wash off.
DONE!
10 Comments
tmichele332 1 year ago
Ratidzo Goba 4 years ago
cyclonecasey 5 years ago
vinitasablania 5 years ago
cprphoto 9 years ago
Is this how all screen printing is done? With transparencies and photo-related materials? Is this the "old skool" method, or a new technique. If we didn't want to buy the kit, trnasparencies, etc.. is there a less expensive way to make this? What would estimate for everything you had to buy to start out? What if you want to do more than one color? Thanks!! :)
CarlaJ22 7 years ago
You can also trace your design onto acetate (clear plastic sheet, like for overhead projectors) and carve out your design with an exacto- knife. You then put your design under your screen and push the ink through. This method is a lot cheaper and easier, however, does not work very well for making multiples of the same design.
SMcCrocklin 9 years ago
1. I think this is how all "home based" screen printing is done. I'm not sure how the big printing companies do things.
2. This would be a modern "old skool". I think in the past, people drew on the transparencies, but I know the method of photo emulsion goes back pretty far. The emulsion method allows for precision. You can also paint a screen filler to create the image you want as well, but it doesn't come out with a professional look.
3. I got the speedball fabric screen printing kit to start. You can find it at Dick Blick art materials online (http://www.dickblick.com/items/44962-1009/). The kit cost $42. You will also need the 150 wt. shop clamp light, which is about $9 and a 150 wt bulb. You can find transparencies that can either be printed on inkjet or laser jet. A box of 50 transparencies is about $20. It may seem like a lot initially, but keep in mind that the screen can be reused. After you finish all the printing, you clean off the screen and repeat with a new design.
4. More than one color is difficult. I have tried and unless you only want to do one or two items, it isn't worth the stress. You would need a screen per color you want to print. There are 4 color print machines that are around $300 at Dick Blick (http://www.dickblick.com/products/blick-4-color-garment-screen-printing-machine/). I want to get one someday, but for now I am stuck doing one color.
Here are a few tips:
1. If you want to print, let's say, gold on a purple shirt, you would need to print in white then, once dry, print the gold on top of the white.
2. Make sure to use fabric printing ink if making shirts. Other printing inks will fade and wash out over time.
3. Be sure to iron the ink on the shirt once dry. It sets the ink into the fabric.
I hope this helps. Please ask more questions if you need :)
johyver 8 years ago
I guess this technique is applicable for home based screen printing. Its quite simple and helpful. Thanks
Bruce, https://www.printavo.com
t41photo 9 years ago
SMcCrocklin 9 years ago
Thank you. I was intimidated initially, but after seeing learning how simple it is, I thought I would share. Enjoy and happy printing :)