Introduction: Soluble Molding & Desktop 3D Printing

Introduction:
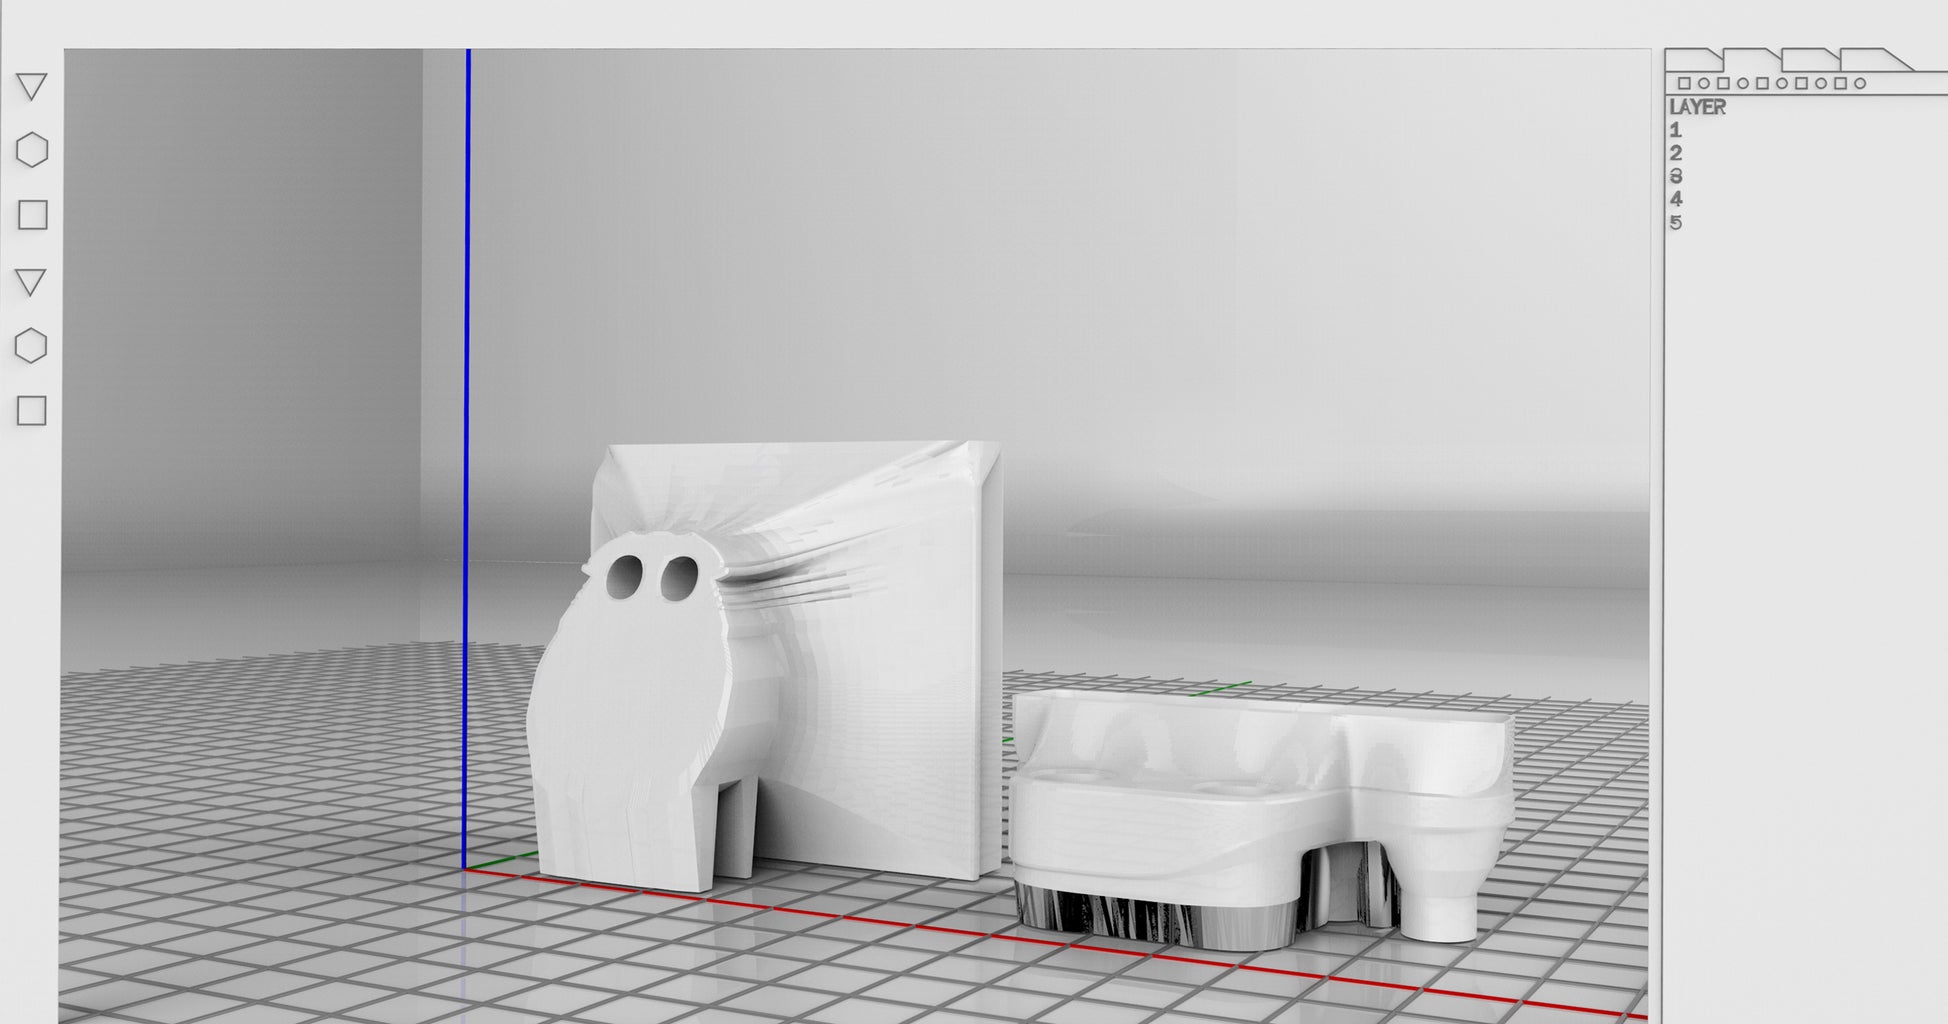
The proliferation of accessible desktop 3d printing has opened up new directions for Digital Fabrication and Rapid Prototyping. Whereas in the past, with its exclusivity and high cost, room for experimentation was limited within the method. The end product of what the machine would produce, was just that, an end product. The democratization of any technology brings about novel forms of experimentation and DIY approaches. And thus, the aim of this instruction manual is to outline the techniques involved in developing a soluble 3D printed mold (Fig.1) for the use of capturing intricate objects in a wide variety of materials. The benefit of this technique rests in its ability to bypass more traditional casting techniques that would require in many cases, extensive resources and expertise.
Details:
The following technique builds upon the Evaporative-Pattern Casting process, in which an Expendable mold is broken up after a casting agent has solidified to remove it from its original mold. This process is traditionally utilized by the automotive industry to capture the intricacies of an engine block, cylinder heads, or break components. Where this technique claims new territory is in bypassing the several individual components needed to achieve a similar result. With the use of 3D printing we are capable of removing more traditional elements like cores, flasks, and vents, as a properly prepared 3D print can incorporate all such elements in a single object. This instruction will utilize the use of Acrylonitrile butadiene styrene (ABS) as the material for which to 3D print molds. The benefit of ABS as opposed to the popular Polyactic Acid (PLA) is it’s ability to completely dissolve in Acetone, allowing for the cast to be removed after some time in a submerged state. The process will be deemed Soluble Mold Casting.
Required:
1. 3D printer capable of printing with ABS
- When desktop 3D printing in ABS a heated build plate and an enclosure are desirable
3. ABS Filament
-Required for dissolving in Acetone
2. Acetone
-Hardware store grade
3. Casting agent
- Cement, Rubber, Resin, work well and are not effected by the acetone if allowed sufficient amount of time to cure.
4. Paint brush
- For patch work that may be needed to fix 3D prints prior to pouring
5. Modeling Software
- Several options available, just be sure to have a well designed 3D model that is water tight and takes the tolerances of your particular 3D pinter into account as well as the viscosity coefficient of your desired casting agent.
6. Heavy Duty Bucket
- For submerging molds
7. Heavy Duty Gloves
- For handling Dissolved molds
Step 1: Modeling & File Creation
When preparing any digital model for 3D printing, it is crucial that you geometry be water tight, in that there are no single sided surfaces, naked edges, or holes in the geometry. Geometry should be modeled with a thickness capable of retaining detail desired. In addition to these requirements, for this particular technique to work, Geometry needs to be hollowed out in order to capture the negative space within the model. Be conscious of your desired casting agent and its level of viscosity as it should help determine the width of channels within your 3D print. Model in support structure to have the model stand upright for pouring, and give yourself generous space for a pouring basin. Pouring basin should typically be located at the highest point in the geometry.
Step 2: 3D Printing

Using a desktop 3D printer capable of having a heated build plate and an enclosure are crucial in successfully printing with ABS filament. Be sure to level your build plate as this will insure a smoother outcome. When printing with ABS, limit as much as possible air flow through the printer as this can cause the print to lift off the build plate. A proper enclosure will help mitigate any airflow.
Step 3: Patching

Inevitably, the need to patch 3D prints may occur when cracks or openings appear in the print. It is necessary that you post process prints with such imperfections as not doing so may lead to leaks when pouring. For patching, take scraps of ABS and partially dissolve them in a small amount of acetone, the desired outcome is a slurry like substance that can be applied to cracks and openings using a disposable paint brush. This method is also ideal for binding multiple prints together to create a larger mold not capable of being printed in a single go.
Step 4: Pouring

Before you pour, be sure to follow instructions on how to mix and work with your desired casting agent properly. For instance, when working with cement, be sure to not add more water to your mixture than required, or when working with rubber, be sure to pour immediately after mixing as to avoid rapid hardening. Previous experimentation with multi-material casts, marbling techniques and dying have produced interesting results. Be sure to plan this out before pouring. When pouring it is imperative that you agitate the mold with shakes or vibrations as to remove any air pockets that may manifest within your casting agent. When topping off, some casting agent may spill over the top. Be sure to clean off the mold as much as possible as doing so will speed up the dissolving process.
Step 5: Curing

Allow your cast the proper amount of time to cure in order to insure structural stability while dissolving the ABS mold.
Step 6: Dissolve

Using a heavy duty bucket, pour in enough acetone as to fully submerge your mold. Use gloves and a face mask when working with acetone. For rigid casting agents, such as cement or resin, allow the mold to fully dissolve before removing the cast (in most cases a little clean up will be necessary). When working with a more malleable casting agent, such as rubber, brief contact with acetone is all one needs before manually removing the mold with a knife or by hand. Brief contact with acetone will soften the mold and make it easier to remove. Be sure to properly dispose of used acetone, simply pouring this substance down the drain is environmentally irresponsible. In most cases, the acetone can be reused several times.
Step 7: Clean Up & Finishing

A toothbrush dipped in acetone can be used to brush off any remaining ABS. Polishing sealing, or painting can now be done to finish your object and achieve its desired affect.
Step 8: Examples


