

Introduction: Arduino and HC-SR04


When you feel boring, you can try to make HC-SR04 with Arduino, it's very interesting!
(My ideas adapted from https://www.instructables.com/id/INTERFACING-HC-SR...)
This is an ultrasonic sensor project. When an object is close to it, the red LED will blink, when no object is close to it, the green LED will blink.
I add two LEDs and decorate my project.
(我製作方式來自於 https://www.instructables.com/id/INTERFACING-HC-SR...)
這是一個超音波感測器的主題。當物體接近它時,紅色的 LED 會閃爍,當沒有物體接近它時。綠色的 LED 會閃爍。
我加了兩個 LED 燈還有裝飾它。
Supplies
- 1 Laptop
- 1 Arduino
- 1 HC-SR04
- 2 LED (Red and Green)
- 1 Electronics Breadboard
- 1 USB Cable
- 2 Resistors
- Solid-core hookup wires
Step 1: Prepare the Materials You Need!


Please reference the "Supply" section above.
請參考上方"Supply"裡寫的材料準備。
Step 2: Setting Up LED

Use a long hookup wire to connect the 5V signal on the Arduino to the left of the red row on the breadboard.
Use a long hookup wire to connect the GND signal on the Arduino to the left of the black row on the breadboard.
Place red LED to the left of the breadboard, and green LED to the right of the breadboard.
Take resistors and solid-core hookup wire and connect LEDs to the breadboard.
Connect the red LED to pin 11 and the green LED to pin 12.
拿一條線,並連接 Arduino 上的 5V 到麵包板上紅色那一條線的最左側。
再拿一條線,連接 Arduino 上的 GND 到麵包板上藍色那一條線的最左側。
把紅色的 LED 放到麵包版的左側,綠色的 LED 放到麵包版的右側。
拿電組和線連接 LED 燈到麵包版上。
將紅色的 LED 燈連接到 pin 11,綠色的 LED 燈連接到 pin 12。
Step 3: Setting Up the HC-SR04

- Connect Vcc to Arduino 5V
- Connect Trig to Arduino pin 9
- Connect Echo to Arduino pin 10
- Connect Gnd to Arduino GND
- 連接 Vcc 到 5V
- 連接 Trig 到 pin 9
- 連接 Echo 到 pin 10
- 連接 Gnd 到 GND
Step 4: Upload the Code
https://create.arduino.cc/editor/sophiay0622/629b7...
Download this code and upload to your board.
下載這個 code 並上傳到你的板子上。
Step 5: Decorate Your Project !

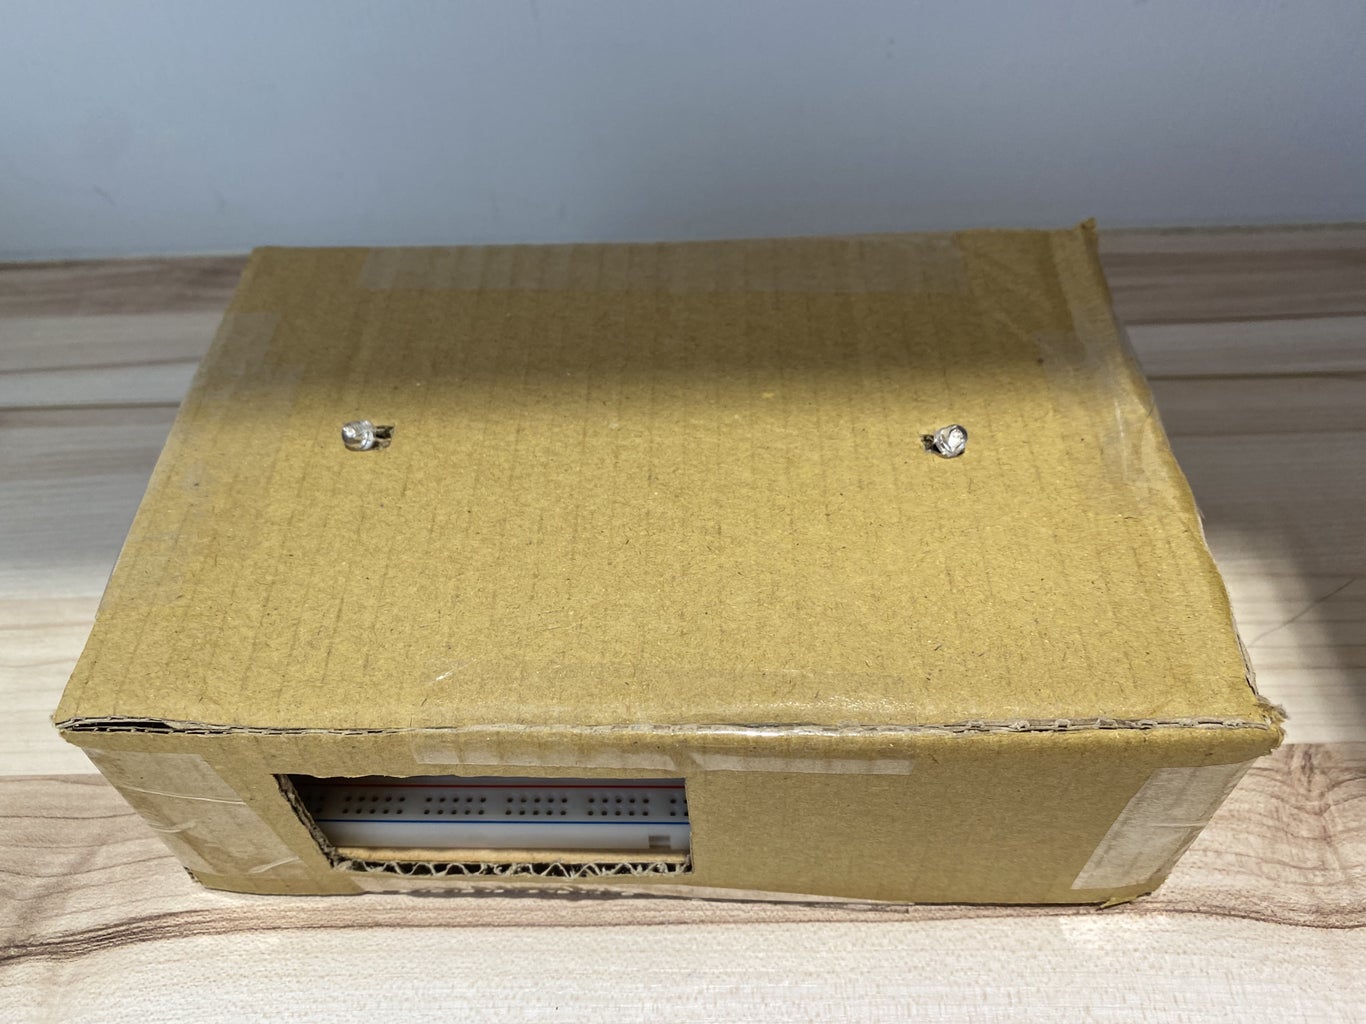


Make sure if the code can upload to your board. Later, you can try to decorate your project.
確保 code 可以上傳到你的板子。之後,你可以試著裝飾你的板子。
