Introduction: Embedded Printing
Embedded printing - what is that???
Well, I could not think of anything short to name it more defined.
For this Ible it means creating a print with electronics integrated into the print.
So instead of glue or snap-lock-connections everything is put into the print and then the print continues to create an object in one piece.
Reason for this project:
I was asked by a friend to check if I can fix the charging cable for her Iphone.
With the kids the cable often only lasts a few weeks until it needs to be replaced she said.
As I failed to understand why the cable always breaks so fast she showed me the "normal" usage when the phone is running low on juice with the kids.
Lets say it that way: Playing racing games and constantly bending the cable to the max right at the connector is not healthy for it ;)
Skill level required: Not for the beginner in 3D printing.
Materials required: Something to put into your print and a 3D printer ;)
The design:
As I had to take the connector off the cable to fix it I decided to make something with a 90° bend included in the plug.
It also should be able to survive the daily gaming abuse.
There might be still more broken cables hiding in some drawers so I might add more designs after the first had a good testing and I got feedback on where it does not feel right.
You see it is a very basic block.
The space for cable and connector are removed from the block obviously.
Iphone Heavy Duty Plug Top by Downunder35m on Sketchfab
Iphone Heavy Duty Plug Bottom by Downunder35m on Sketchfab
Iphone Heavy Duty Plug Complete Cut At 7 5mm by Downunder35m on Sketchfab
How to:
For everything there are multiple solutions, same is true for this print.
I use Simplify3D but any other slicer should work as well.
The two parts of the block have been joined into one model (the last from the above) as S3D supports different print jobs and different start- stop- heights.
If your slicer does not support this you simply print the bottom part and set the starting height for the print of the top part to 7.5mm.
Depending on the slicer you can do this directly or you might have to include the Z rise of 7.5mm manually in the G-code or the starting script.
The model is printed up to the height where otherwise the "lid" would be glued on - in this case 7.5mm.
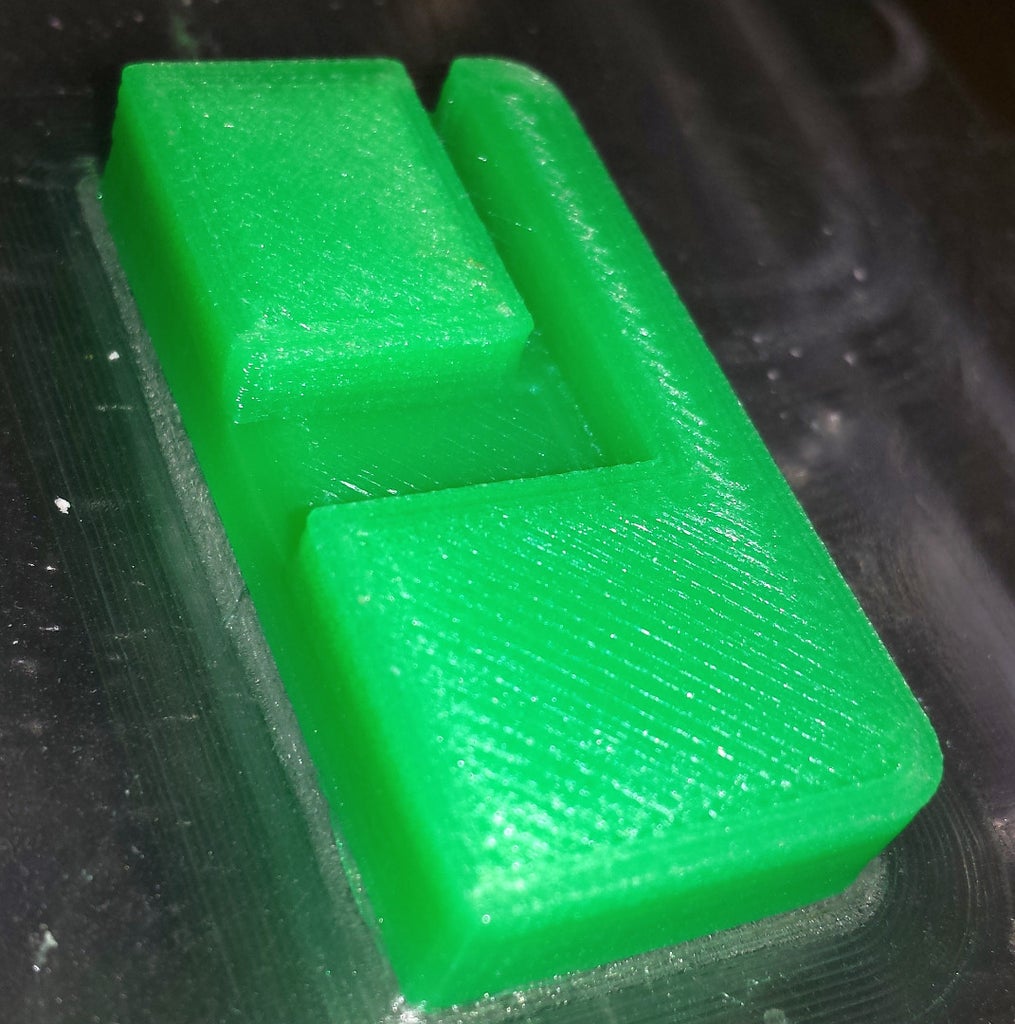
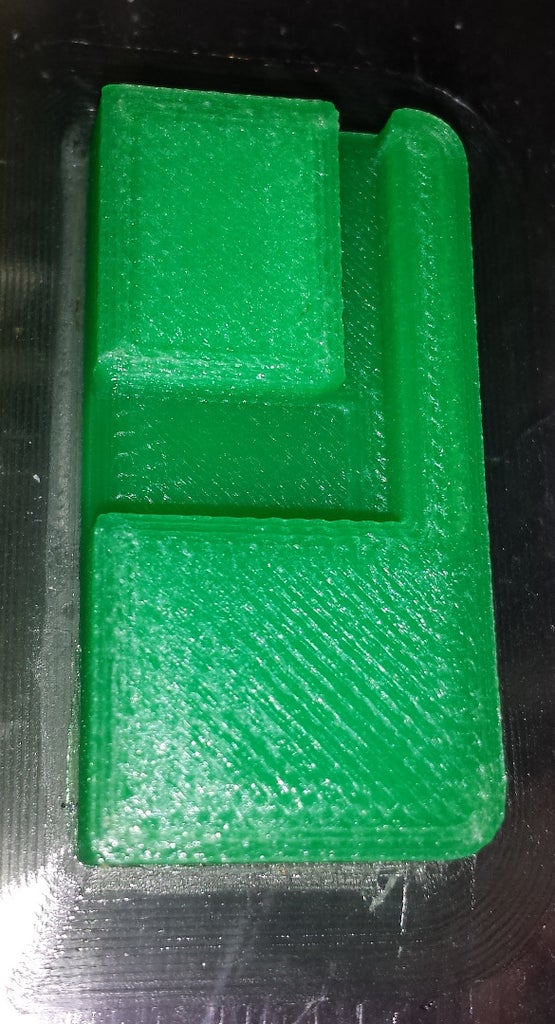
The cable and plug are put in place and secured first with a bit of glue then covered with hotglue.

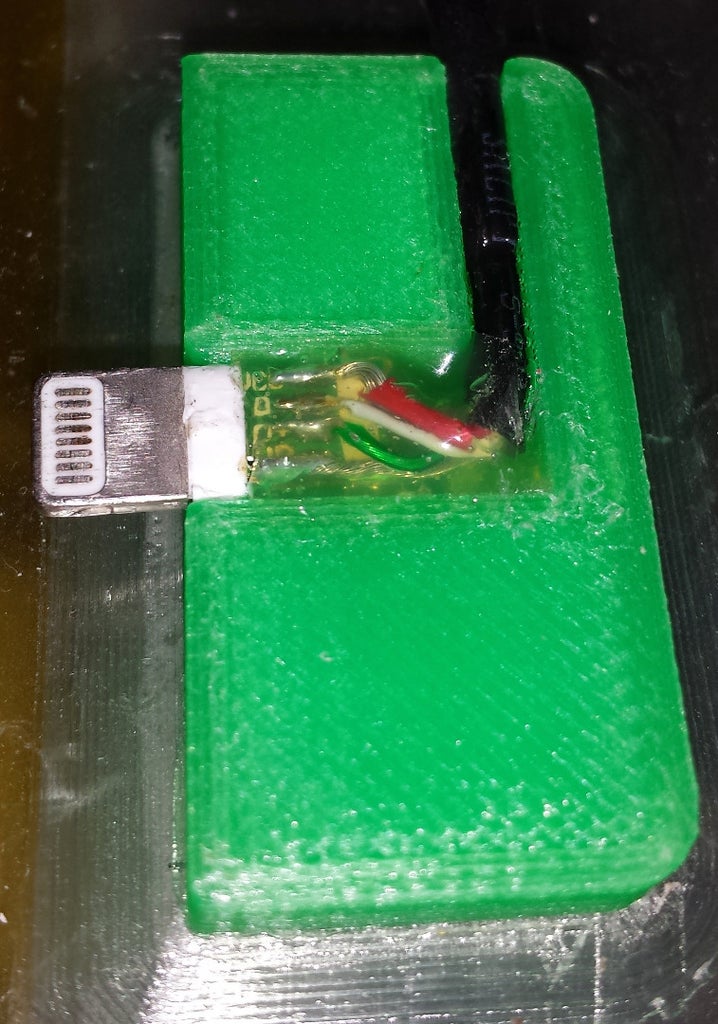
Once all is set and the hotglue cold it is time to check that nothing sticks out of the surface too far!
Now the print is started again with a start height of 7.5mm, which means it would start printing in mid air if we had removed the block.
As you can see in the below videos the Nylon does not really stick to the plastic remains of the USB plug but that was to be expected, ABS would have been the better choice here.
As this piece is not too wide the gap will be fully covered three layers later.
You can see in the above videos the hotglue is partially messing with the surface quality, I removed the hot glue that was pushed around by the nozzle during the print.
This was due to the fact that the hot Nylon partially started to boil the hotglue underneath.
Nylon is not very forgiving, so you might want to do your first tests with some easier material like ABS or PLA.
The finnished "heavy duty" plug, like a solid piece of Nylon:
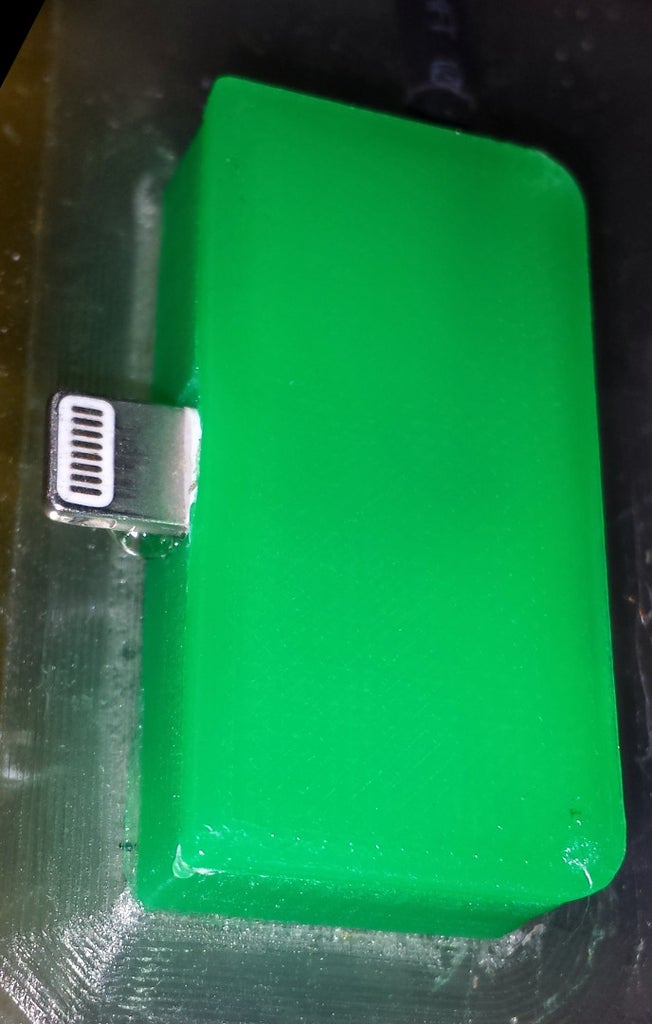
And after cleaning up the brim:
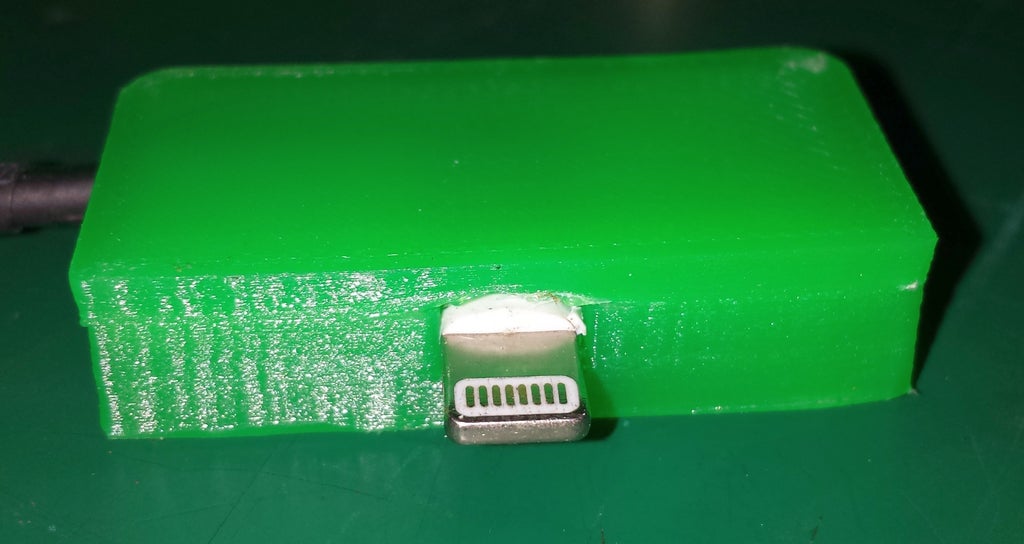
You can see the cable coming out on the left of the image with a piece of heat shrink tube to give some added kink resistance.
This is only an example of the possibilities.
A bit thinking outsde of the box if you want to see it hat way, but also nice to embed you electronics projects ;)
Step 1: A Charging Stand for the Heavy Duty Charging Plug
As sometimes there is the need to ignore a phone I also modified a charging stand to fit this plug.
Iphone 45 Heavy Duty Stand by Downunder35m on Sketchfab
The plug can be iserted either way and the cable be tucked away in the base so it comes out in the back.
Step 2: Some Screenshots and Explanations on the Settings
As I said in the first step, the entire process is pretty straight forward.
Most slicers either directly support to start and stop at different printing heights (for the object as well as the print start) or at least support the manual placement of a part above the print surface.
Some even offer you to simply pause the print, like for a filament change, and to continue after that.
To give a useful example I will show you some screenshots of the Simplify3D software that regulate this.

As you can see in the above image, there is a setting for the start height as well as the ending height of a print in the Advanced tab under "Layer Modifications".
If you tick "Start printing at height" and set a value, the print will ignore everything in the model below this value.
This means you have to have something under the new print with exactly that height as otherwise the print will start in mid air - and at least for my the filament won't stick to thin air ;)
If you tick "Stop printing at height" and set a value, the print will stop once the layer corresponding to this height is printed.
Please keep in mind that in some cases you actually should calculate this value properly!
Very bad example to keep it simple to understand:
You want to stop at 5mm but use 0.3mm layer heights for the print (same for the start layer as this has to be included in the calculation).
This would mean you had to stop at 16.666666.... layers - impossible.
So you calculate 16 X 0.3 and get 4.8mm - you either have to stop here or at 5.1mm height as you won't be able to print different layer heights!
The same goes for the start height of the next part of the print - you use the same value as for the stop height!
This sounds wrong but it makes sense when you think about it:
By default you start at the print bed - 0mm height.
The new start height basically lifts the "printbed" to the same value where the privious print stopped - literally telling the printer that "zero height" is now here and not down at the print bed.
The same of course also work if you place another object on your build platform
For example if you want to print a logo directly onto an existing plastic cover, you measure the
height of the cover and set this as the starting height for the print.
Of course you should not use a brim in such cases and make sure the molten filament actually bonds properly to the surface in question.
The options for the start and stop height are especially interesting for big and complex prints.
Let me give you one last example:
A statue with a big base but fine details like fingers and ears further up.
To get the details right you would need to print with fine layers a lot of infill and of course support where required.
So you waste a lot of filament and even more time on the base of the model.
The smarter way would be to stop the print at the top of the base and to give both halfs of the print a completely different print job!

Note the little tab at the bottom, "Select models" !?
If you click another window pops open where you can select which model of your print uses these settings.
The selection can sometimes be confusing so it is best to double check in the preview that really the right model part use the right settings and not that all is printed with the same.
There is a good help in the form of a website available if you click on it that explains further settings on how the models are printed.
Things like layer by layer or a specific number of layer on one model before using different settings on the other - here the nozzle clearance is very important!
Best to do some little testprints to get used to like duplicating a test cube and rinting one at 0.1mm layer height with 10% infill and the other with 0.3mm layer height and 80% infill.


