Introduction: Hydro Dip Painting
Hydro Dipping is where paint resting on the surface of water is then transferred onto an object through dipping. It produces some psychedelic effects, is incredibly simple, and no two dips will ever look alike!
To hydro dip at home, all you need is acrylic spray paint and a large bath of water. Check out this quick video demonstration (direct link for those that can't see it):
Ready to give your next project a crazy paint job? Let's make!
Step 1: Prepare Your Wood
Just like any paint job, before hydro-dipping you need to prepare your work.
I dipped this natural wood skateboard, as it had a light coat of protective that was easy to sand away.

Using an 80 grit sandpaper I blasted through the clear protective coat and got down to the raw wood underneath. I then smoothed everything out with a 180 grit sandpaper to make everything smooth.

Step 2: Water Bath
Any large, deep container will work for dipping. Since we are using paint your container will also be partially painted during the process, it's best to use an older container so you don't risk ruining something nice.
Large, plastic containers can be inexpensively picked up at any big box home improvement store . You can even use it as a storage container after the paint dries, if you don't mind a splash of colour in your storage container.
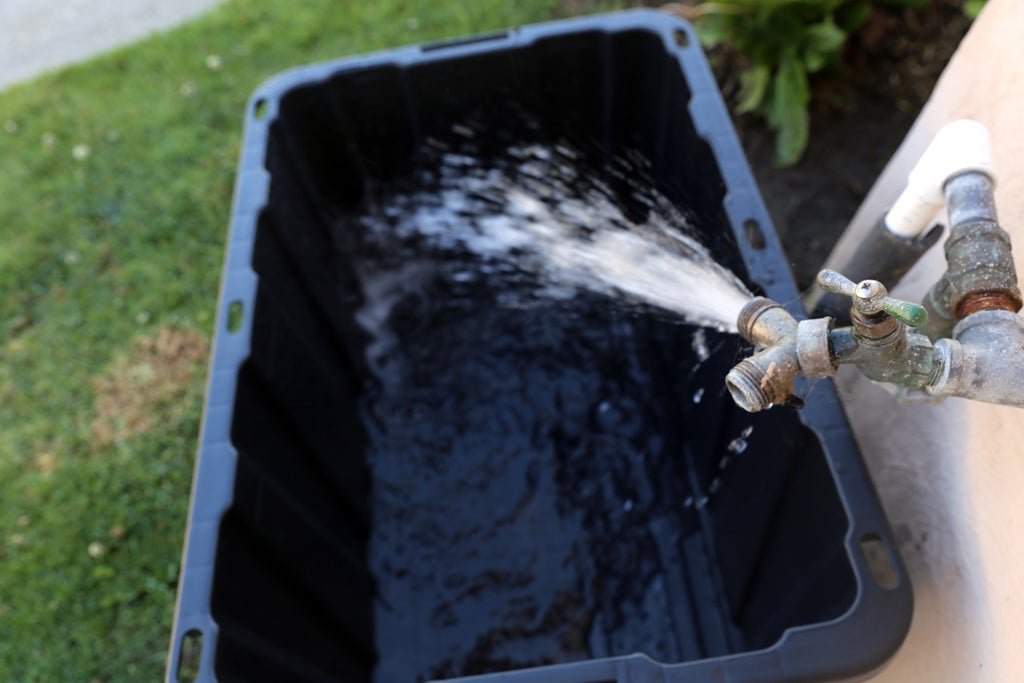
Fill container with enough water to completely submerge the item you want to dip. For the skateboard I was dipping even full to the brim the container wasn't large enough, so i dipped it in two sections. Having the maximum dipping depth is desired.
Step 3: Add Handle to Dipped Item
If you want paint coverage over the entire item you are dipping you'll need to add a handle to your piece so the paint can reach all surfaces (minus the handle). A handle is better than your hand getting in the way, and depending on where your handle is mounted you can make the contact point between the handle and the work piece very small.

For this skateboard, I could attach the handle on the back of the board where the grip tape was - so there was no handle interference with the surface to be painted.
Step 4:
With the container of water ready you just need some acrylic spray paint colour combinations you want to apply. I had a few old spray paint cans that could be used up here, and almost any combination looks good with this technique.

Of course you're going to need to wear some protective gloves so you don't get paint all over your hands when you dip.
Step 5: Get Spraying
Here's where you can get really creative! Spray a generous amount of one colour directly onto the water, you can do one big spray in the middle of the container or a few smaller sprays around the surface. Different spray locations will produce different patterns. Don't overthink it though, the pattern will change quite a bit with each successive spray.

Paint will float on water. Switch up colours and give a few blasts of the new colour over the first.
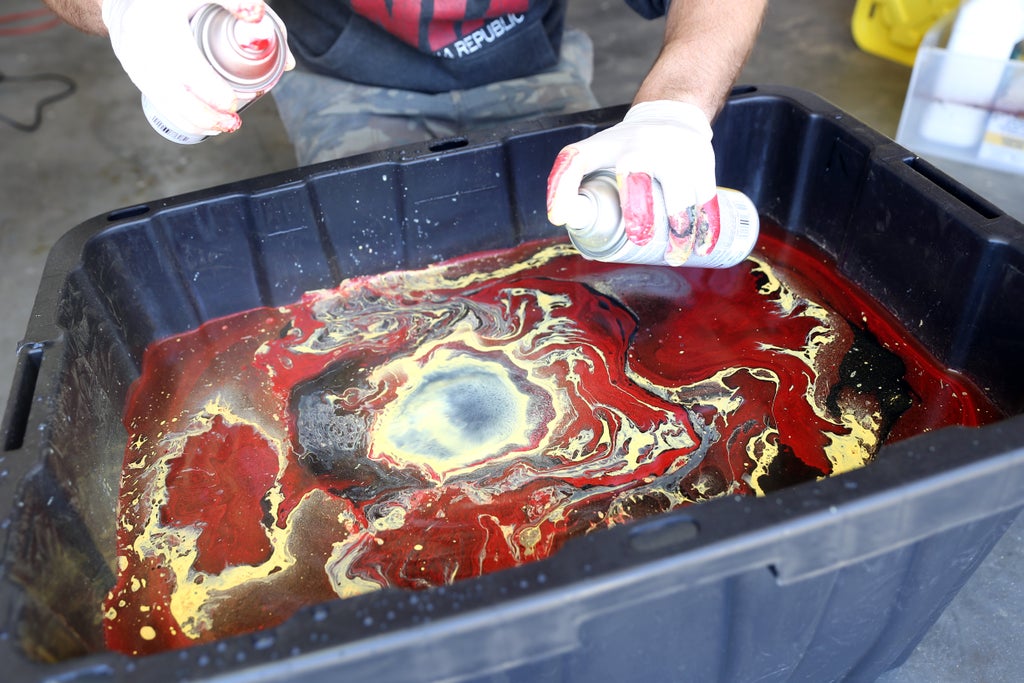
Grab a spray can in each hand and keep spraying all over the water surface, creating all kinds of crazy patterns.
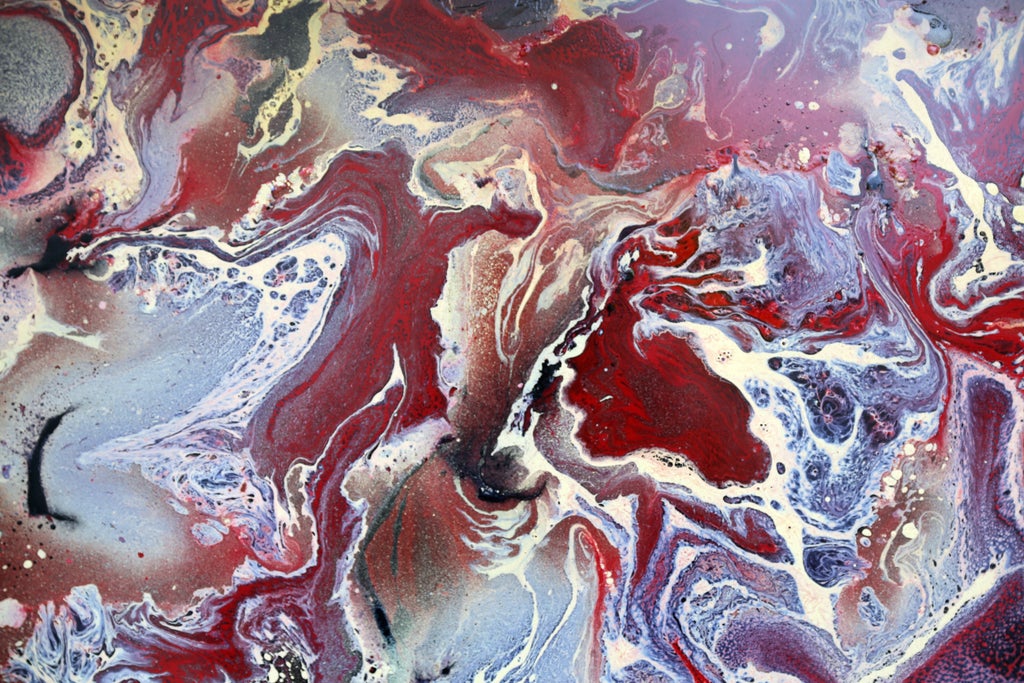
The best part about this process is that the spraying action does all the work creating the patterns. So all you have to do is keep spraying until you're happy with how it looks.
Step 6: Dip!
Now the fun part, dipping!
The paint will stick to whatever it comes in contact with. If you push your work into the water and through the paint it will stick to the first surface, you'll notice that sometimes the paint can even wrap around the piece and stick to the topside of the piece as well. Depending on the results you want to achieve this may be the look you want, if you only want to cover a certain side of your work then cover the side you don't want painted with petroleum jelly to inhibit the paint from sticking
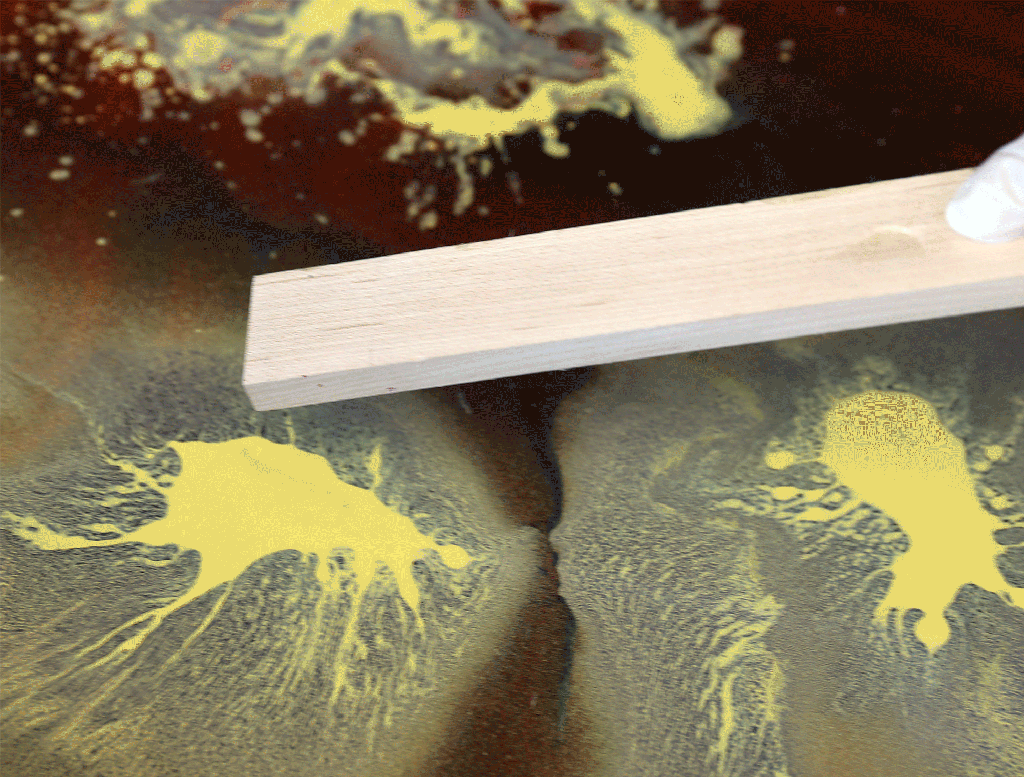
Push the work into the water until it's completely submerged. You'll find different results depending on the angle on which you submerge your work, and the speed.
Step 7: Disturb Water Surface
If you don't want paint to cover the top of your work as you bring the piece out of the water you'll need to disturb the water and push away the paint to make a clear spot in the water.
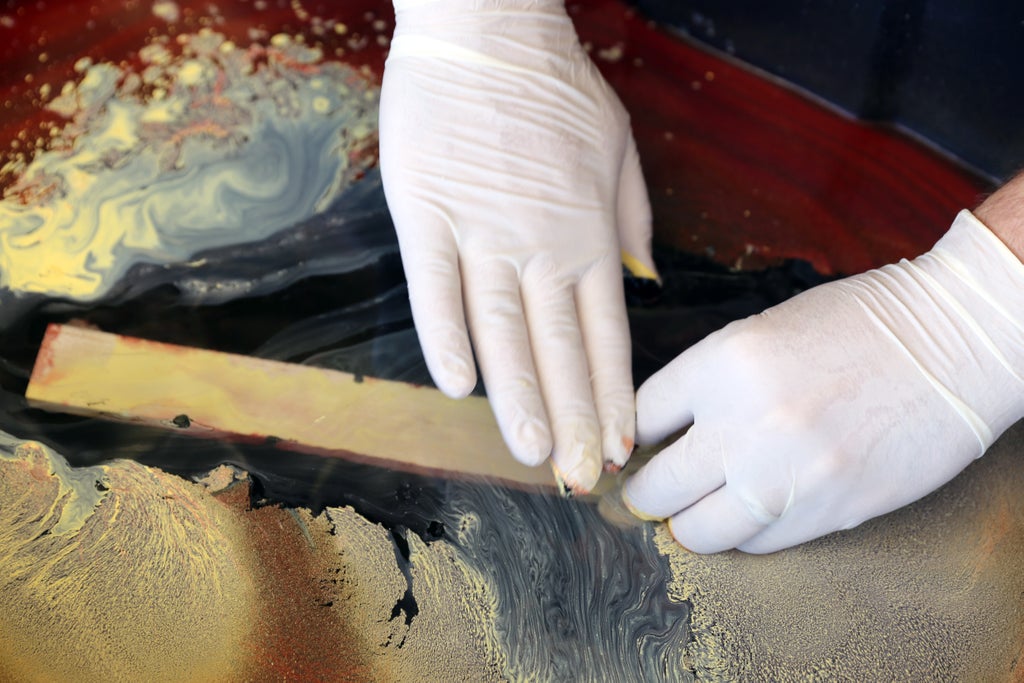
You can shake the piece underwater to agitate the water surface, or push the paint away with your hand. Alternatively, you can leave the surface undisturbed and create another pattern on the topside of the piece as you extract it from the water.
Step 8: Larger Dips
For the skateboard dip I needed to dip one side, then reapply a few more blasts of spray paint onto the water and then re-dip the other side.
The paint swirls will overlap and won't be noticeable since the pattern is so chaotic.
Step 9: Clearing Paint
The paint is very sticky and should have no problem sticking to your dipped piece. This also means it will stick to the sides of the container, your hands, and anything else it comes in contact with. Use caution!
Step 10: Let Dry
After dipping your piece is going to be wet, both with paint and water from the bath.
Let your work dry completely before handling. I left my skateboard for about 2 hours before I could touch it and have it not feel tacky.
Step 11: Remove Handle + Protect
Once dry you can remove the handle.
To prevent the paint coming off it's wise to protect your work with a polyurethane spray
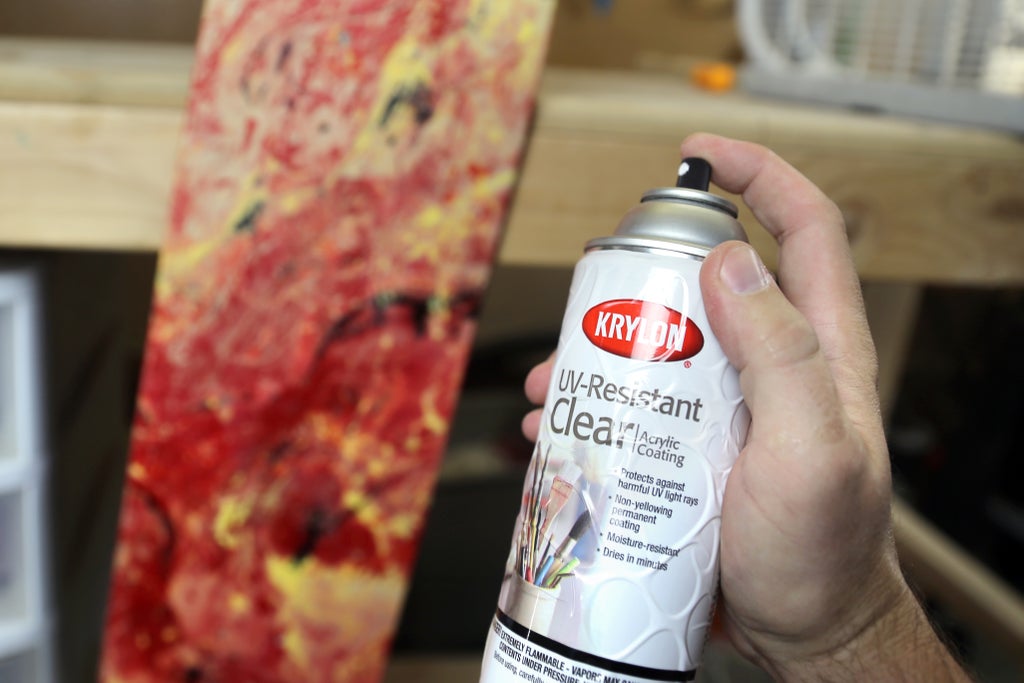
Apply the spray like with any other project, spraying about a foot away in even sweeps across entire piece. Allow to dry for about an hour before applying a second or third coat.
Step 12: Happy Dipping!
Now you know the basics of how to paint with hydro-dipping, you're ready to make all kinds of one of a kind dipped designs. Here's the skateboard I dipped from both sides to get good coverage. Can you tell where the overlap is?

There's loads of ways to take this to the next level, like making multiple dips with contrasting colours or partial dipping.
Have you done your own hydro-dipping? I want to see it!
Happy making :)


