Introduction: Putting Together an IAC Dimension 4 Workbench


More by the author:


About: Your Resource for Static Control, Labeling & Identification, Soldering & Desoldering, Industrial Chemicals & Tools, ESD & Clean Room Garments, Workbenches, Safety Equipment, Tape & Adhesives, Warehouse Supplie…
We'll need the following tools to assemble an IAC Dimension 4 Workstation:
- a rubber mallet
- an 8"-long Philips screwdriver
- a tape measure
- and two wrenches: sizes 7/16" and 1/2"
- a rubber mallet
- an 8"-long Philips screwdriver
- a tape measure
- and two wrenches: sizes 7/16" and 1/2"
Step 1: Attach Side Brackets to Uprights

Place the uprights on the floor to attach the side-support brackets. Brackets should be 1.25" below the desired working height. Hand-tighten these screws, for now.
Step 2: Assemble Accessory Brackets

Pre-assemble the screws into the accessory brackets. Do not tighten these yet. Place the accessory brackets on the uprights, making sure that the brackets are at the same height on each upright, and then tighten.
Step 3: Add Back Panel

Put the two uprights together with the back panel, but do not tighten the back panel until the side brackets are at the same height.
Step 4: Attach the Work Surface

Place the worksurface on the side brackets and check to make sure that the worksurface is in contact with both side brackets and the back panel. Tighten all screws on the worksurface.
Step 5: Add Accessories
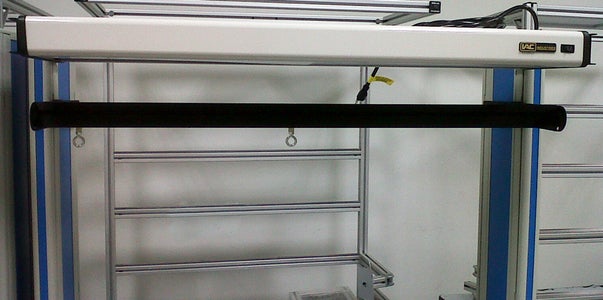

When the surface is secured, lift the workstation upright and attach any accessories, such as a light fixture or tool trolley. If the unit has a footrest, attach it and adjust the height for the operator who will be using it.
Step 6: Add the Electrical Channel

When adding the electric channel, consider whether any electrical devices will need to be plugged in above or below the worksurface.
Step 7: Tighten All Screws
Make sure all the screws are tightened. If you will not use be using the workstation immediately, be sure to cover it to prevent any damage.