Introduction: Rubber Cement and Contact Cement
Ah, yes. We've come to our lesson on Rubber Cement and Contact Cement. In this lesson, I'll brifely touch on the different kinds of cement available, what they are used for, and the kinds of repairs you can make with rubber and contact cement, before we dive into a fun decorative project.
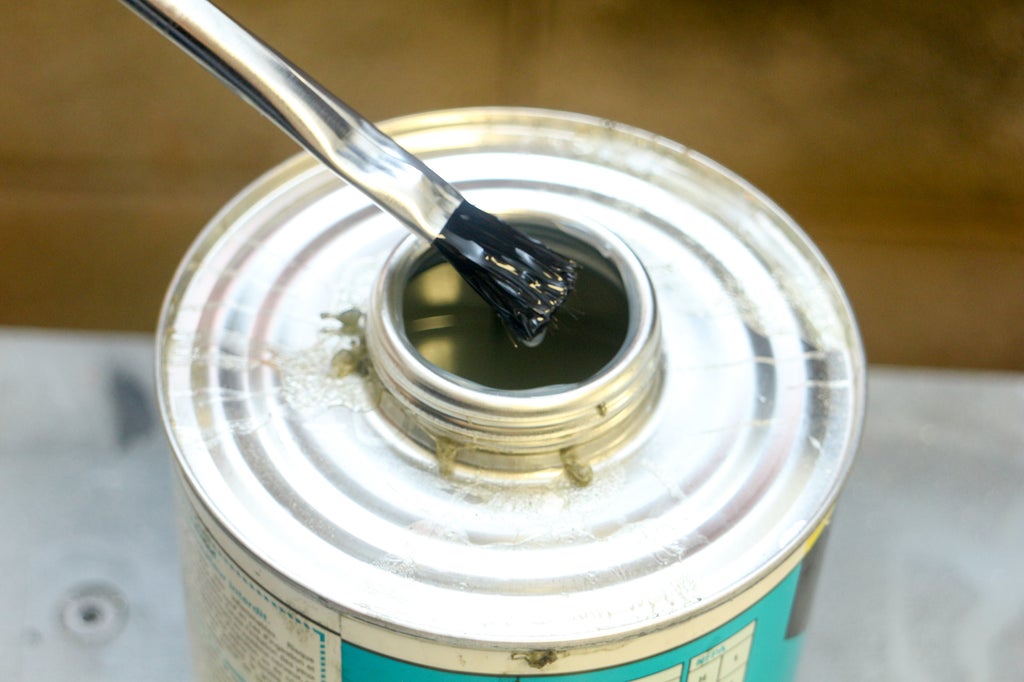
Rubber cement is most likely an adhesive that a lot of us have been using since we were kids. Remember the first time you opened the jar with the cute little brush in the cap, and had the thought "This smells awful! I shouldn't be anywhere near this goop!"?

Rubber and contact cements are so stinky because they are a very specific kind of glue which suspends synthetic rubber polymers in a solvent.
Rubber and contact cement are made from elastic polymers, like latex or neoprene, or some other synthetic rubber, that has been dissolved and suspended in a solvent such as acetone, hexane, toluene, or even water. Keeping the rubber in a solvent solution allows the rubber to remain fluid enough to be spread and used as an adhesive.
These cements are considered drying adhesives, meaning that as the solvents evaporate, the "rubber" portion remains behind, ready to form a strong and flexible bonds.
There are many different kinds of rubber and contact cements, some that work as a multi-surface adhesive, others are designed to work on specific surfaces. Always be sure to read the back of the bottle to make sure your surfaces will be able to be mated with the adhesive you are choosing.
Lastly, I would say that Rubber Cement is the number one most misused glue. That's right, I'm calling you out - you've been doing it wrong. But the steps and projects below will cement you back on the right path :D
Step 1: Tips and Uses
Rubber Cement is pretty special in that is has the ability to form repositionable OR permanent bonds.
If you need to create a repositionable bond (I'm lookin' at you, scrapbookers), coat the back of your bobble, and allow the cement to cure completely before applying it to your paper
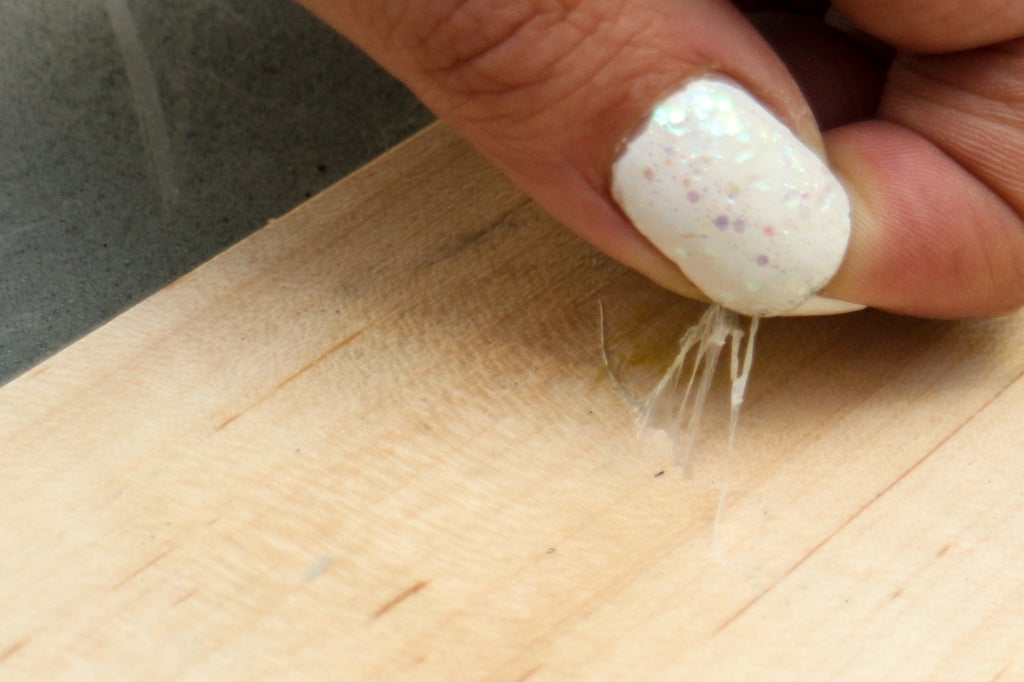
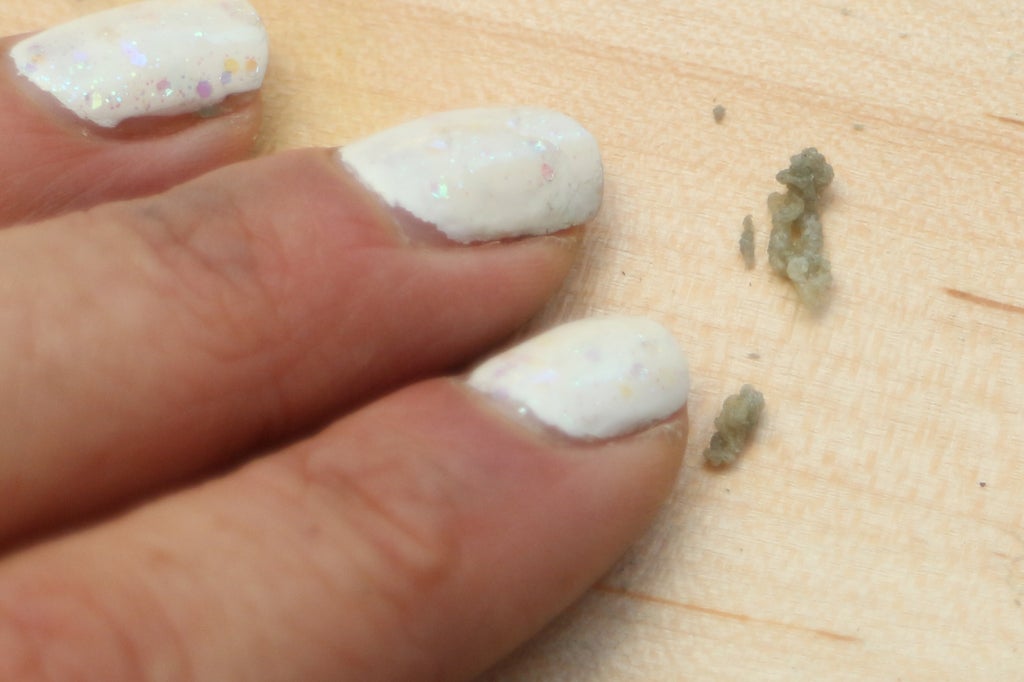
If you ever have applied an excess of rubber cement, it can be removed without damaging your bonding surface or wrinkling the sheet of paper by gently pulling it off - they also make handy rubber cement erasers that help lift excess up.

To join two materials permanently, one would apply cement to both the surfaces.
Rubber cement is an adhesive made from elastic polymers (typically latex) mixed in a solvent such as acetone, hexane, heptane or toluene to keep them fluid enough to be used. Water-based formulas, often stabilised by ammonia, are also available.
There are even paper specific rubber cements, used by paper crafters and scrapbookers worldwide!
Rubber cement can be removed from non-porous materials. So if you apply it to glass or metal, it forms a non-permanent bond with another surface. I used this technique to stick paper to windows for creative signage and decoration.

Contact Cement is INTENSE stuff. It usually smells heavily of solvents and forms very permanent bonds. When working with contact cement, it is often suggested to use a respirator and to work in very well ventilated areas.
Contact cement is most commonly used for construction grade laminating, this means adhering countertops to cupboards, and metal flashing onto the sides of buildings. Things that need to be VERY STUCK in place.
This adhesive is interesting, in that it never fully cures. The solvent completely evaporates, leaving behind a layer of tacky, rubbery glue polymers - ready to grab on to like polymers coated onto another bonding surface. When the surfaces are mated - the bond is instant.
If the contact cement you choose to work with needs to be thinned, be sure you are adding the same solvent the rubber is already suspended in.
Step 2: Removal
Removing rubber cement is usually pretty easy, it should just peel back from whatever surface you have applied it to, or you could the aforementioned eraser.


This easily removed adhesive property makes rubber cement perfect for masking off metal fixtures when painting. When the glue dries, it becomes a spongy solid and can be peeled back carefully from the part you were protecting.
On the other hand, removing contact cement can be cause for lots of aggravation. This stuff LOVES to be stuck to stuff.
In my experience in working with this class of adhesives, there are three approaches to removing contact and rubber cements:
- Heating the glue til it can be sloughed or scraped off your surface,
- mechanically trying to remove the dried adhesive with sandpaper or a chisel,
- and verylastly, solvents.
The above video goes over the heating and sanding of glue, be sure to wear a respirator when heating up your contact cement, and to work in a well-ventilated area.
If you are needing to remove cement that is still stuck to your surface with a solvent, you should use the same solvent that your contact cement is suspended in. Like with like. This means if you have a toluene based glue, you could apply toluene solvent to a rag and soak your dried cement to see if you can work it up that way. This method takes a long time, and should only be used as a last resort.
SUPER SAFETY WARNING! Do not heat your glue once you have applied solvents, solvents ignite quite easily, and it would be a shame to have whatever you are working on burst into flames. When working with any solvents it is important that you wear gloves and perhaps a respirator depending on the VOCs of the chemical.
Step 3: Repair
Without a doubt, rubber cement is most commonly used as part of fixing a punctured bike tube.
Instructables author andrea biffi does a great job going over the steps of how to fix a flat, but let's take a second to think about why we want to Rubber Cement for this kind of repair.
- Rubber cement is a dry and flexible adhesive. After the solvent solution dissolves, and surfaces are mated, bonded surfaces are held together by a thin layer of expandable rubber, making it perfect for inflatables, or things that need to flex or stretch.
- Rubber is also inherently great at absorbing vibration and chatter, more industrial forms of rubber or contact cement can even be used to fix machine belts.
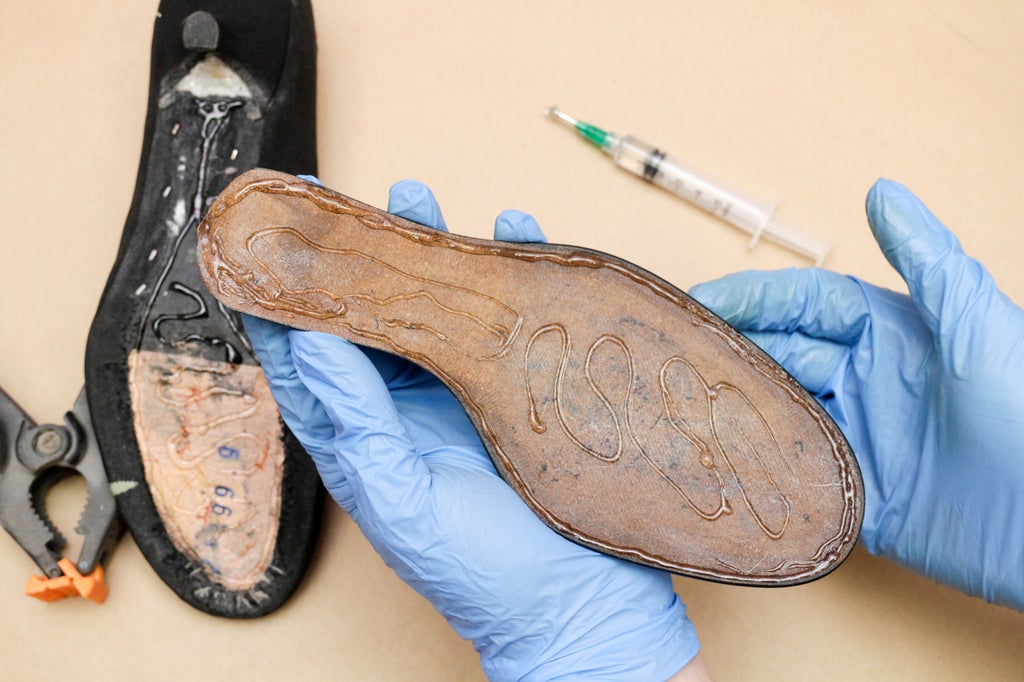
Using the same principle of laminating two pieces of rubber to create a chatter-proof seal, I repaired the rubber footing on my friend's bouncy stilts!
The following video will go over how to laminate two sheets of rubbery flexible materials to one another.
This lamination technique can be applied to both rubber cement and contact cement - apply to both of your surfaces, allow the liquid to dissolve, then very carefully mate your surfaces.
Step 4: Class Project
One of the best uses for rubber cement is laminating sheets of paper together. Check out this 'bill-pad' Instructables author Randofo made.
Check out this paper flower exercise, they are super fun and truly demonstrate why rubber cement is great for permanent paper bonds.
Next up, we'll tackle industrial adhesive and some really nifty application techniques.
Step 5: Quiz
{
    "id": "quiz-1",
    "question": "How do you create a repositionable bond with rubber cement?",
    "answers":[
        {
            "title": "Coat both bonding faces with glue, allow to dry, then mate surfaces",
            "correct": false
        },
        {
            "title": "Coat one bonding face with glue, allow to dry, then mate surfaces",
            "correct": true

        },
       {
            "title": "Coat one bonding face with glue, then mate surfaces",
            "correct": false
        }

    ],
    "correctNotice": "That's correct",
    "incorrectNotice": "That's incorrect"
}
{
    "id": "quiz-2",
    "question": "It is safe to use heat after applying solvents to your project?",
    "answers":[
        {
            "title": "True",
            "correct": false
        },
       {
            "title": "False",
            "correct": true
        }

    ],
    "correctNotice": "That's correct",
    "incorrectNotice": "That's incorrect"
}
{
    "id": "quiz-3",
    "question": "After the solvent evaporates from applied Rubber Cement, what remains?",
    "answers":[
        {
            "title": "Nothing. All the adhesive properties diminish when the solvents evaporate",
            "correct": false
        },
        {
            "title": "A thin fleixible layer of rubber that holds parts together",
            "correct": true
        },
        {
            "title": "A layer of rubber that can never be removed from the surface it was applied to ",
            "correct": false
        }

    ],
    "correctNotice": "That's correct",
    "incorrectNotice": "That's incorrect"
}


