Introduction: Pumpkin Teeth

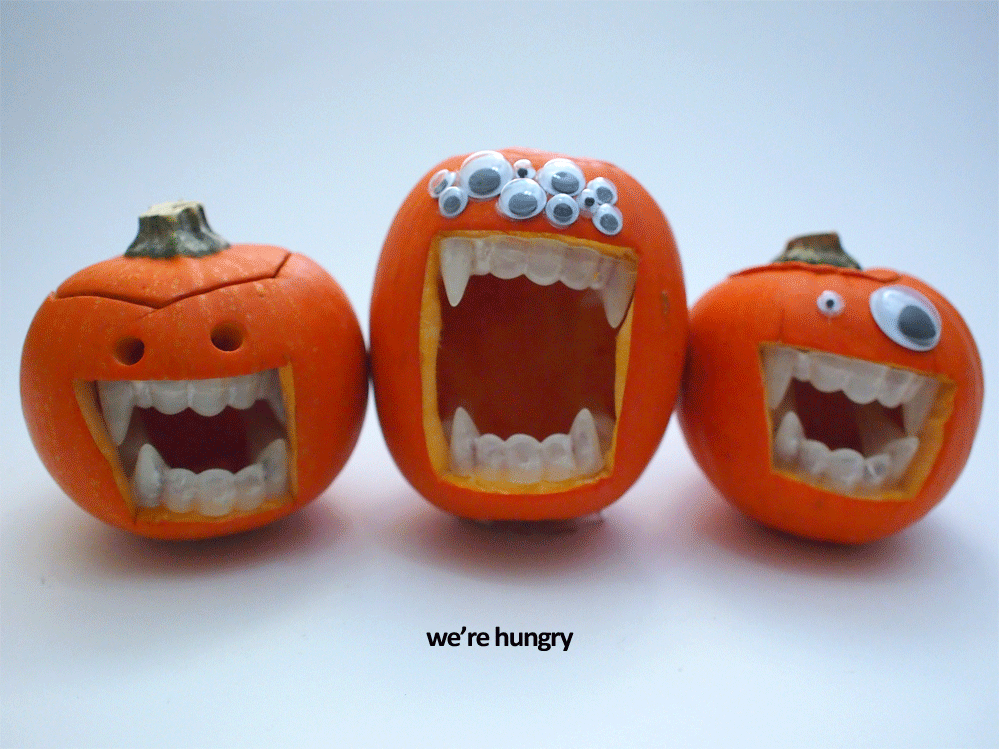
Halloween isn't the same without pumpkins. This year, take your pumpkins to the next level by adding some terrifying teeth! These toothy mini pumpkins were made by adding plastic vampire fangs in a mouth opening. This simple trick produces great results, and is super easy to do. No special carving required!
This is a fast, fun, and easy project to complete. All you need to make your own are:
- plastic vampire teeth (mine glow in the dark)
- mini pumpkins
- sharp knife

Ready to make some scary pumpkins?
Let's go!
Step 1: Scoop Innards, Make Mouth
Cut an opening around the stem of the mini pumpkin so you can scoop out the guts and seeds. Using a spoon, dig out the pumpkin insides, save the seeds to roast later.
mouth opening:
Look for a large surface to place the mouth. Using one of the plastic teeth as a reference, small marks were made on the surface of the pumpkin for the mouth opening.
A rough rectangle opening was cut for the mouth. The mouth opening was then shaped with a knife to fit the teeth.
add teeth:
The teeth are friction fit into the mouth opening. For elongated pumpkins with larger mouth openings the teeth can be separated, then pushed into place.
Step 2: Eyes
Painting is a fun and colourful method to give your carved pumpkin sight. I found a pile of googly-eyes and was able to use hot glue to stick them to the pumpkin surface. For those who love power tools, another option is to drill round openings.
Experiment and have fun. The eyes are very expressive, and can make these vampire teeth fun or scary.
Step 3: Optional: Add Tealights
The tea lights work to charge up the glow in the dark teeth, so if you turn them off the teeth will glow.
Step 4: Optional: Appendages!
Maybe your mini pumpkins aren't terrifying enough. With a few wire coat hangars you can get creative and give your pumpkins some appendages.
Wire coat hangars were cut and straightened, trimmed to uniform length, then bent into shape. I made spider legs of one pumpkin, and arms for another.

You're ready to display these adorable toothed pumpkins around your home or office. This fast and fun project is a great twist on the classic carved pumpkin, and there's loads of room to personalize.
Have fun!

Have you made your own pumpkin with teeth? I want to see it!
Share a picture of your version of this project in the comments below. Happy making :)
Happy Halloween!


