

Introduction: 3D Printed Book Cover With Magnetic Lock


My ideation book is not just a collection of blank pages. It's a gateway to endless possibilities. Every stroke is a step closer to turning dreams into reality. However, I need inspiration to pick up that book and write new ideas. The best thing for me would be to have a very personal and unique cover that reflects my thoughts. This led me to a project of designing a completely different 3D-printed book cover. One that can be easily customized. including book lock created using a combination of compliant mechanisms and magnets. I also included a 3d printed logo embosser project in the last step
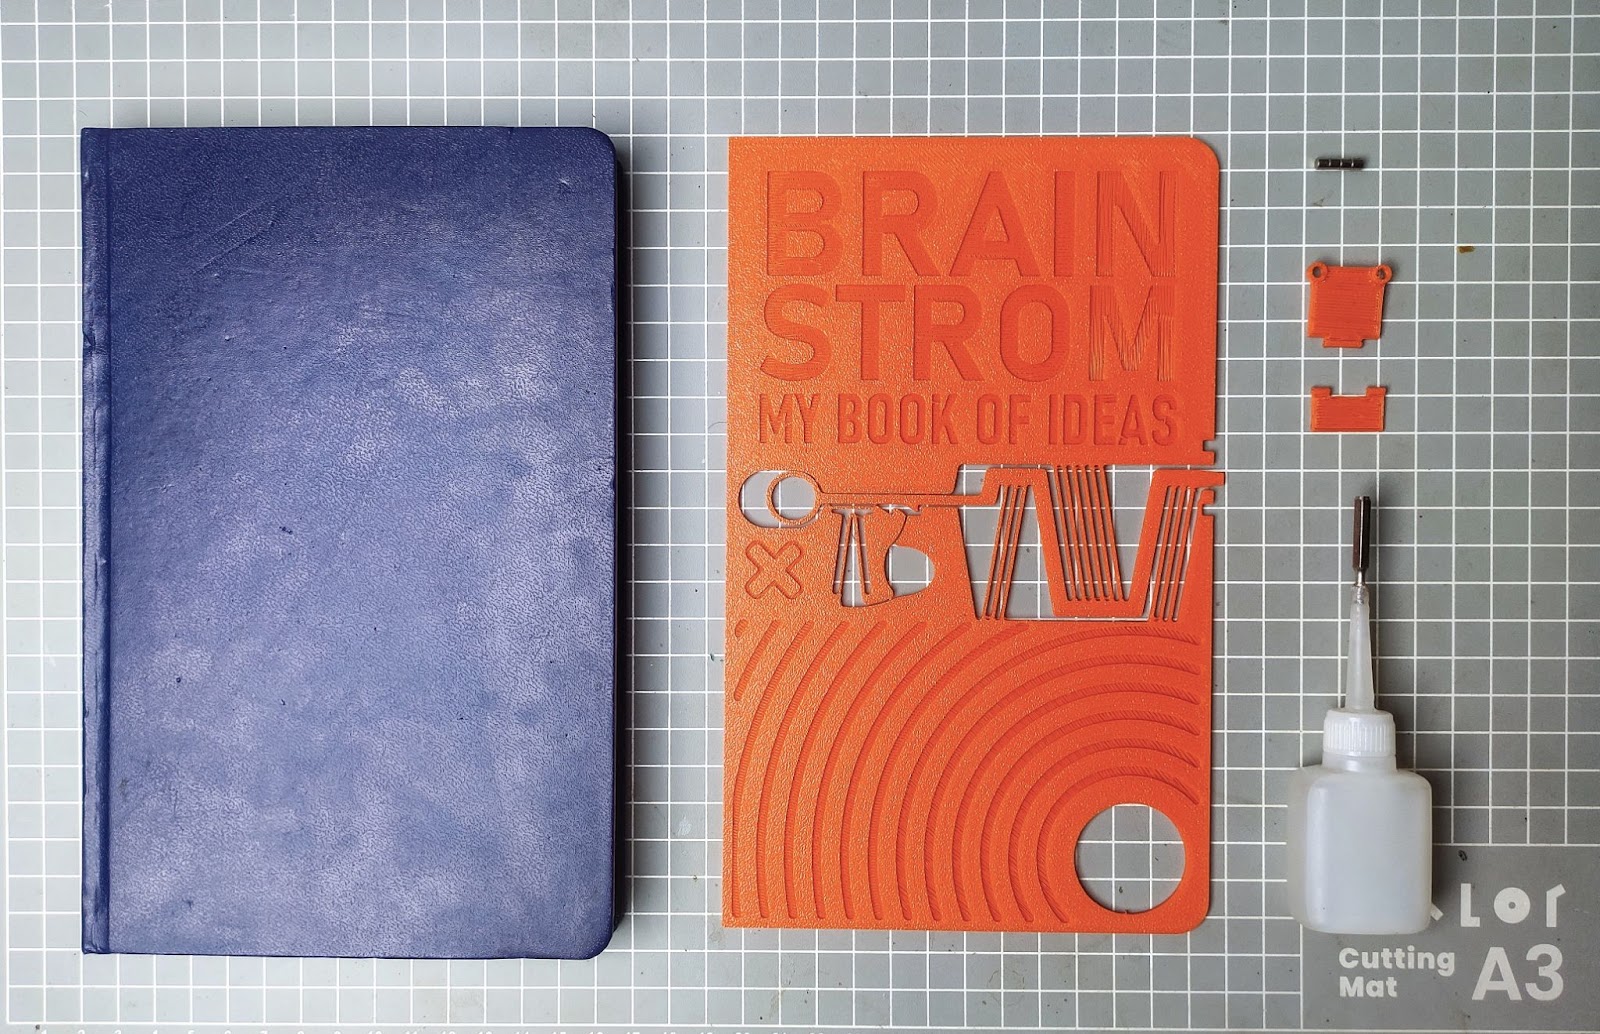
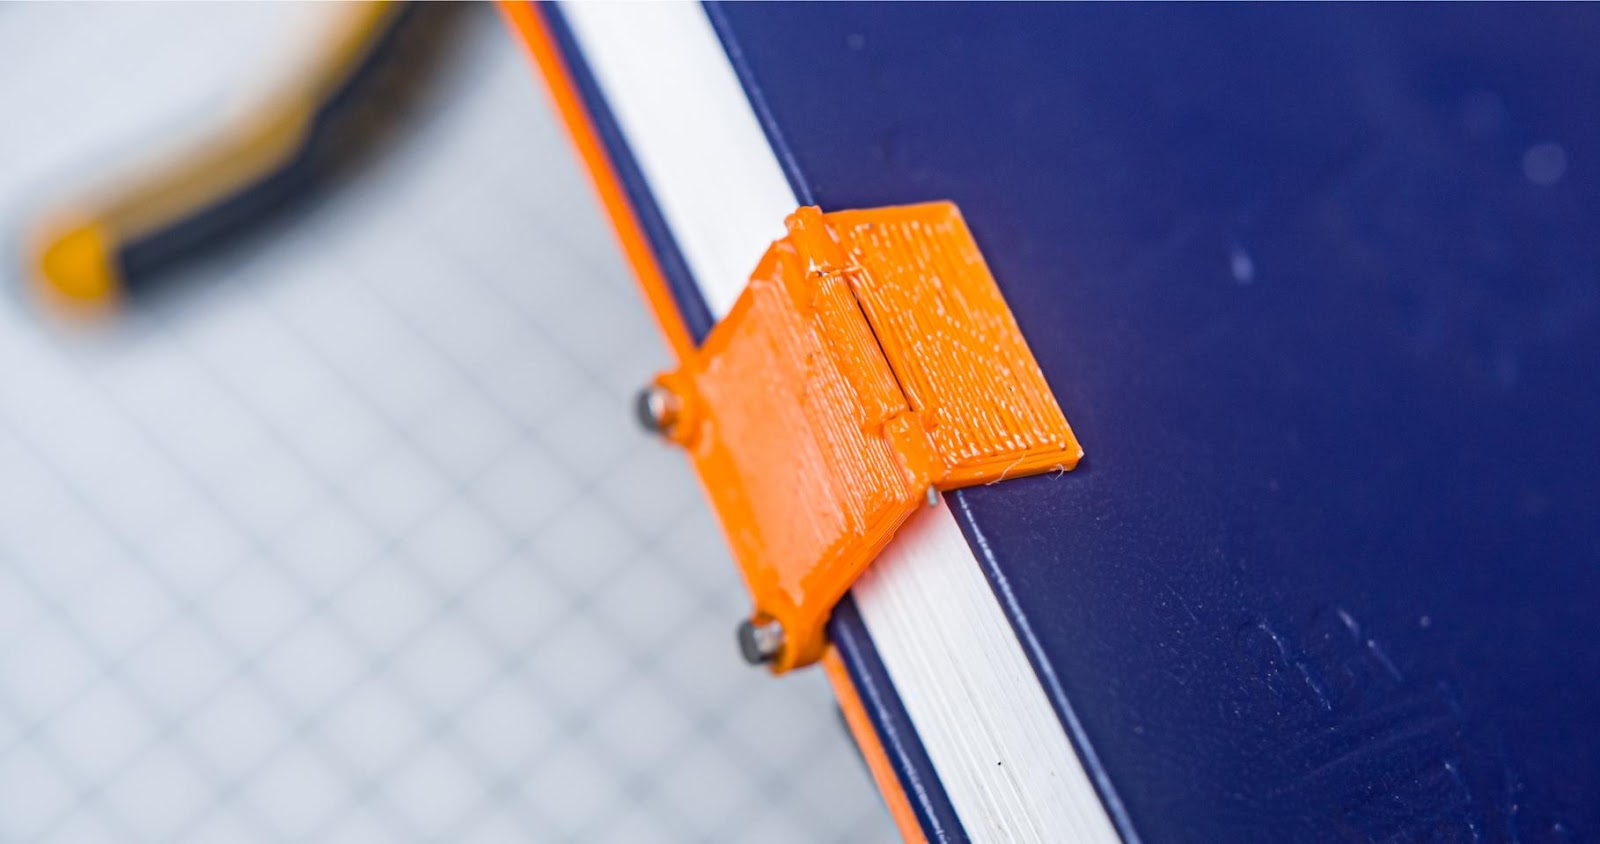
To lock the book pull back the lever mechanism and snap in the magnetic lock, and to unlock push the trigger this will strike open the magnetic lock.
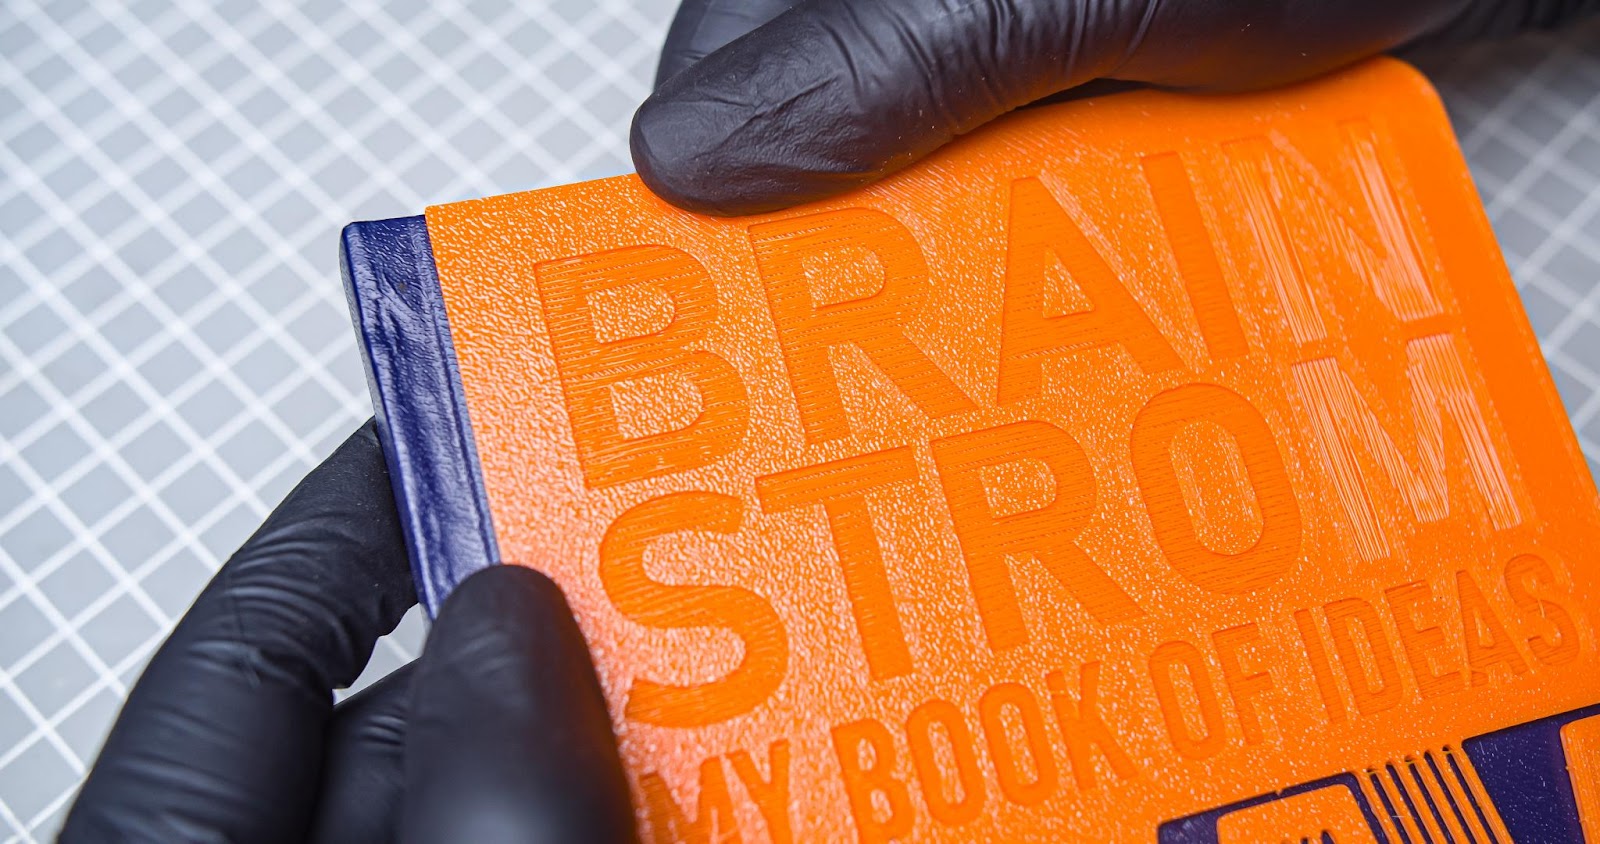
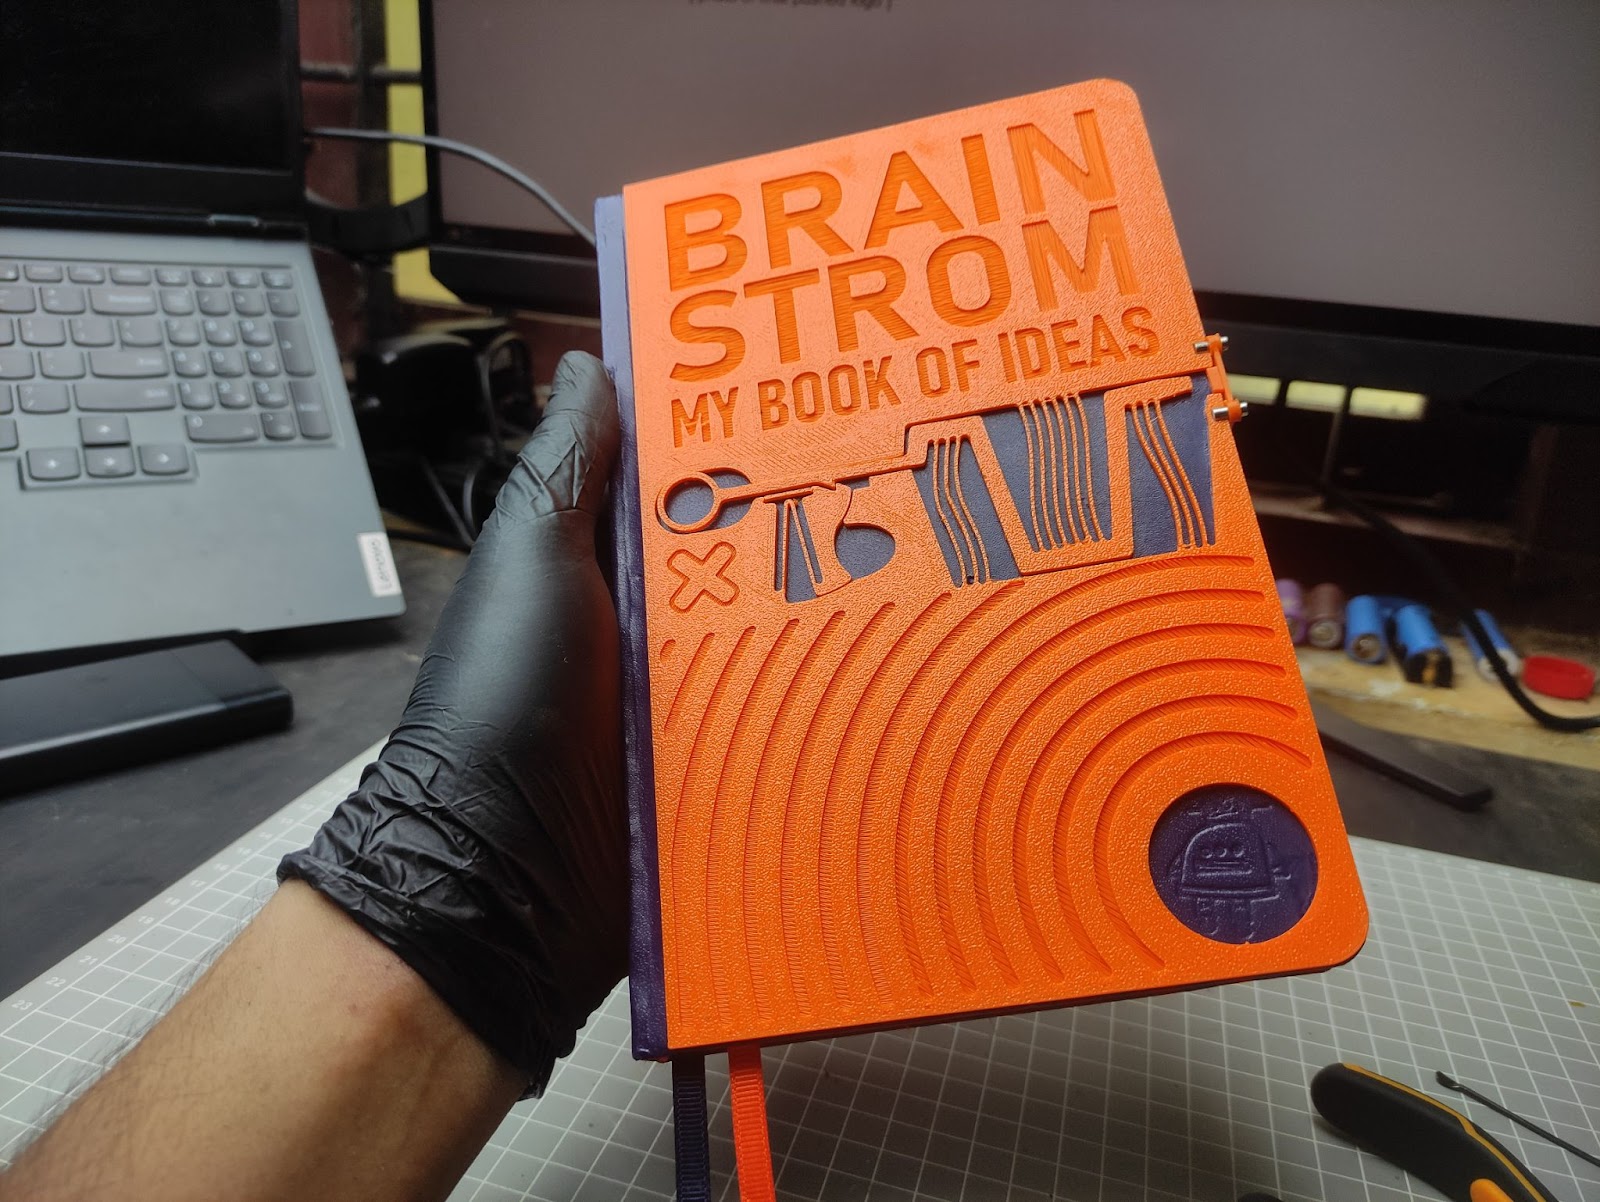
"I titled my book "BRAIN STROM", which resembles "brainstorm". However, STROM is a German word that means mining stream or current, electricity. With this name, I intend to convey the flow of ideas."
Supplies
Step 1: Designing in Fusion 360
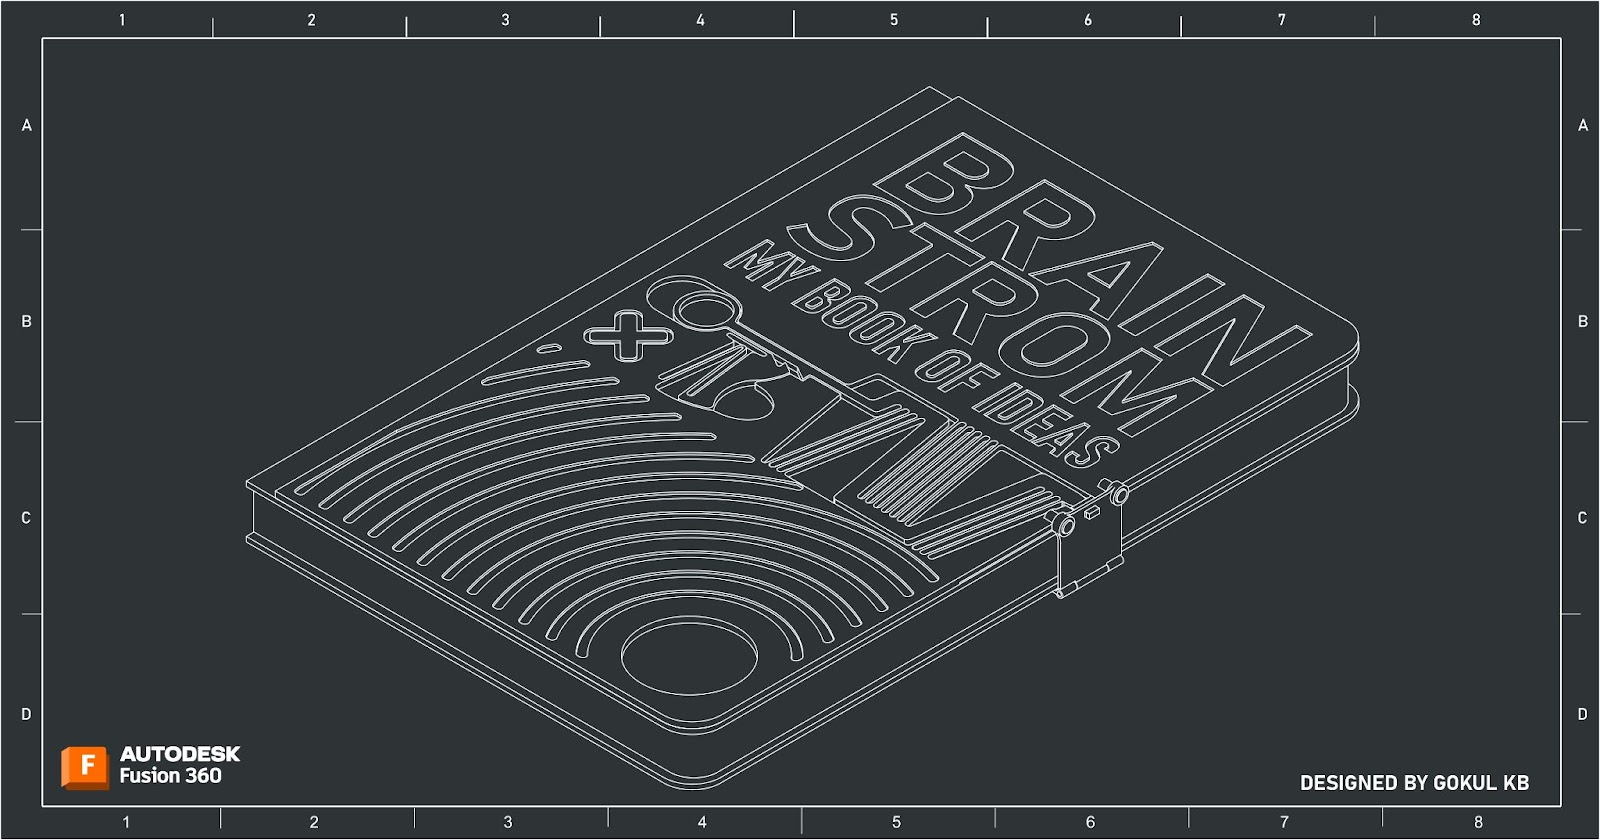
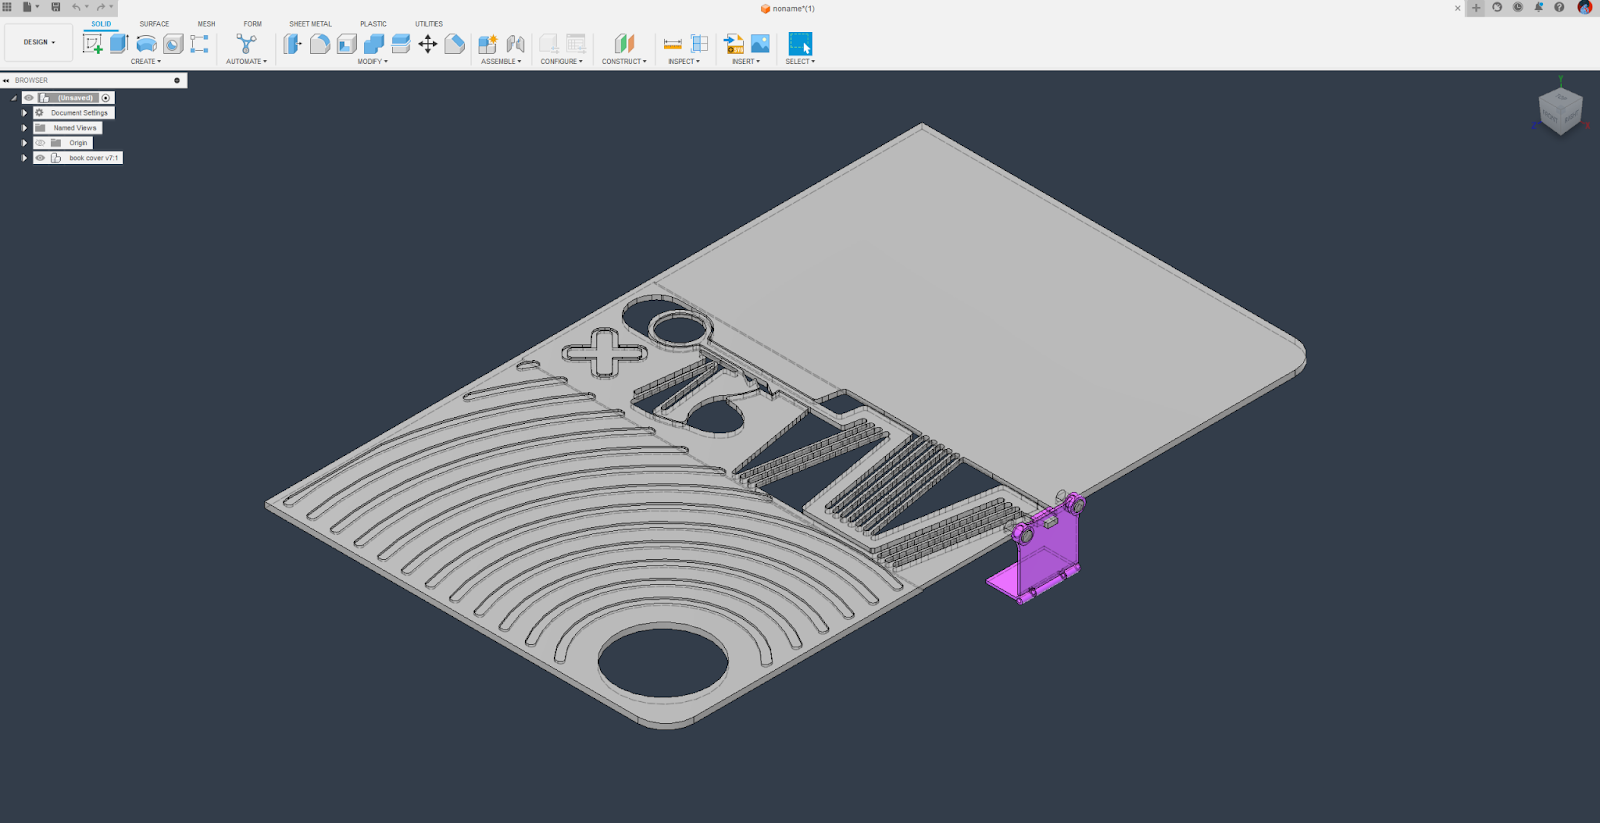
This book cover and lock were designed in Fusion 360. Any graphics software can be used to pre-plan the design. I created a replica of the book and built over that. all design files are given below. In step 2 I will talk about how to customize it to your liking
About the compliant mechanism
"compliant mechanism is a flexible mechanism that achieves force and motion transmission through elastic body deformation. It gains some or all of its motion from the relative flexibility of its members rather than from rigid-body joints alone"- Wikipedia
The Compliant Mechanisms Research and Mark Rober designed the world's smallest functional Nerf blaster, which inspired the mechanism used to strike open the magnetic book lock.
Mark Rober is an American YouTuber, engineer, inventor, and educator known for his videos on popular science and do-it-yourself gadgets. As an engineer, I find him to be a great source of inspiration. He is making a considerable effort to introduce children to science and engineering through his videos. My goal is the same. So any time I pick up this book I get inspired to do more of these projects. Also, this Mechanism is kind of fidget. It can be used to reduce stress when brainstorming ideas.
I added this by negatively extruding the.SVG file of the Compliant mechanism. I also added the .svg file if you need to build your own


Step 2: How to Customize It With Your Own Title
Step 2.1
Import the noname.step file into Fusion 360
Step 2.2
Create a new sketch on top of the cover

Step 2.3
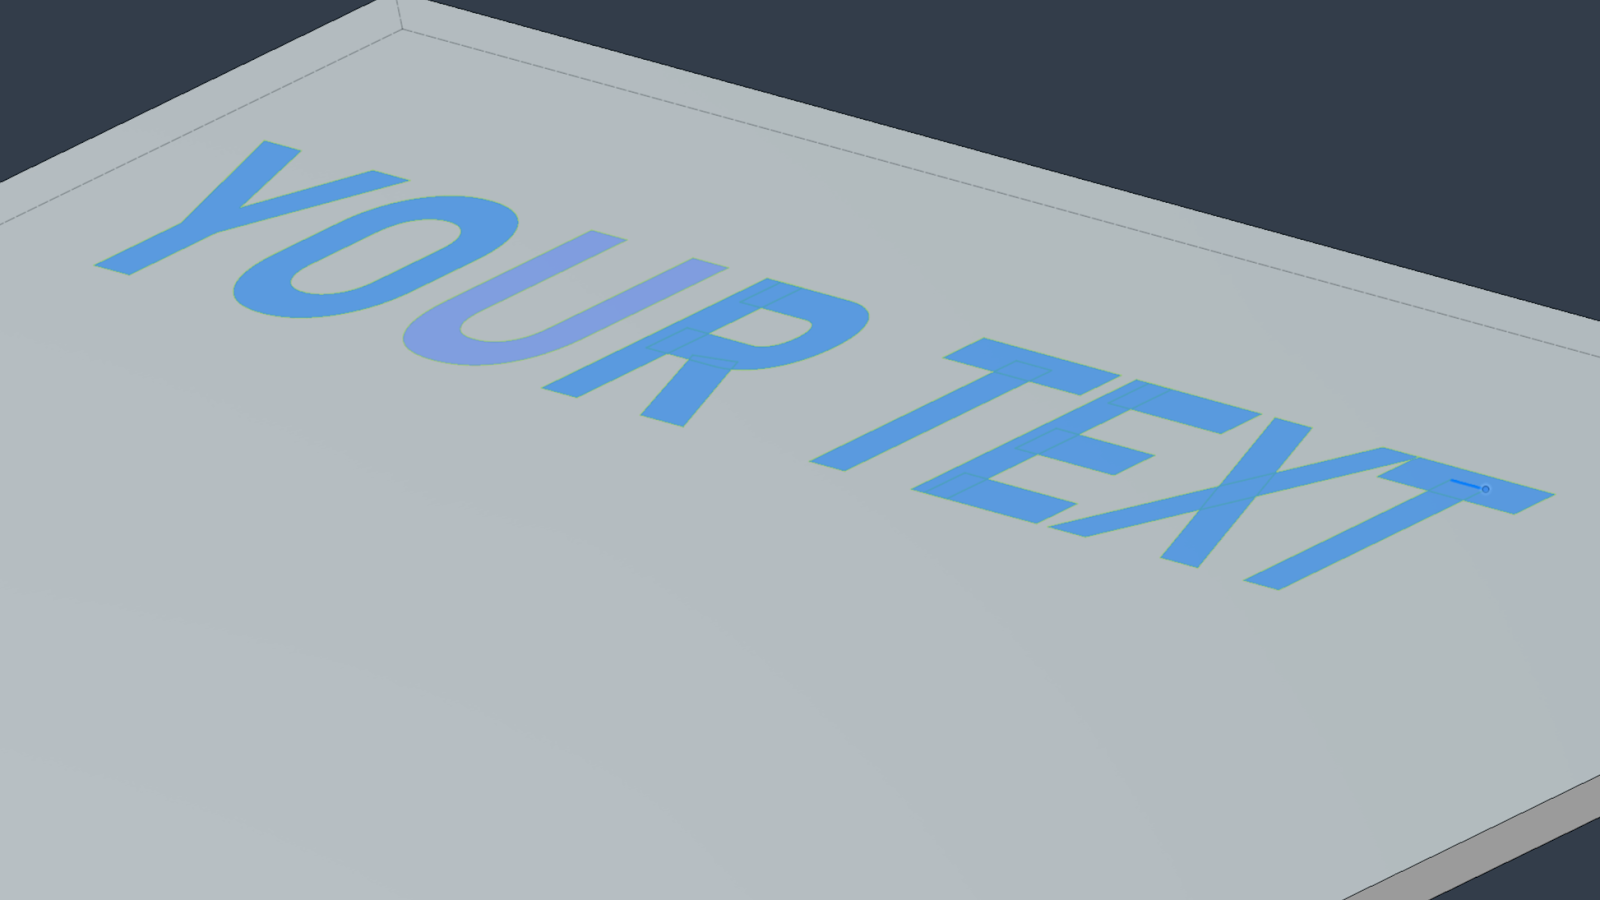
Go to Create and select “Text”. and draw a text box on top of the cover. in the text configuration window, you can type your title and change font, typeface, height, character spacing etc. After setting the configuration click ok.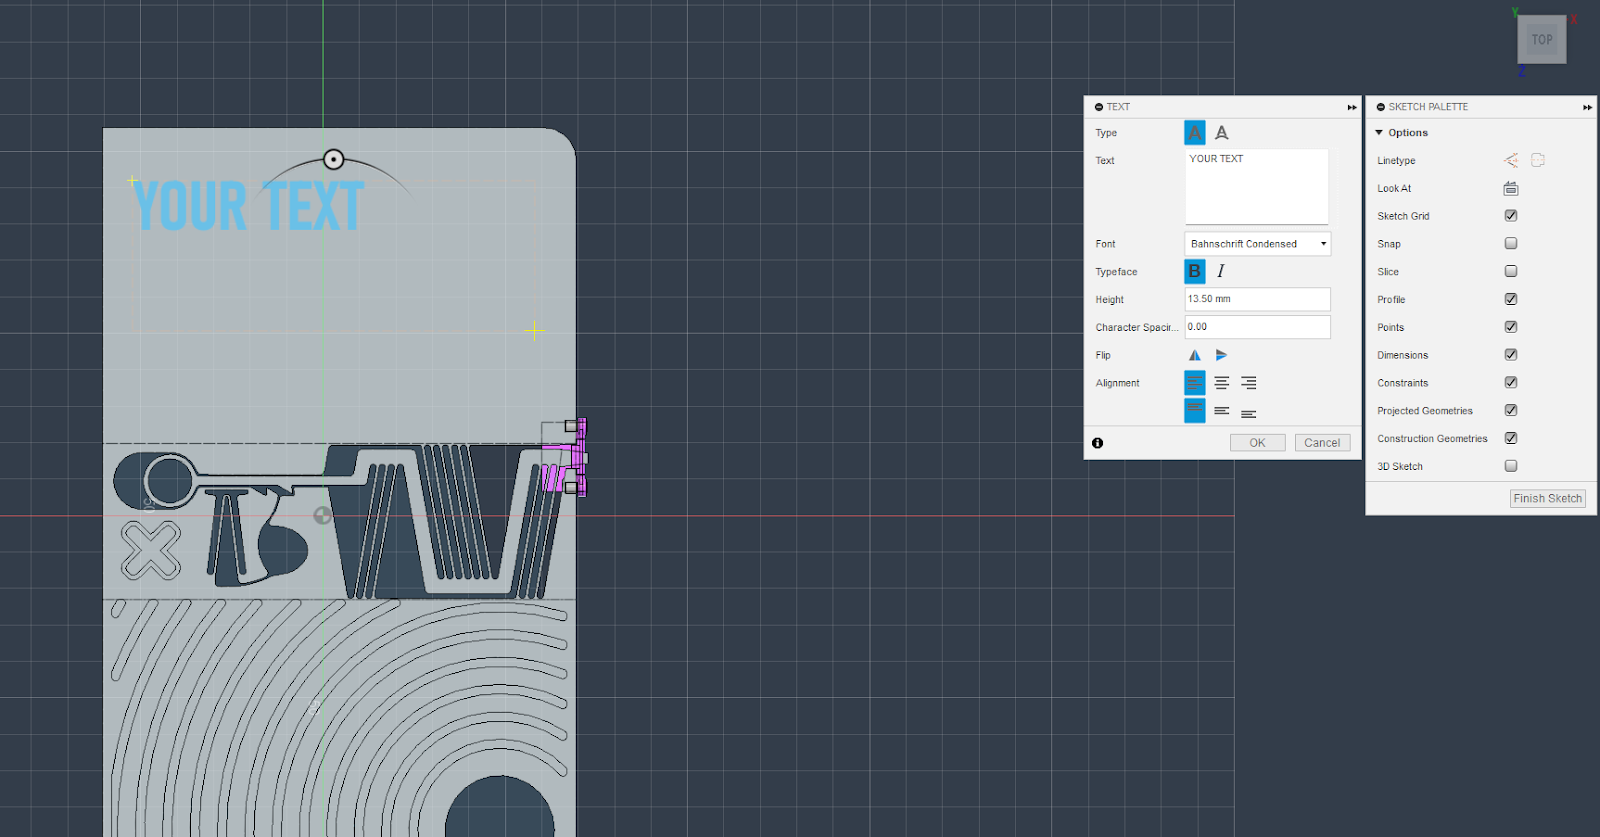
Step 2.4
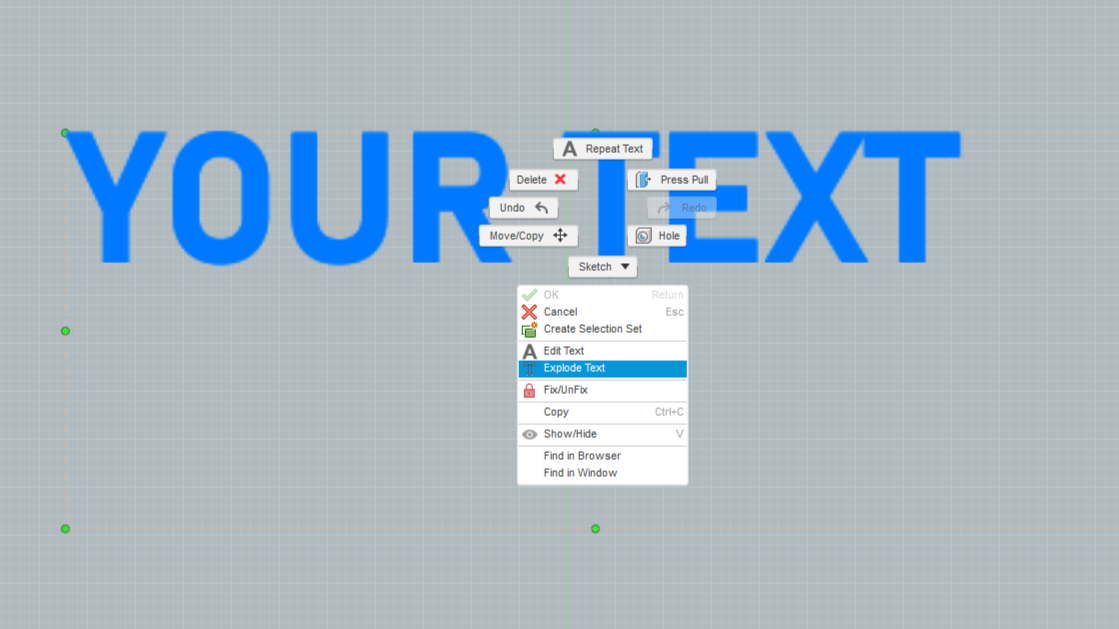
Now don't select finish sketch, right-click on the text and select “Explode Text. Now select Finish Sketch
Step 2.5
Now select all inner spaces of the Texts by holding the shift key
Step 2.6
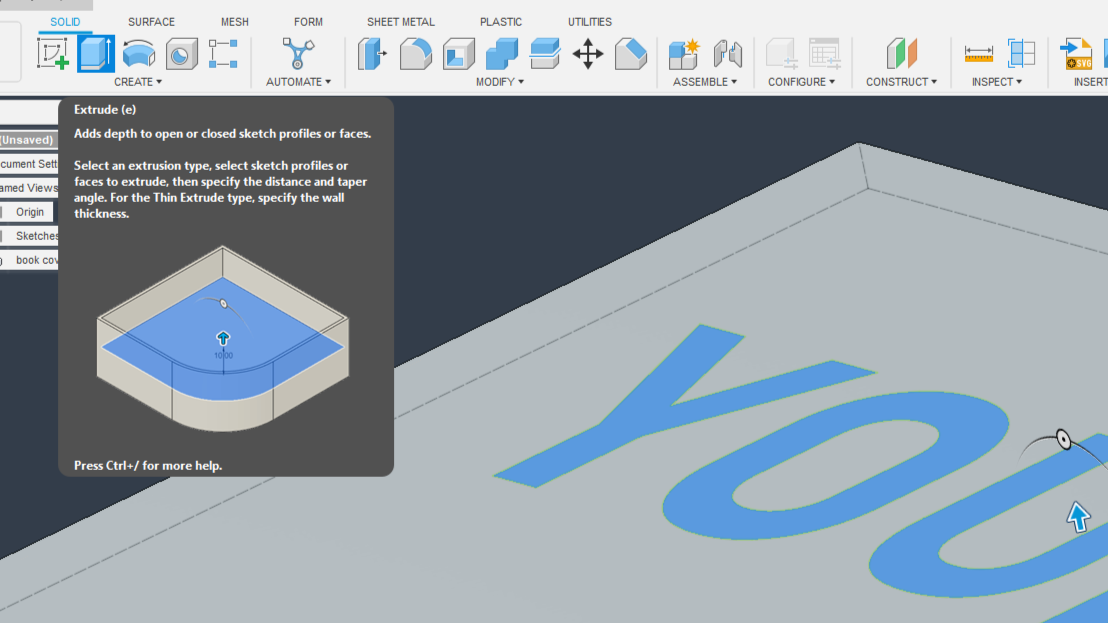
Now select the extrude tool
Step 2.7
Extrude it by -0.6mm and click ok 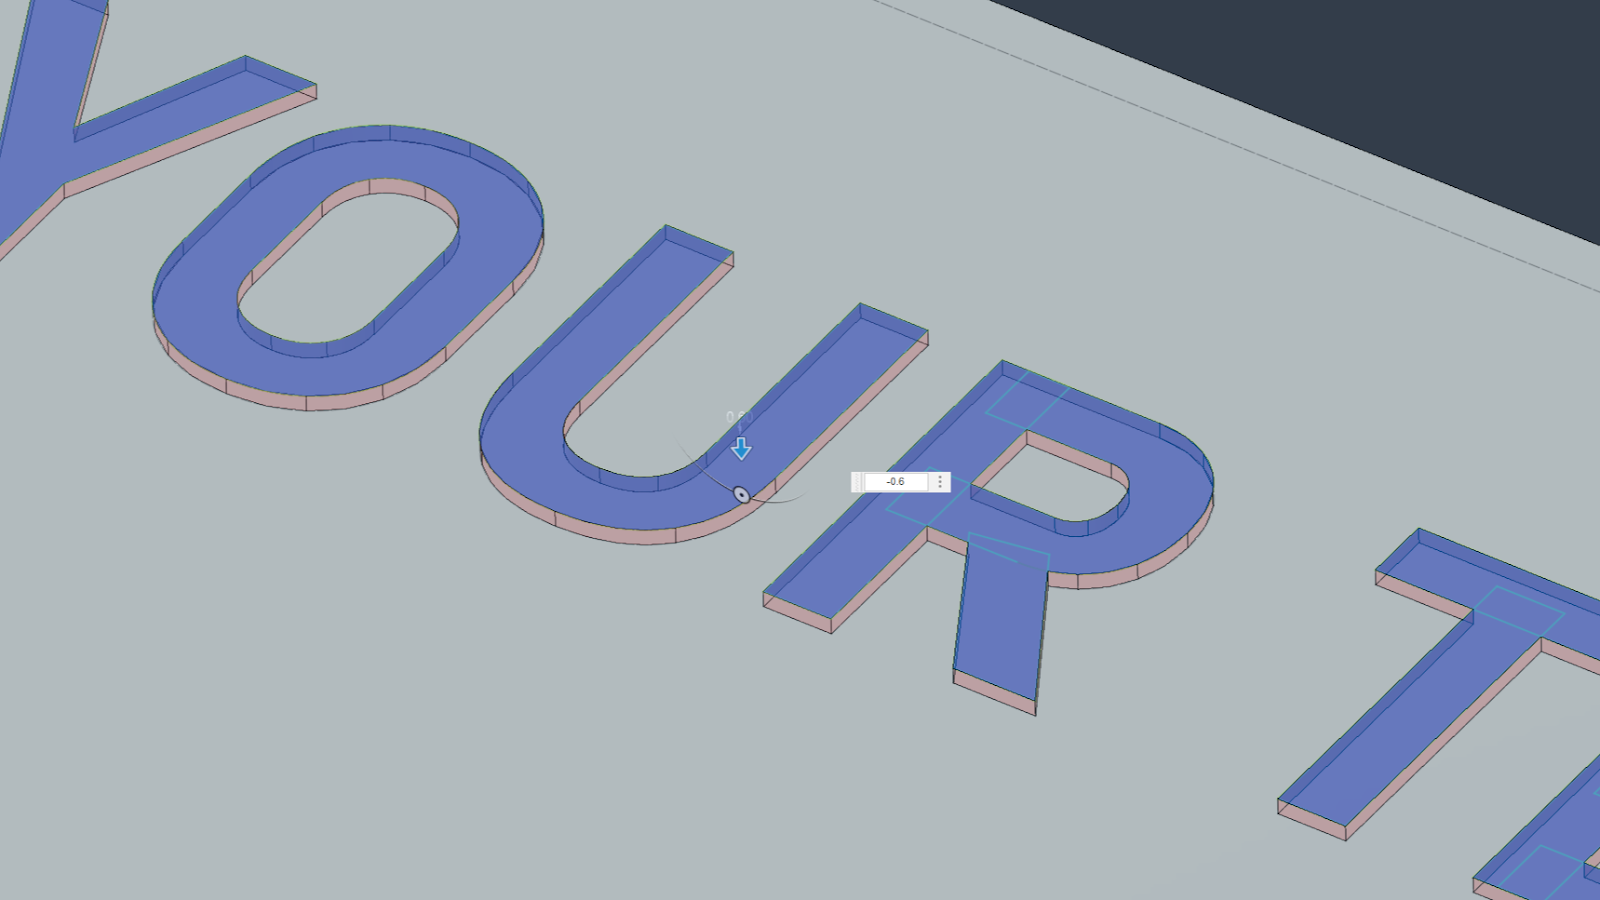
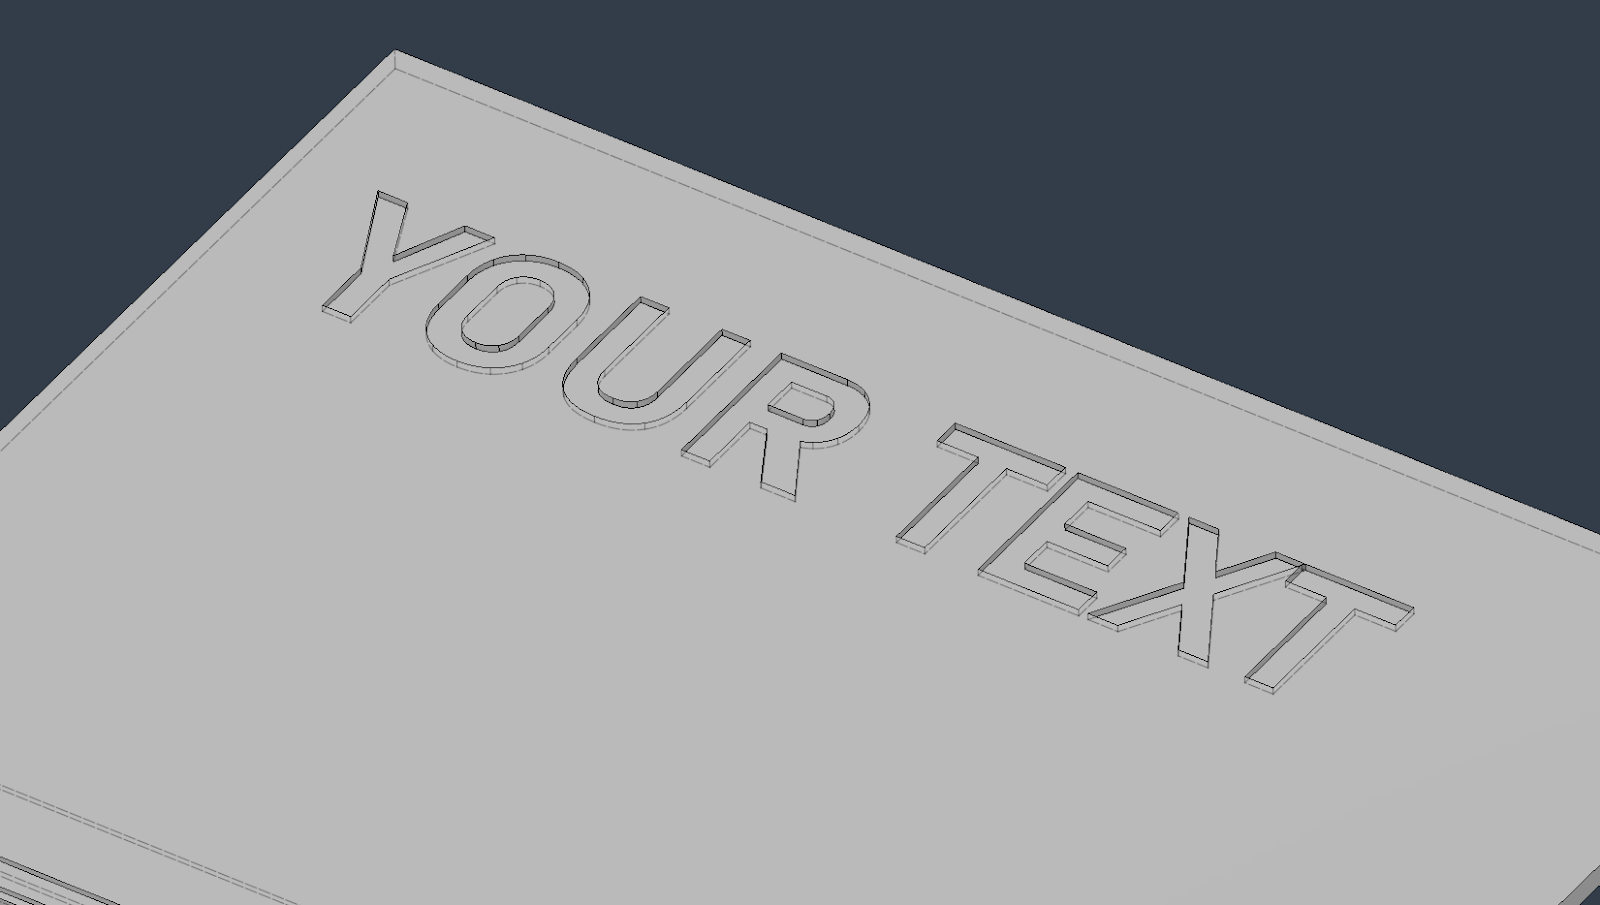
Now our text is embossed on the cover
Step 3: How to Customize It With Your Own Logo/graphics
Now let's look at how to emboss your logo
Step 3.1
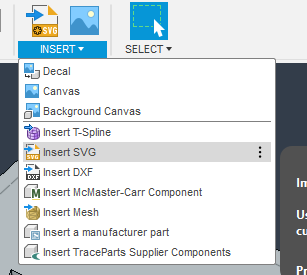
You need to have a logo/graphics saved in .svg format .import that file using “Insert SVG’’
Step 3.2
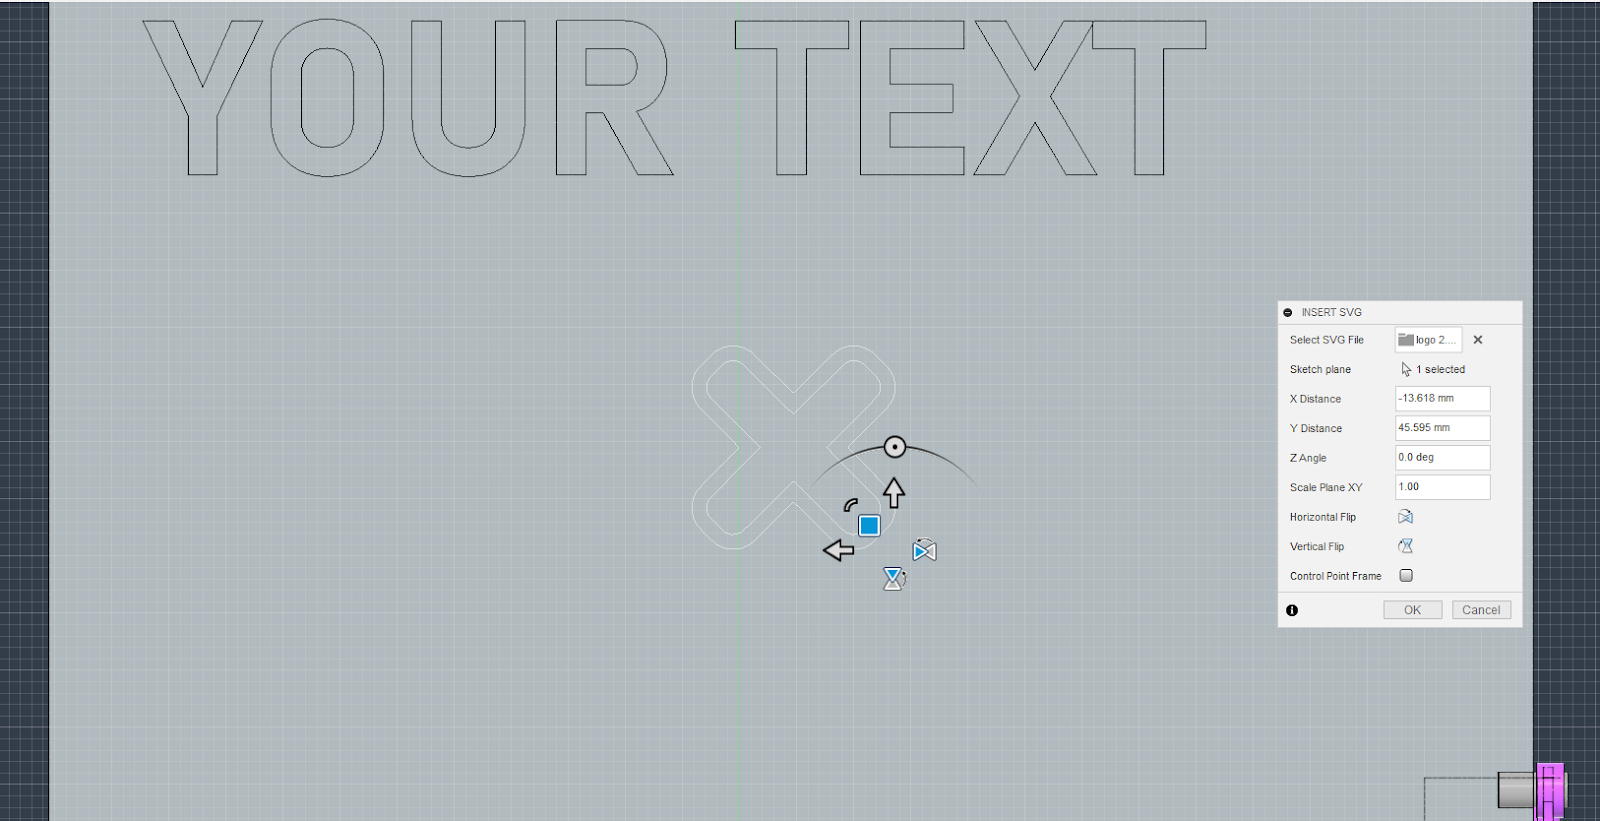
After importing the logo select the top of the cover and choose your scale and the position. Now select ok and Finish the sketch
Step 3.3
Now select your select your logo and extrude it about - 0.6 mm. Click ok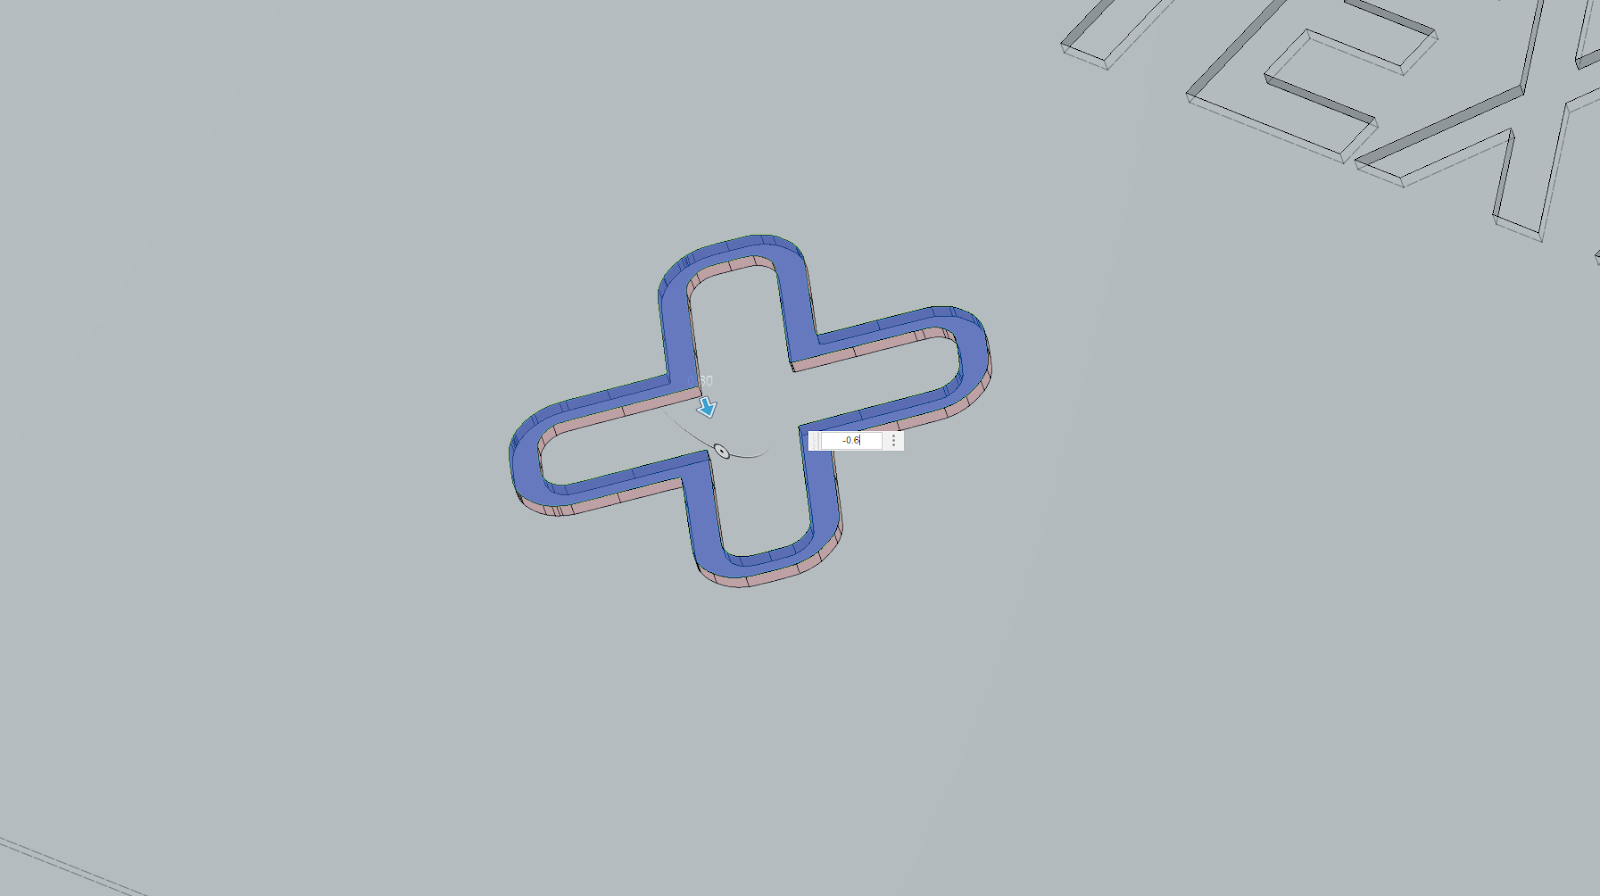
These are some basic examples to show you how it is done. Using the principle you can design it with your imagination
After the designing process, we will export into.STL file using the save as mesh on Fusion 360
Step 4: Slicing the Model
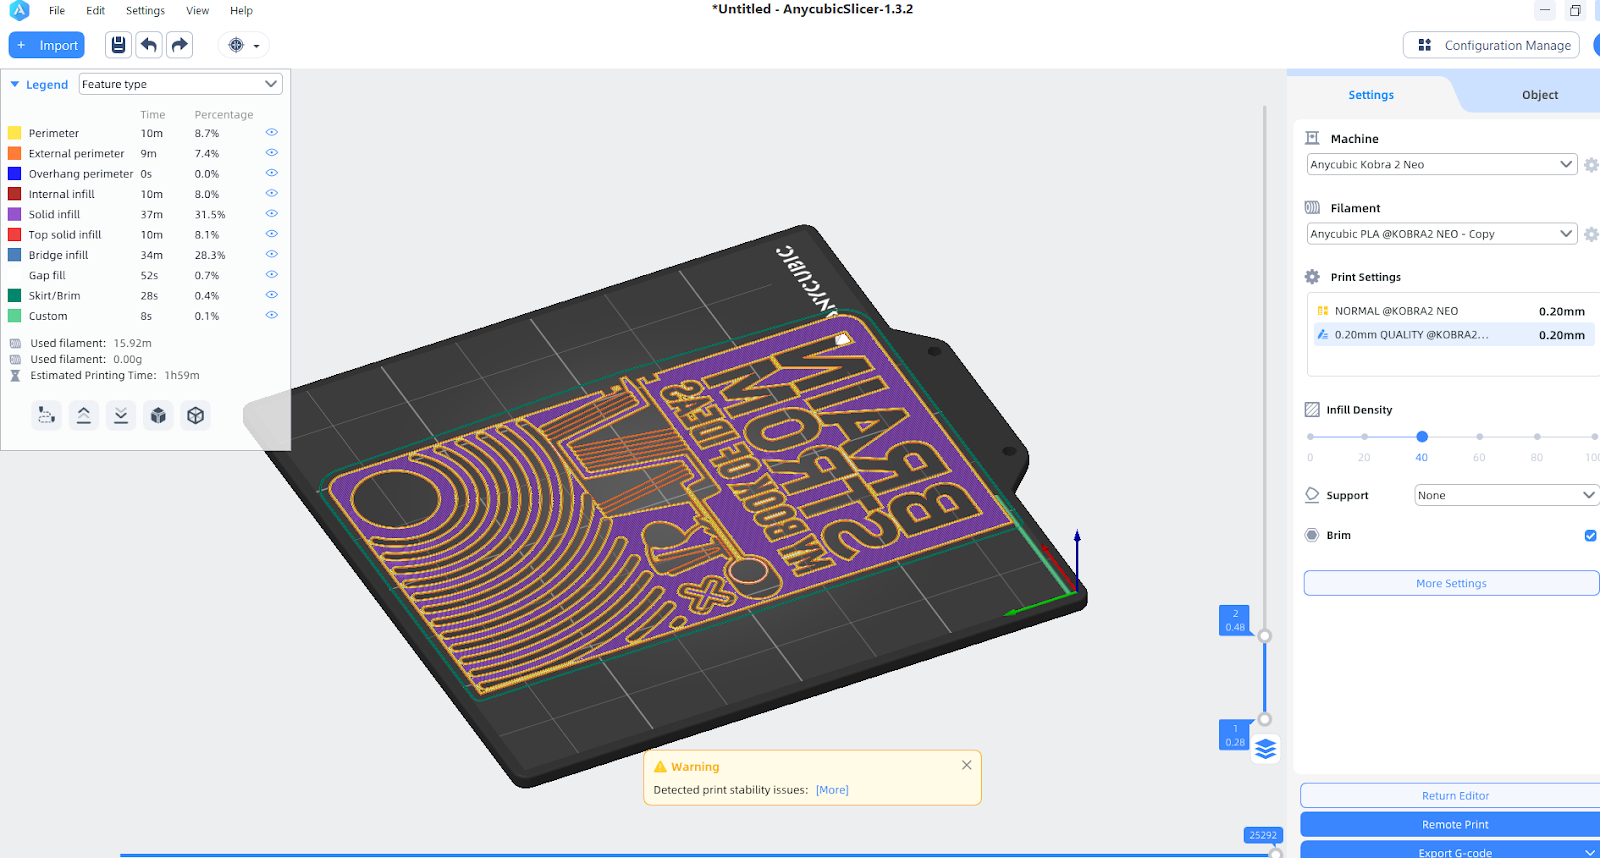
I am using any cubic slicer for slicing my .stl files into g code during slicing make sure to face text and logo it to the build plate. also don't use any print support. My build plate size is 220mm x220mm so this model is probable to print on my 3d printer
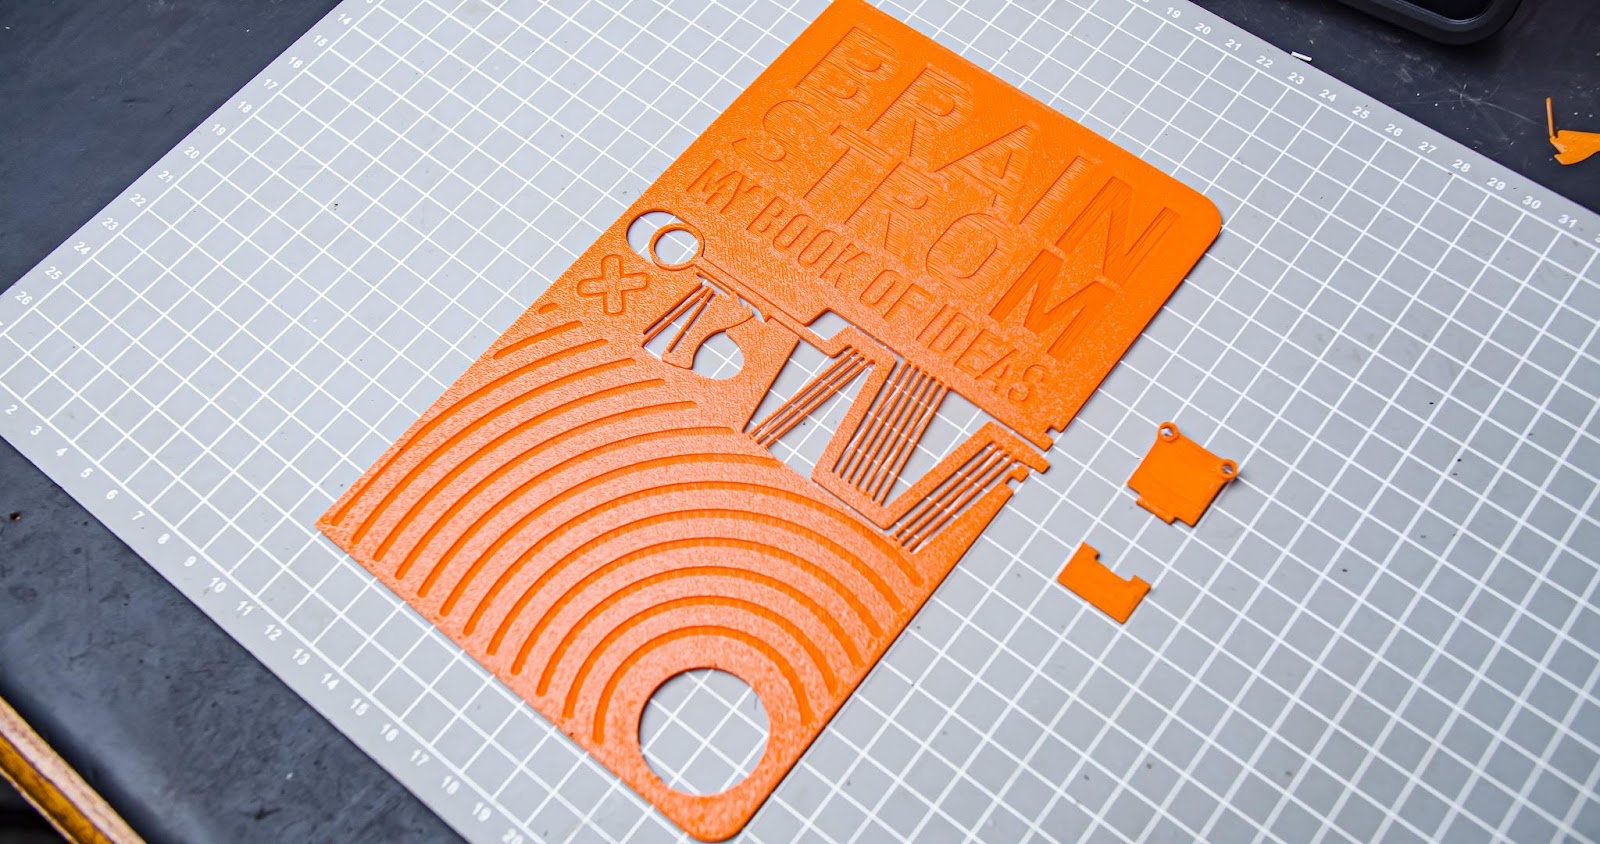
Step 5: 3D Printing
This step is very important. We need to have a very good first layer to get a beautiful 3D print. I am currently using an anycubic 3D printer. Which is using a textured PEI sheet for the bed. Because of that, you can't see any layer lines in the first layer of the 3D print.
Preparation before 3D printing
- Cleaned my 3D printing build plate with alcohol
- Cleaned the 3d printing nozzle with a brass brush
- Mesh bed levelling
- Extruded some filament before starting the 3d printing

Always monitor the first layer during the 3d print. if there is a considerable amount of error in the first layer, the final output will not be good. because the beauty of this project lies in the first layer. I also printed the locking mechanism.
Step 6: Assembly
Step 6.1
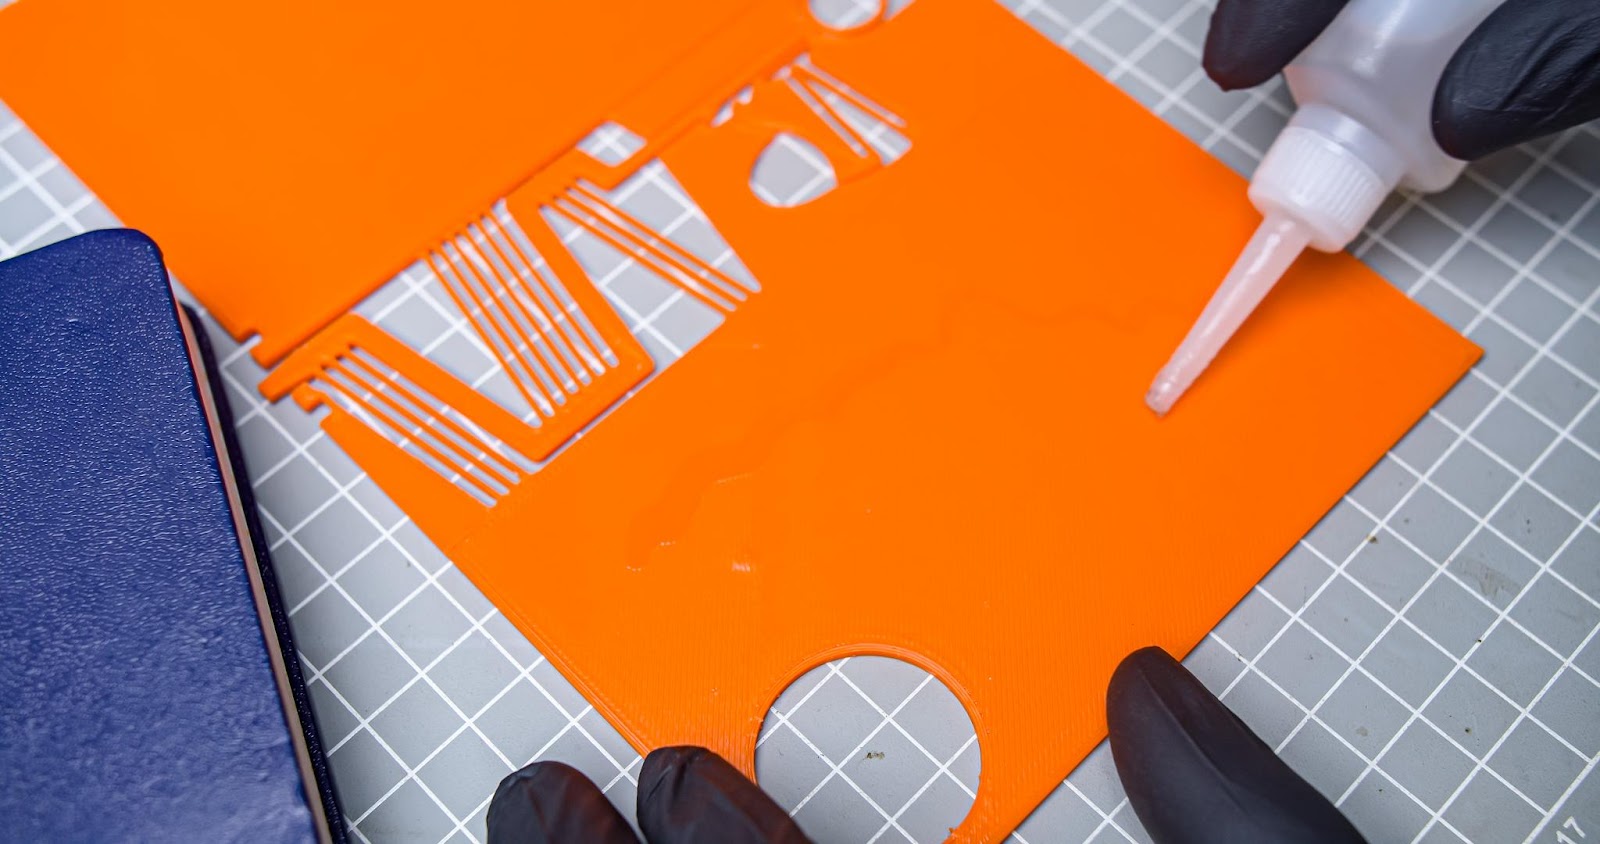
To fix the 3D printed cover on top of the book, we can use glue. I recommend using super glue and applying it on the backside of the 3D print. Avoid applying glue on the Compliant mechanism area. Once the glue is applied, align the 3D print and glue it to the front cover of the book. Leave it to dry before handling it again.
Step 6.2
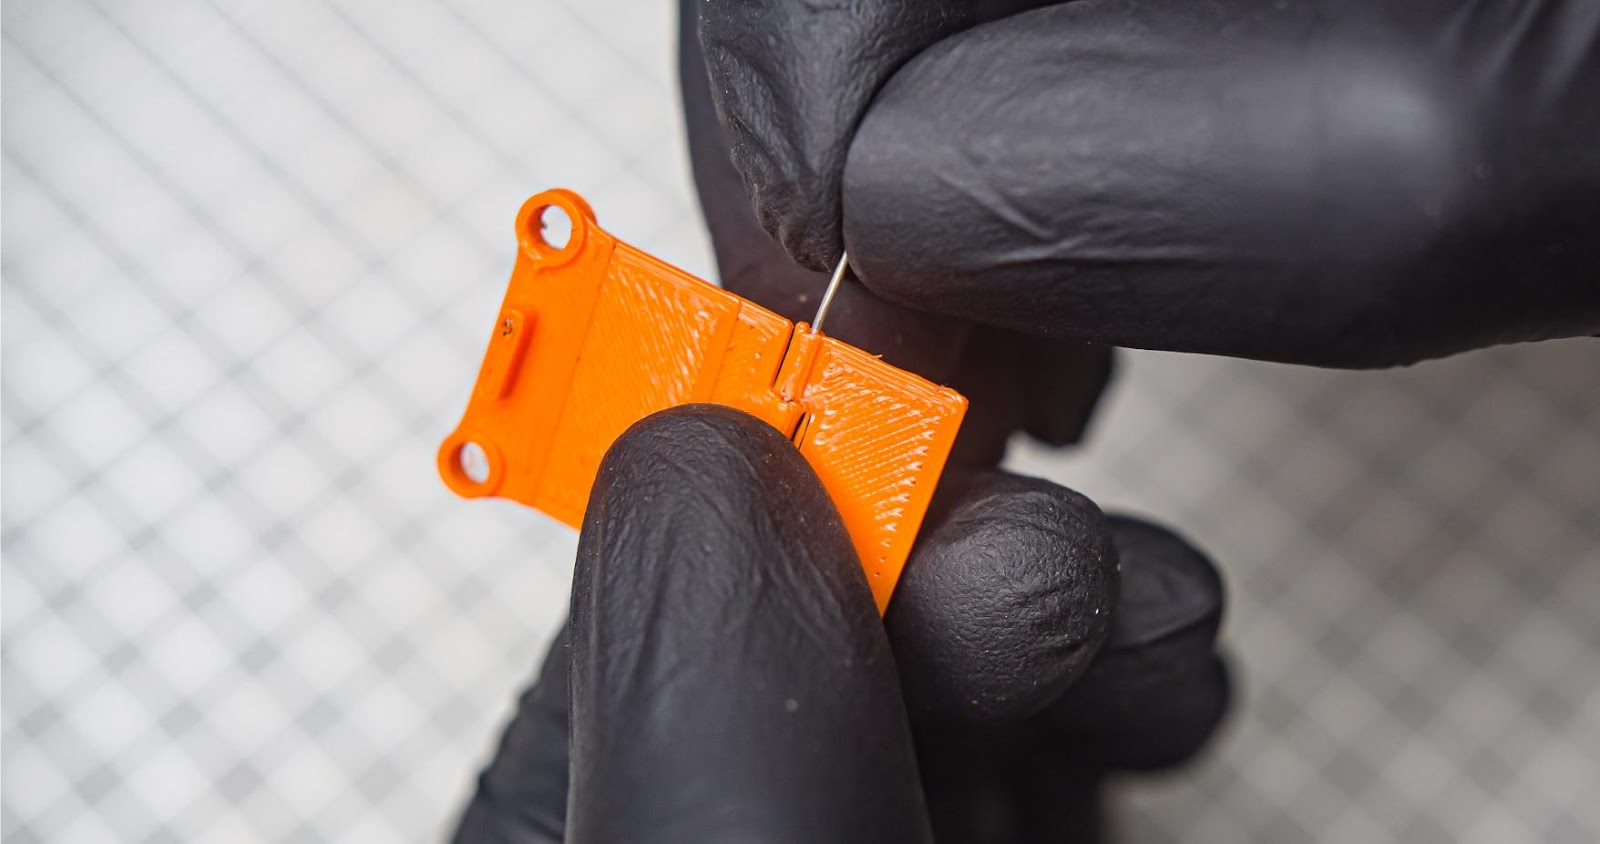
Now we need to connect the hinge of the lock using a small wire
Step 6.3
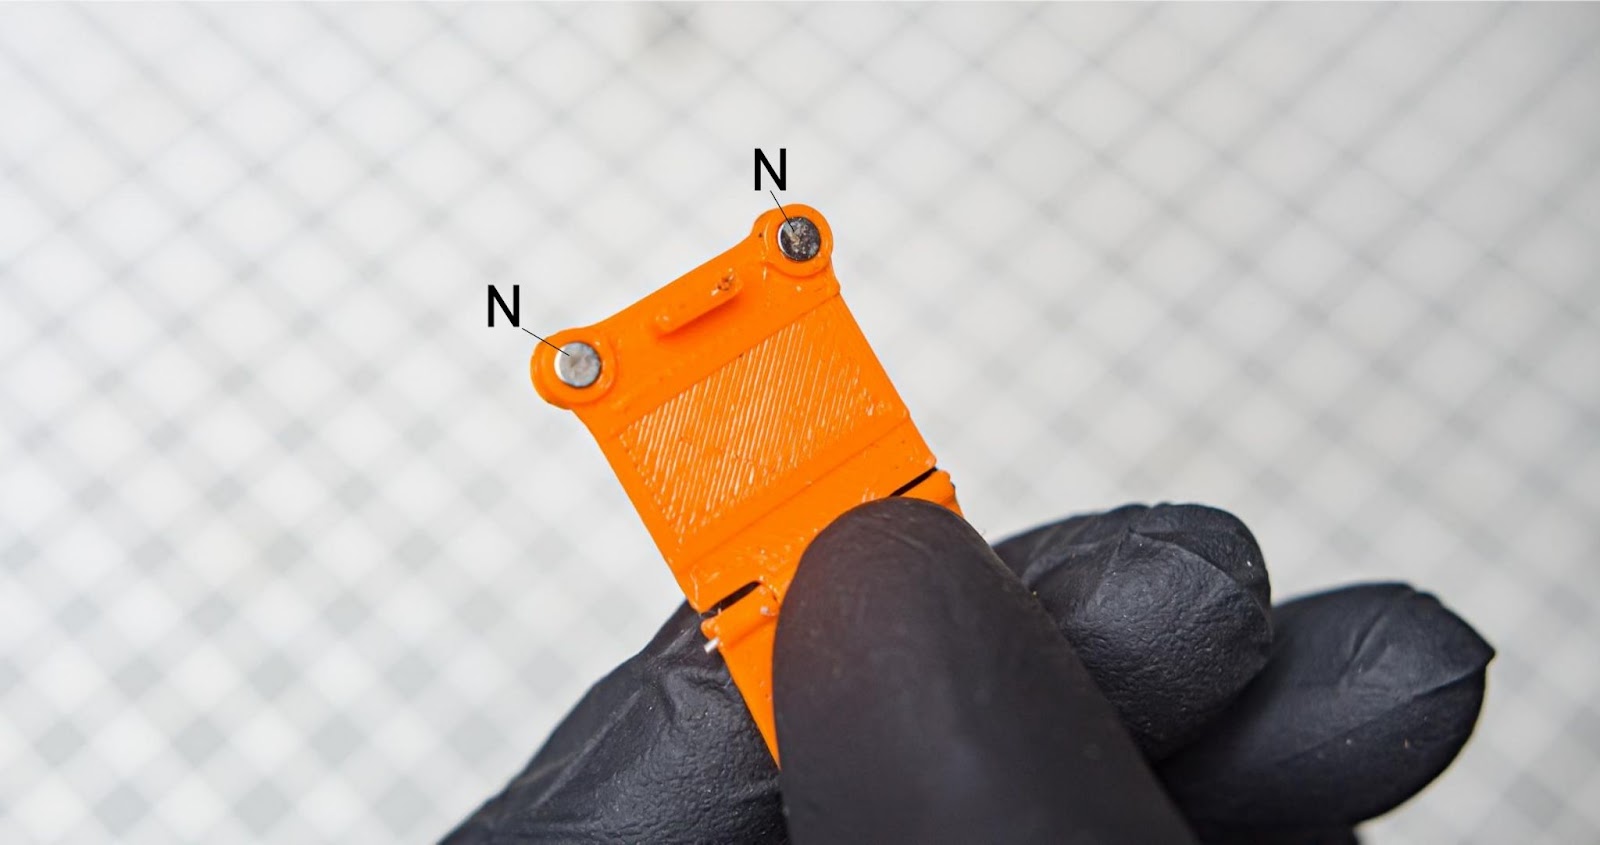
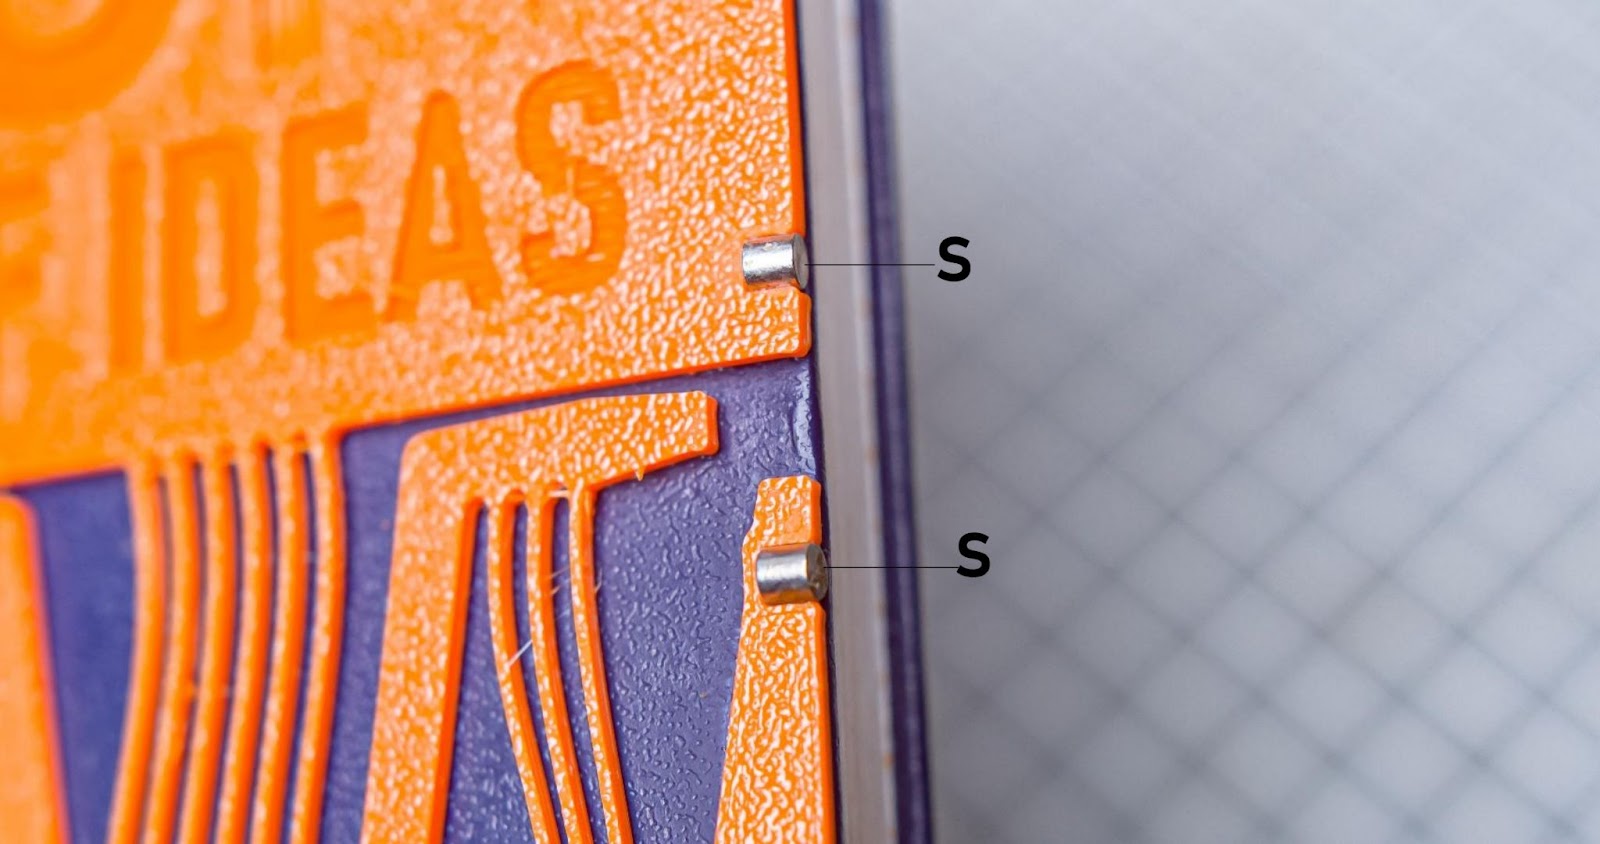
Insert the 3x3mm magnet into both slots of the cover and lock. make sure the facing magnets are in the attraction position we can push the magnets to lock the hinge and glue the magnets it this front cover
Step 6.4
Now align the lock hinge magnets into the front cover and glue it into the backside
Now we are done with our assembly. In the next step, we will learn about how I embossed the logo
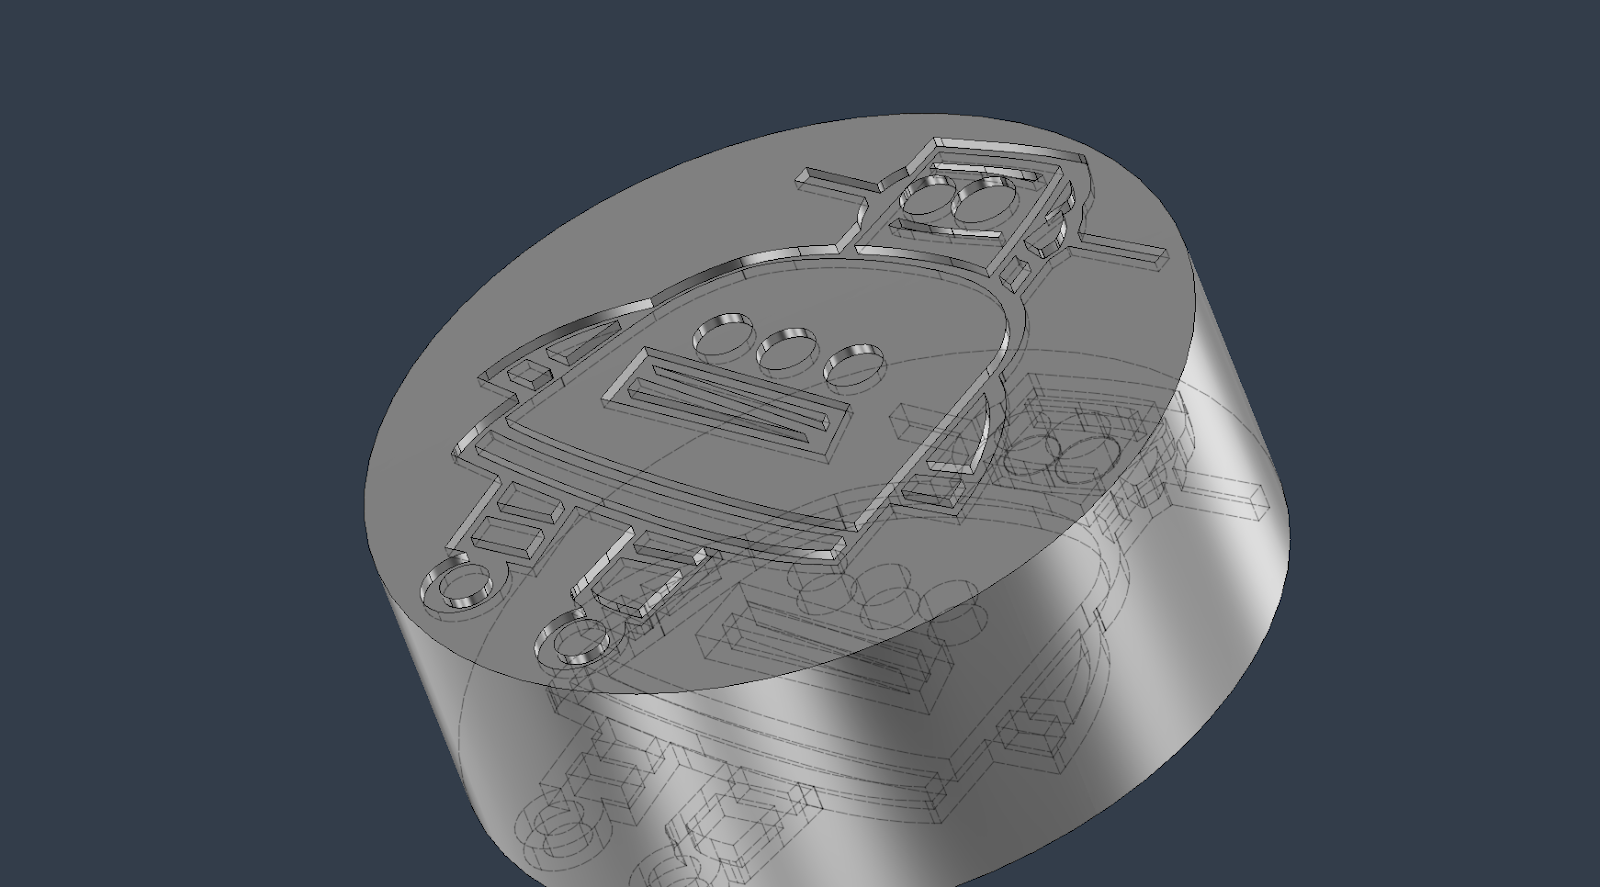
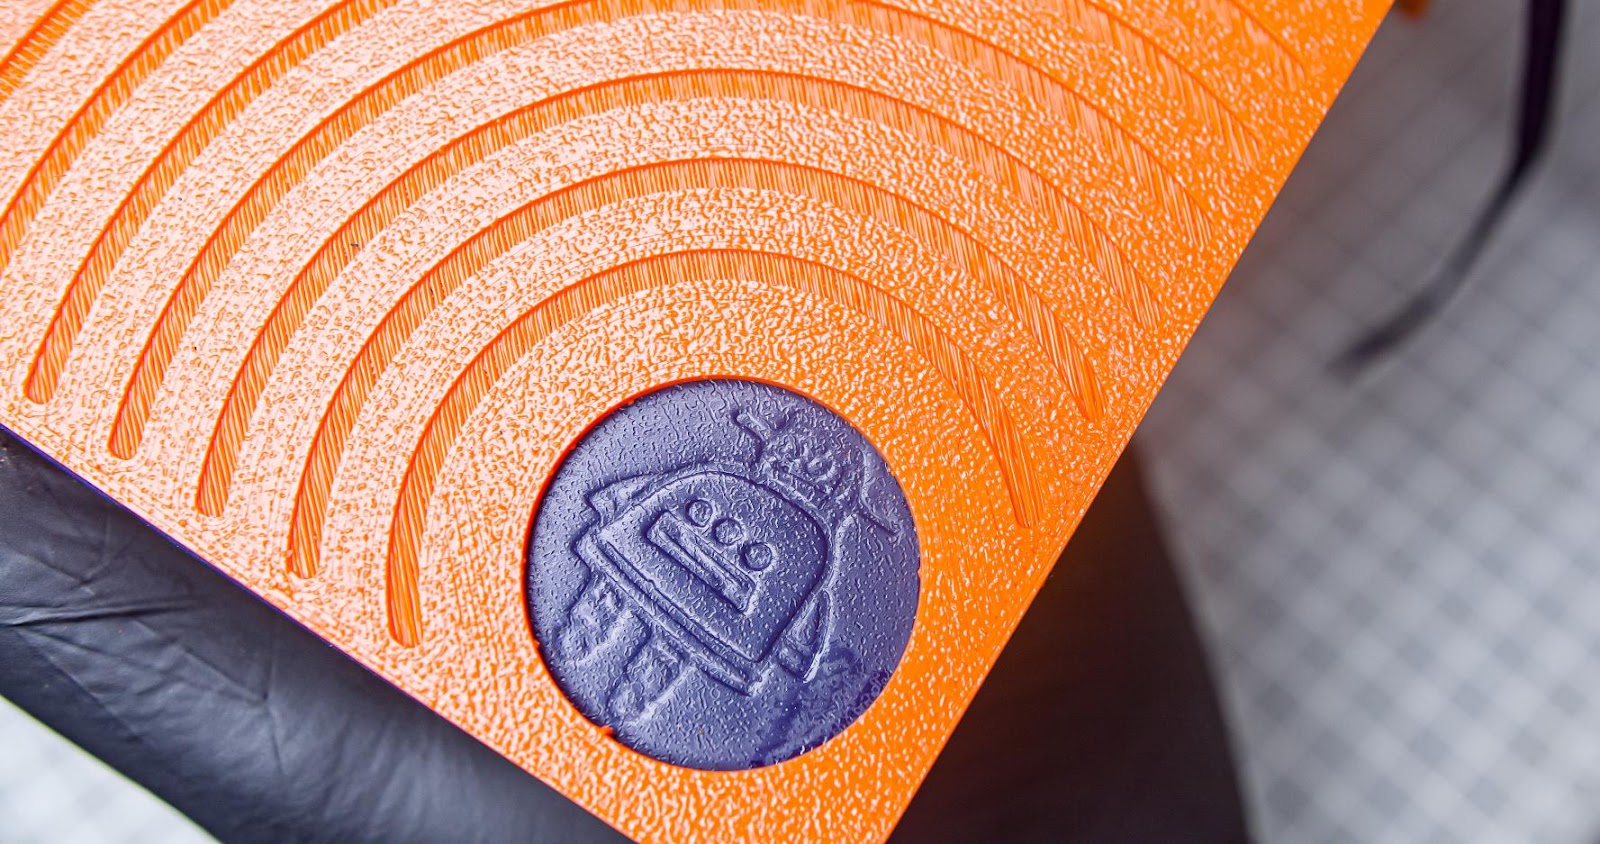
Step 7: Embossing the Logo
I already left a 30mm hole for embossing our Instructables logo. First of all, I redesigned a simplified version of the Instructables logo. and imported it into Fusion 360
And extruded about 1mm. In a 30mm cylinder
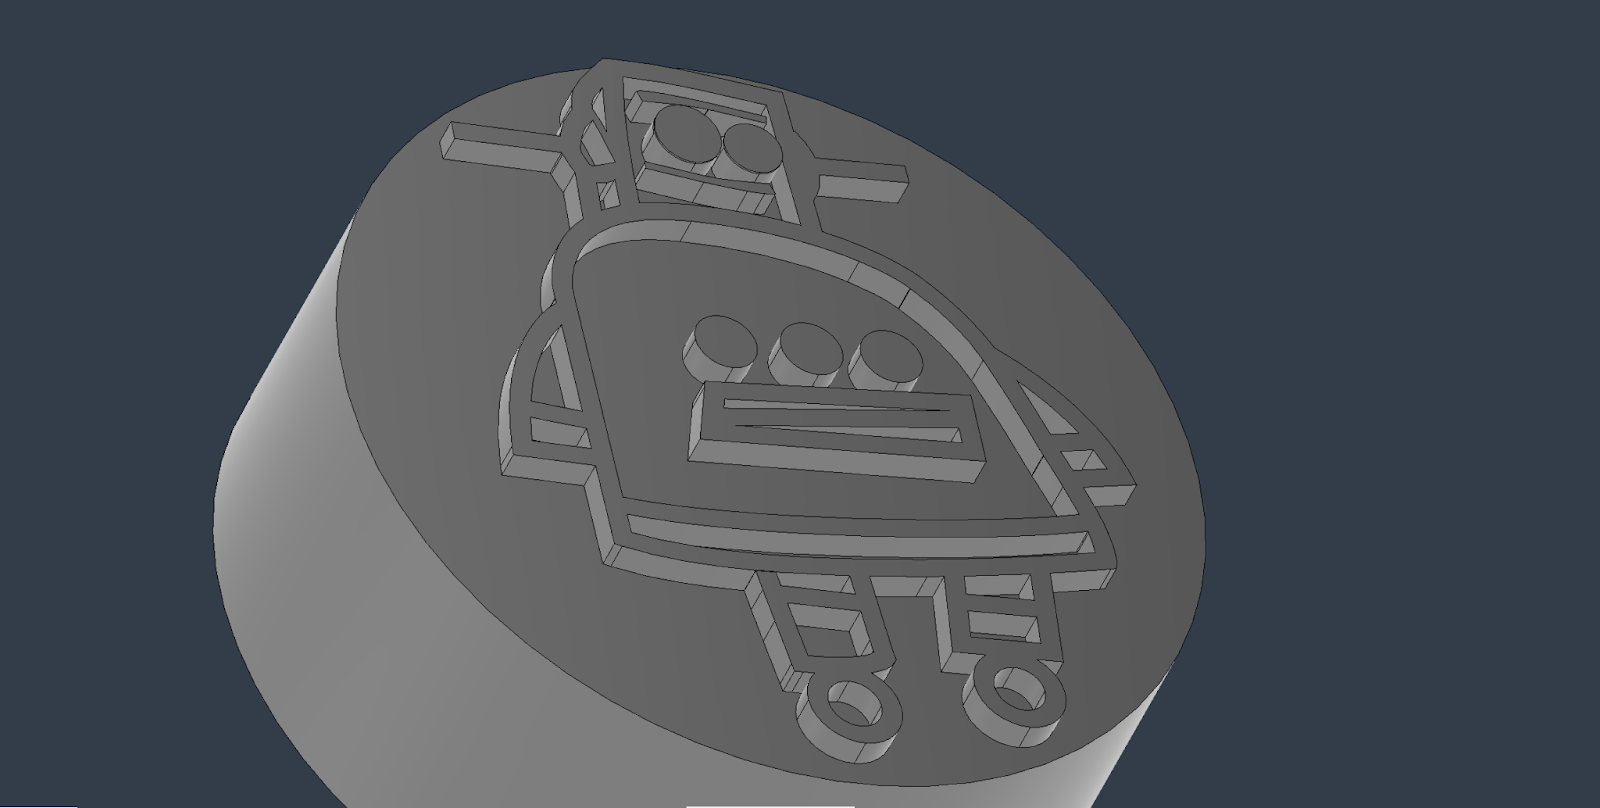
Also mirrored the logo on the other side to know the orientation during punching
3d printed in PLA
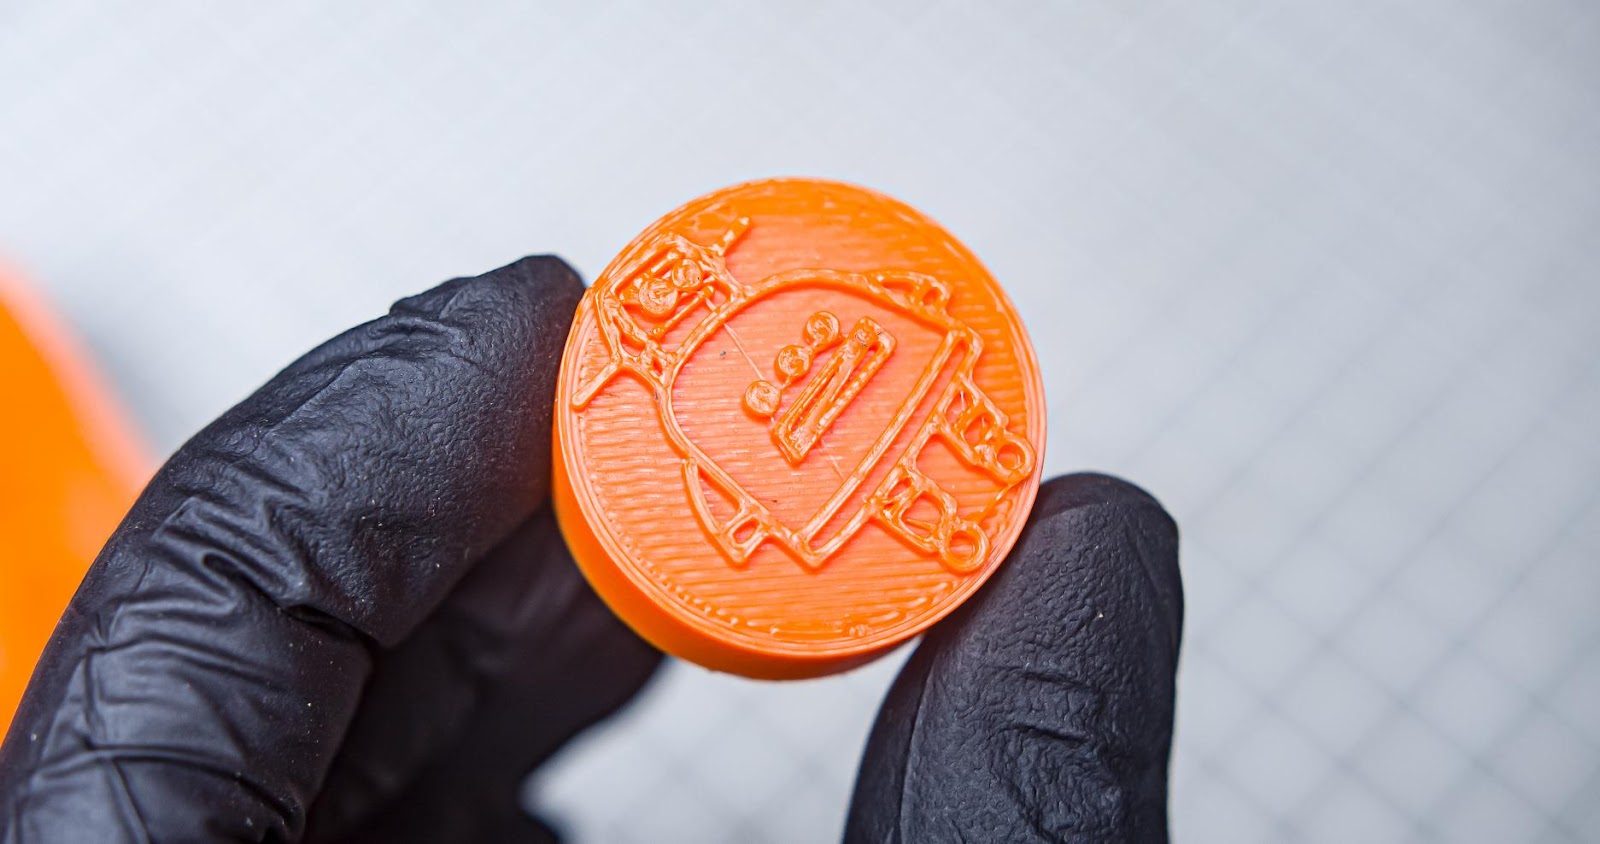
Now place it into the hole and use a hammer to punch in the logo
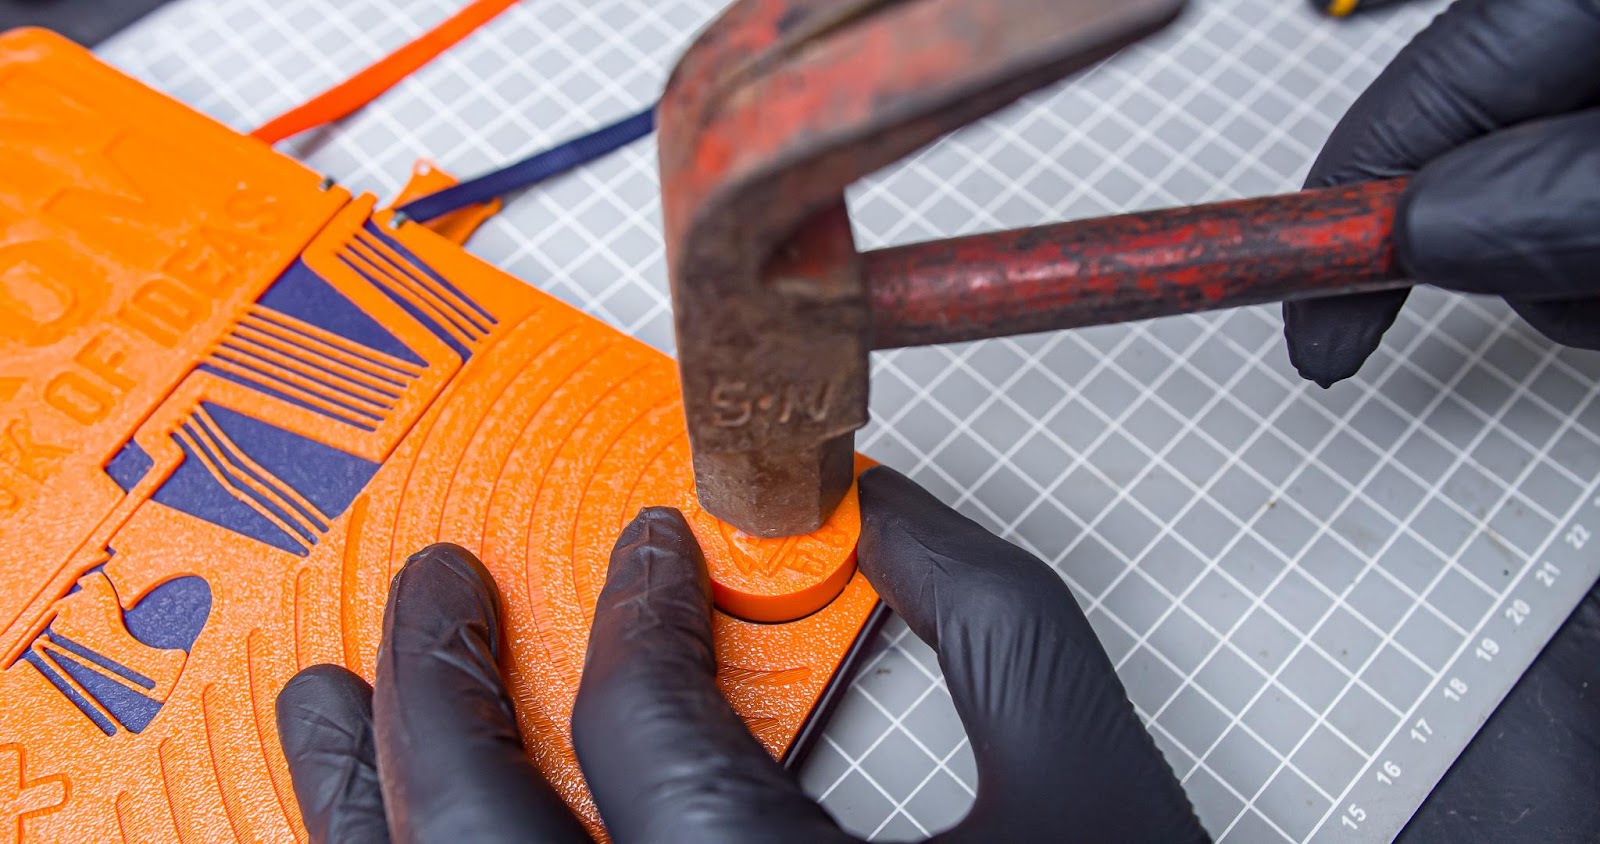
Wow, it worked as I expected. but the logo is inverted. but it looks good. So keep it in mind to invert your logo when design
I will include the design file in this step


Step 8: Final Thought

Well, after some time I did something a little different. I've never seen anyone do anything similar, but perhaps others have. I hope you like this project!.This project is perfect for A5-sized book covers. For larger sizes like A4, you might need a bigger printer bed (or printing surface).Feel free to make any changes to the design – let your imagination run wild!

Judges Prize in the
Books and Bookshelves Contest


