

Introduction: DHT11 With Arduino


DHT11 is a sensor capable of detecting moisture and ambient air temperature with digital calibration of output. Level of accuracy for humidity of approximately 5% RH and the accuracy of the temperature is approximately 2'C. DHT11 uses a Single-Wire Two-Way communication line, which is one pin that is used for 2 pieces of communication in turn.
Here is the tutorial of DHT11 with Arduino.
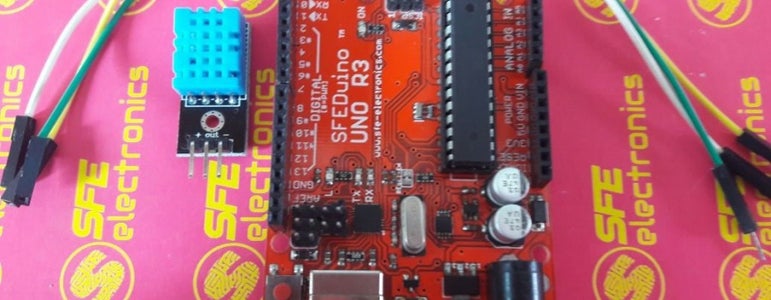
Step 1: Material You Needs
You will need:
- DHT11 Sensor Module
- Arduino Uno R3
- Jumper Wires
Step 2: Pin Out
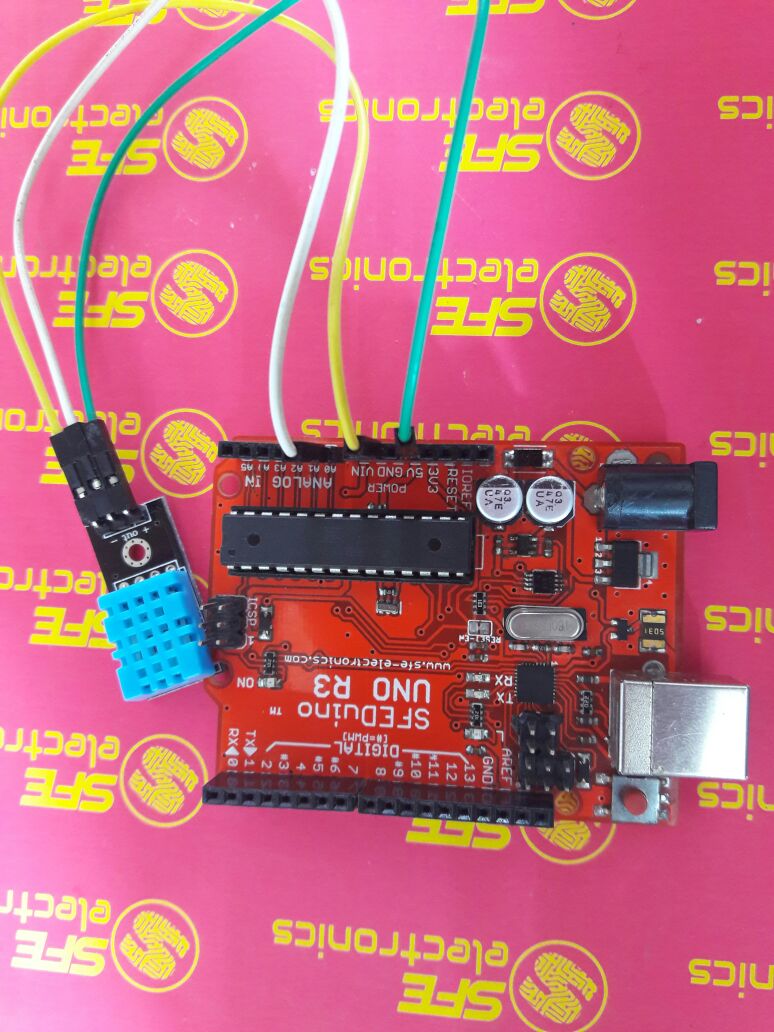
- - DHT11 --> GND Arduino
- out DHT11 --> A0 Arduino
- + DHT11 --> +5V Arduino
You can download the library of DHT11 Sensor Module in this link.
Step 3: Code

#include<dht.h>
dht DHT11;
#define DHT11_PIN A0
void setup() {
Serial.begin(9600);
Serial.println("DHT11 SFE Electronics");
}
void loop() {
int chk = DHT11.read11(DHT11_PIN);
Serial.print(" Humidity " );
Serial.print(DHT11.humidity, 1);
Serial.print(" ");
Serial.print(" Temparature ");
Serial.println(DHT11.temperature, 1);
delay(2000);
}
Step 4: Check the Result


![Tim's Mechanical Spider Leg [LU9685-20CU]](https://content.instructables.com/FFB/5R4I/LVKZ6G6R/FFB5R4ILVKZ6G6R.png?auto=webp&crop=1.2%3A1&frame=1&width=306)


