

Introduction: Electronic Matrix — I Love You


Hi there! Love is in the air! This valentine's day show your love literally on 8x8 LED Matrix with Arduino. Make an electronic valentine's project for your gift to your loved one. Today I'm gonna show you my simple but cute project for the valentine's day. This project is based on Arduino Nano Atmega328 Microcontroller with 8x8 LED Matrix to enough to display your electronic heart for your valentine. I made this simple and portable as possible for my love one so she can place it anywhere in her room without taking too much space. You can also use your existing Arduino Uno R3 if you don't have Arduino Nano. The code is the same even the schematic. Head below for more info about this project and how I made this simple and cute electronic valentine gift project.
Thank you, guys! I won the Grand Prize on Valentine's Day Challenge 2017 here in Instructables! I am really happy for supporting my project even it is so simple (but so cute). I've applied too much effort in this project to made this happen. I can't make it without you, yes you! I hope you're gonna vote me again for "Microcontroller" contest. Your vote means a lot to me. Thank you for keep supporting! More Instructables to post this year. Enjoy your stay here on Instructables! Peace!
Electronic Matrix — I Love You
Electronic Matrix — I Love You (also known as Project E.M.I.L.Y) is an Arduino Nano Atmega328 based electronic project for valentine's day as a simple gift for your loved one. This project can be powered up from 3v to 5v using the input voltage source available on Arduino circuit board. I prefer to use the Vin pin for this project which is on the PIN 30. Your display will be 8x8 LED Matrix (without driver) then 8 resistors to protect your display from excessive current. This project is originally from old valentine Arduino Uno R3 project with 8x8 LED project showing animated heart. I improve the code and make it on Arduino Nano because I am thinking of a portable valentine's gift project with Arduino Nano to discover the hidden powers of an Arduino Nano.
This project is made possible by the following sponsors and partners.
- Hive Electronics
- JAG Electronics
- ElexHub
and also Connected Cities, E-Gics and Easyelectronyx
They've provided ready DIY Kit for this project. If you want to get an original copy of my DIY project, go head to my partner electronic store Hive Electronics
Do you like this project? Please consider to give a vote to "Microcontrollers" contest. I've spent my weeks to document and create this Instructables. Without you, I can't make it. Your vote means a lot to me. I will make more Instructables if you support my projects.
Are you excited to make this project? Go head to the step one!
Step 1: What You'll Need


This valentine's gift project requires few electronic components to run. I'm highly recommended to purchase the complete DIY Kit of this project to my partner electronic stores. Just message them and tell about DIY Kit for the Project E.M.I.L.Y or click the links below to order the complete DIY Kit for this project. The DIY Kit is discounted that's why I recommended using my DIY Kit.
- JAG Electronics (Buy Now)(Blog)
Order DIY Kit for Project E.M.I.L.Y (Free Softcopy Documentation) - Hive Electronics (Buy Now)(Recommended)
Order DIY Kit for Project E.M.I.L.Y (Free Softcopy Documentation)
- ElexHub (Not Available)
Order DIY Kit for Project E.M.I.L.Y (Free Softcopy Documentation)
You have a choice to use my DIY kit or buy them individually depending on some reason. Anyway here's the complete list of electronic components you'll need for this project. Actual parts I've used.
- Arduino Nano Atmega 328 (1pc.) or you can use your existing Arduino Uno.
- USB cable wire for Arduino Nano (1pc.) or USB cable for your existing Arduino Uno.
- 8x8 LED Matix (1pc.)
- 220 Resistor (8pcs.)
- Male to Female Jumper Wires (16pcs. of Assorted color)
- Short Jumper Wires (8pcs. of White color)
- Short Jumper Wires (1pcs. of Black color)
- Full-Size Bread Board (1pcs.) or you can use Half-Size Bread Board.
You don't need tools for this project because this is only a prototype and you can decide to make this permanent by soldering it on Perma-Circuit Board.
Step 2: The Couple


For the first step, I named it "The Couple" because you are going to combine two individual electronic components into one which is the bread board and our microcontroller the Arduino Nano. Like a couple, they are combined to bring life. So the heart of this project is the circuit board and the microcontroller.
Get your Full-size or Half-size breadboard and your Arduino Nano Atmega328 and combine it by placing the microcontroller in the middle of your breadboard. You can checkout the pictures for more info and guide.
Step 3: The Shining Armour


After placing your microcontroller we'll be placing some "Shining Armours" for our valentine's gift project. I named this step as "Shining Armour" because that's how Resistors comes in. The resistor is an electrical component that limits or regulates the flow of electrical current in an electronic circuit. What does it mean? Well, these tiny electronic components will protect our 8x8 LED Matrix from burning out causing by an excessive electrical current. That's why I call them Shining Armour of our project.
Get your 8 pieces of 220-ohm resistor and place it on the breadboard according to the images I've provided. Why 220-ohm resistor? I prefer to use low resistance instead of high, but why? because low resistance more glow to the LED's and high resistance will give you a dimmer less glow LED's. 220-ohm resistor is great for LED's except 1k-ohm resistor (but 1k-ohm is still good for LED but in this project, I prefer to use 220-ohm for more glow for LED's).
Step 4: The Fix to Your Broken Heart


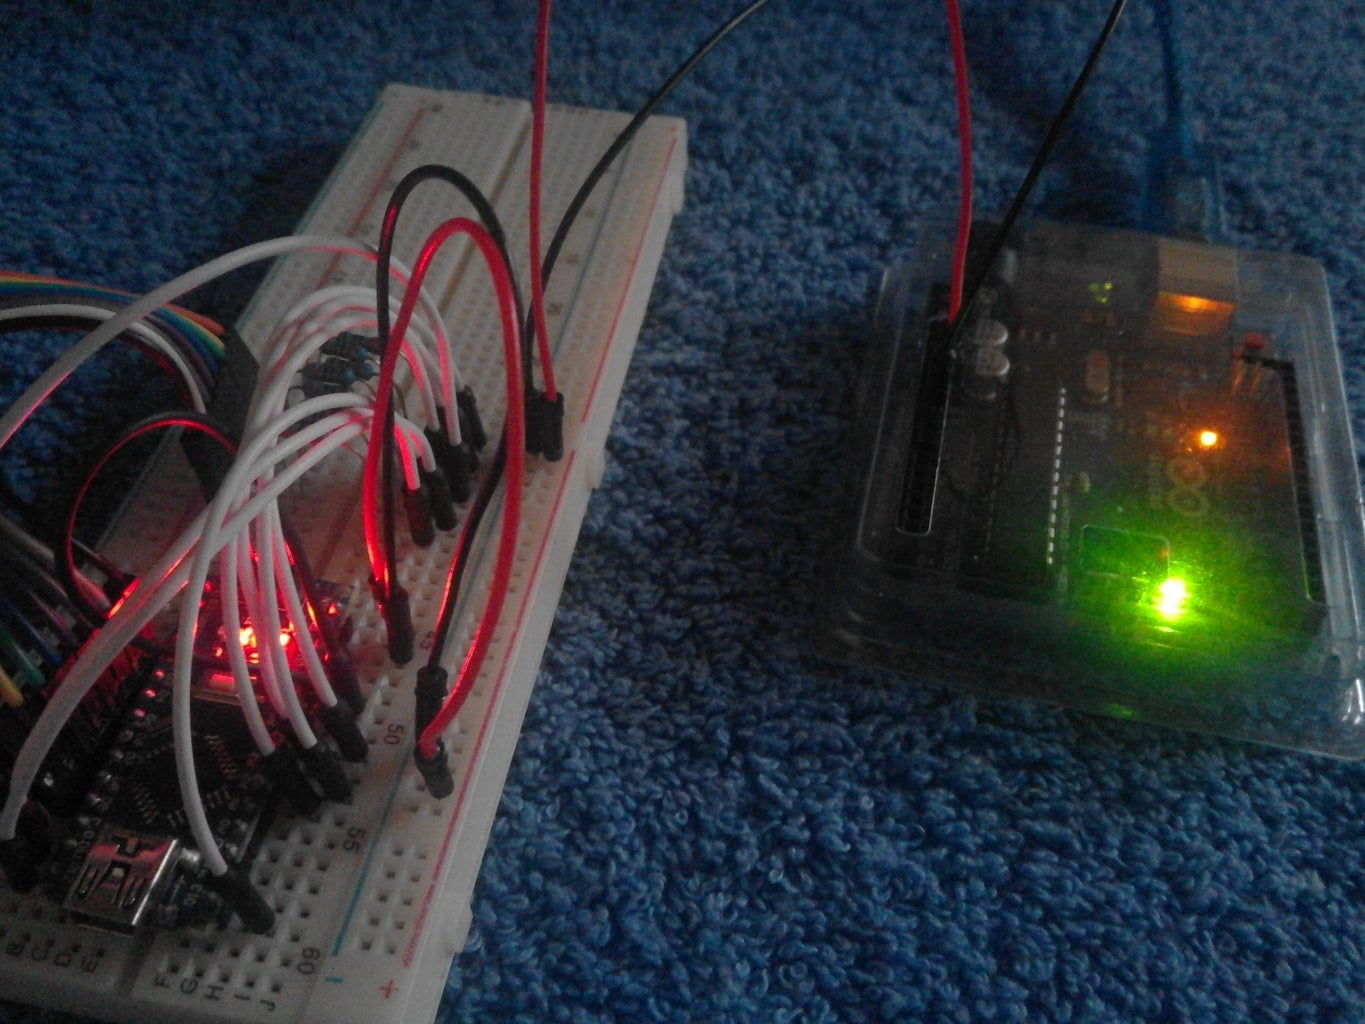
You've successfully placed your resistors according to the image I've provided I hope we are the same setup. Anyway, in this step, I am going to fix your broken heart lol but seriously we are going to fix something important before anything else with this project. There are few problems in using Arduino Nano most of it when you use it alone for your micro or pocket-sized projects. What is it? Well, the problem that I've encountered with Arduino Nano is that my Computer (which is running on Windows 10) couldn't detect my Arduino USB connection. Which is very frustrating and I worry too much. I think I'm going to die with this problem lol.
After hours of experimentation and until I lose my hopes and getting die, I found an answer on this Arduino Forum. They shorted the pins 26(TEST) and 25(AGND). It was delicate, but not impossible. After grounding the TEST pin in this fashion, the instability and lockups have disappeared. I got the fully detailed solution from this Arduino Forum.
Finally, I fixed my broken heart from this Arduino related problem. So look at the picture I've provided for more info and guide on how to simply solve this common issue with Arduino Nano.
Step 5: The Wired Love


I'm kinda excited to finish this project so that I'm a little wired. I think kind of wired love so, that's the title for this step. Falling in love by means of technology can be called as wired love. Anyway, I am going to show you the wiring connections of this project. I can guide you step by step using the pictures and the schematic that I've provided.
Step 6: The Heart With Rainbow Colored Veins


While I am creating this project I am listening to Rainbow Veins by Owl City and the lyrics are...
"Cheer up and dry your damp eyes and tell me when it rains, And I'll blend up that rainbow above you and shoot it through your veins, Cause your heart has a lack of color and we should've known, That we'd grow up sooner or later, Cause we wasted all our free time alone"
So I decided to name this step as "The Heart with Rainbow Veins." As you can see on my 8x8 LED Matrix there are rainbow colored wires connected to the pins. These wires are Male to Female Jumper Wires. I prefer to use rainbow colored jumper wires so I can easily recognize the pin number based on the color of wire connected. The 8x8 LED Matrix is acting as the heart of our project. Then the colored wires are acting as Rainbow Veins. Let's make your heart full of colors. Basically, I fill your blank and white heart with colors. Very interesting! Anyway back to topic!
As you see I don't use a driver for 8x8 LED Matrix because I can control the output using my codes. For now, you can't customize it because the Arduino Nano has a small memory for storing so many codes. The whole animated I Love You animation has many bytes consumed in this project I think almost 85% of the Arduino Nano memory limit. But if you can refactor my code you can customize it. For the next version of this project, I will make a customizable output for 8x8 LED Matrix.
I will show you the pinouts of the 8x8 LED matrix and how to find the PIN 1 of it. In the first place, I don't have any idea on where is the PIN 1 located on my Dot Matrix (another term for 8x8 LED Matrix). I surf the internet and I found how to easily recognize the PIN 1 of Dot Matrix please check the second picture above.
Look for the 3rd picture for the illustration of PIN with colored jumper wires. Then check the remaining pictures for your guide. I hope it helps. Once done check the next step. Thanks!
Step 7: The Heart and Mind


If your heart has veins now well, we are going to connect it to the brain of our project. This time I name this step as "The Heart and Mind." Why I name this? because we should use both our heart and mind when we are in love. Let's make everything balance if you give your full heart without thinking the result you will die eventually lol. What I mean is you should use both heart and mind for critical decision in life. Again Let's make it everything is balance and awesome!
Here, in this step, we are going to connect the 8x8 LED Matrix Display (The Heart) to our micro-controller (The Mind). Use the picture above for more info and guide. Carefully follow the illustrations. Always remember that PIN 1 is connected to D13 of Arduino Nano and the PIN 9 is connected to D2 of Arduino Nano. You should check the pictures lol. When you're done go to the next step and see you there!
Step 8: The Memories With You


Let's keep the memories we have with our loved ones. This step, we are going to upload some memories we have (the Arduino code). The code I've used is originally from here. I refactor and revised the code to fit my needs for this project. Soon I will release another version of it with 8x8 LED Matrix editor which allows you to easily customize the output of your 8x8 LED Matrix but for now, since we have limited memory for Arduino Nano I stick to this code.
Connect your Arduino Nano Atmega 328p to your PC. It should be detected by your PC since we have fixed the problem of it. If you still getting a problem in connecting your Nano to your PC please check again the STEP 4 of this instructable. If you need help in the problem you are facing please comment below for any help.
This time, please check the last picture (Image 5), to check the settings I have before you upload the code. Don't forget to verify first the code before uploading so you can easily determine the possible problem.
The tutorial for the code is included in the package zip below. Go ahead and download it. Don't worry its free. :) You can collaborate with me to improve this code via GIST on Github.
Please download Below!
DOWNLOAD THE CODE(with tutorial)
COPY AND PASTE(with tutorial)
Step 9: Powered by Love


This project doesn't work without power. So we are going to provide a power supply for our valentine's gift project. To power up your Arduino Nano you should put red jumper wire for PIN 30 (Vin) and black for PIN 29 (GND). Remember red is for positive and black is for negative if you connect it to your own power supply might be couples of batteries or rechargeable one. In my case, I don't have extra batteries so as a demonstration how to power it up I use my Arduino UNO R3's voltage out (5v) PIN and its ground PIN. Check the last picture for demonstration.
As you notice I don't include the red and black jumper wires in the item list right? Because you are deciding on your own if you use jumper wires for power or just use regular wires and solder it directly to the board. That's it simple. Once you're done go to the next and last step.
Step 10: Show Your Love


We are now in the final part of this project horaay! We are almost done actually because you are going to pack it up with your own casing it depends on you where you place your small little cute project. In my case, I'm gonna place it inside plastic microwaveable Tupperware to protect it from dust. You should include your power supply with a switch, of course, to be able your loved one to switch on and off it.
Very amazing and simple project to show your love to your valentine. I am very thankful to my partners and sponsors to make this project possible. If you want to support me please go to the shops where the full and complete DIY kit can be purchased. By supporting my I am going to continue posting more exciting and advanced projects with Arduino.
Every step in this project has an own unique name. It is Intentional to put unique and meaningful title for every step so I can enjoy how fun to make my first instructable (for this account lol). I connect every title for every step in that manner the valentines' day will be more meaningful to you.
Why do I call this Project E.M.I.L.Y?
— Except for acronym of Electronic Matrix - I Love You, there is a more deep reason why I named this Project E.M.I.L.Y. This is a name of a girl I love and currently my girlfriend. I am so in love with her so that's why I made this project for her and also as a valentine's gift. I made it filled with love like how much I love her. I enjoy creating it so I hope you're also enjoying it now creating this little simple but cute project.
This project is made possible by the following sponsors and partners from the Philippines. Thanks for your support!
- Hive Electronics (Original DIY Kit Provider)
- ElexHub (DIY Kit Provider)
- JAG Electronics (DIY Kit Provider)
- Connected Cities
- E-Gics
- Easyelectronyx
If you guys have some questions regarding this project or future improvements, please comment down below and don't forget to hit the love button above. Also don't ever forget to vote this project for valentine's day challenge! Any opinions are welcome please be nice while giving your comments about this project. Thank you, so much guys and have a happy valentine's day! Peace!

Grand Prize in the
Valentine's Day Challenge 2017

Participated in the
Make it Glow Contest 2016

Participated in the
Microcontroller Contest 2017


![Tim's Mechanical Spider Leg [LU9685-20CU]](https://content.instructables.com/FFB/5R4I/LVKZ6G6R/FFB5R4ILVKZ6G6R.png?auto=webp&crop=1.2%3A1&frame=1&width=306)


