

Introduction: LEGO Tesla Coil Winder


Be prepared, it may happen to all of you makers: your child has seen a Tesla coil and decides that’s what he wants to bring to school for a science project. In three days from now.
You may be lucky and not have thin enamelled wire or a high-power NPN transistor, but if you do, you may find yourself winding a coil by hand for six hours, because no child has that attention span, and you can’t destroy their dream of winning the science fair.
Building a Tesla coil, based on the slayer circuit is really easy, EXCEPT for making a neat coil with 500 or 1000 windings. Try it, after 100 windings you will have a bad headache!
To get high voltage, you want many turns so that means 500 or even 1000. I usually harvest enameled wire from anything that I find on the roadside (correction coils from old CRT-TV’s are the best) - but that only works well for relatively thick wire, above 0.2 mm. So I once bought a 100gram roll of 0.13mm wire - it is about the thinnest that you can still roll coils with.
Fortunately, the coil needs to be only single-layer, and just having a cylinder run by a motor at a slow and stable speed may be enough to turn a 6-hour torture into a 30-minute swing. Some people use an electric screwdriver, we tried with LEGO and had it going in an hour, so let’s share it!
Serious coil winders are very complicated. They control the wire tension and the left-right movement of the wire. All of that can easily be done by hand for a simple Tesla coil. We only automate the rotation of the coil. Still, it gives a 10x speed increase compared to doing everything by hand, and the result comes out much neater and tighter.
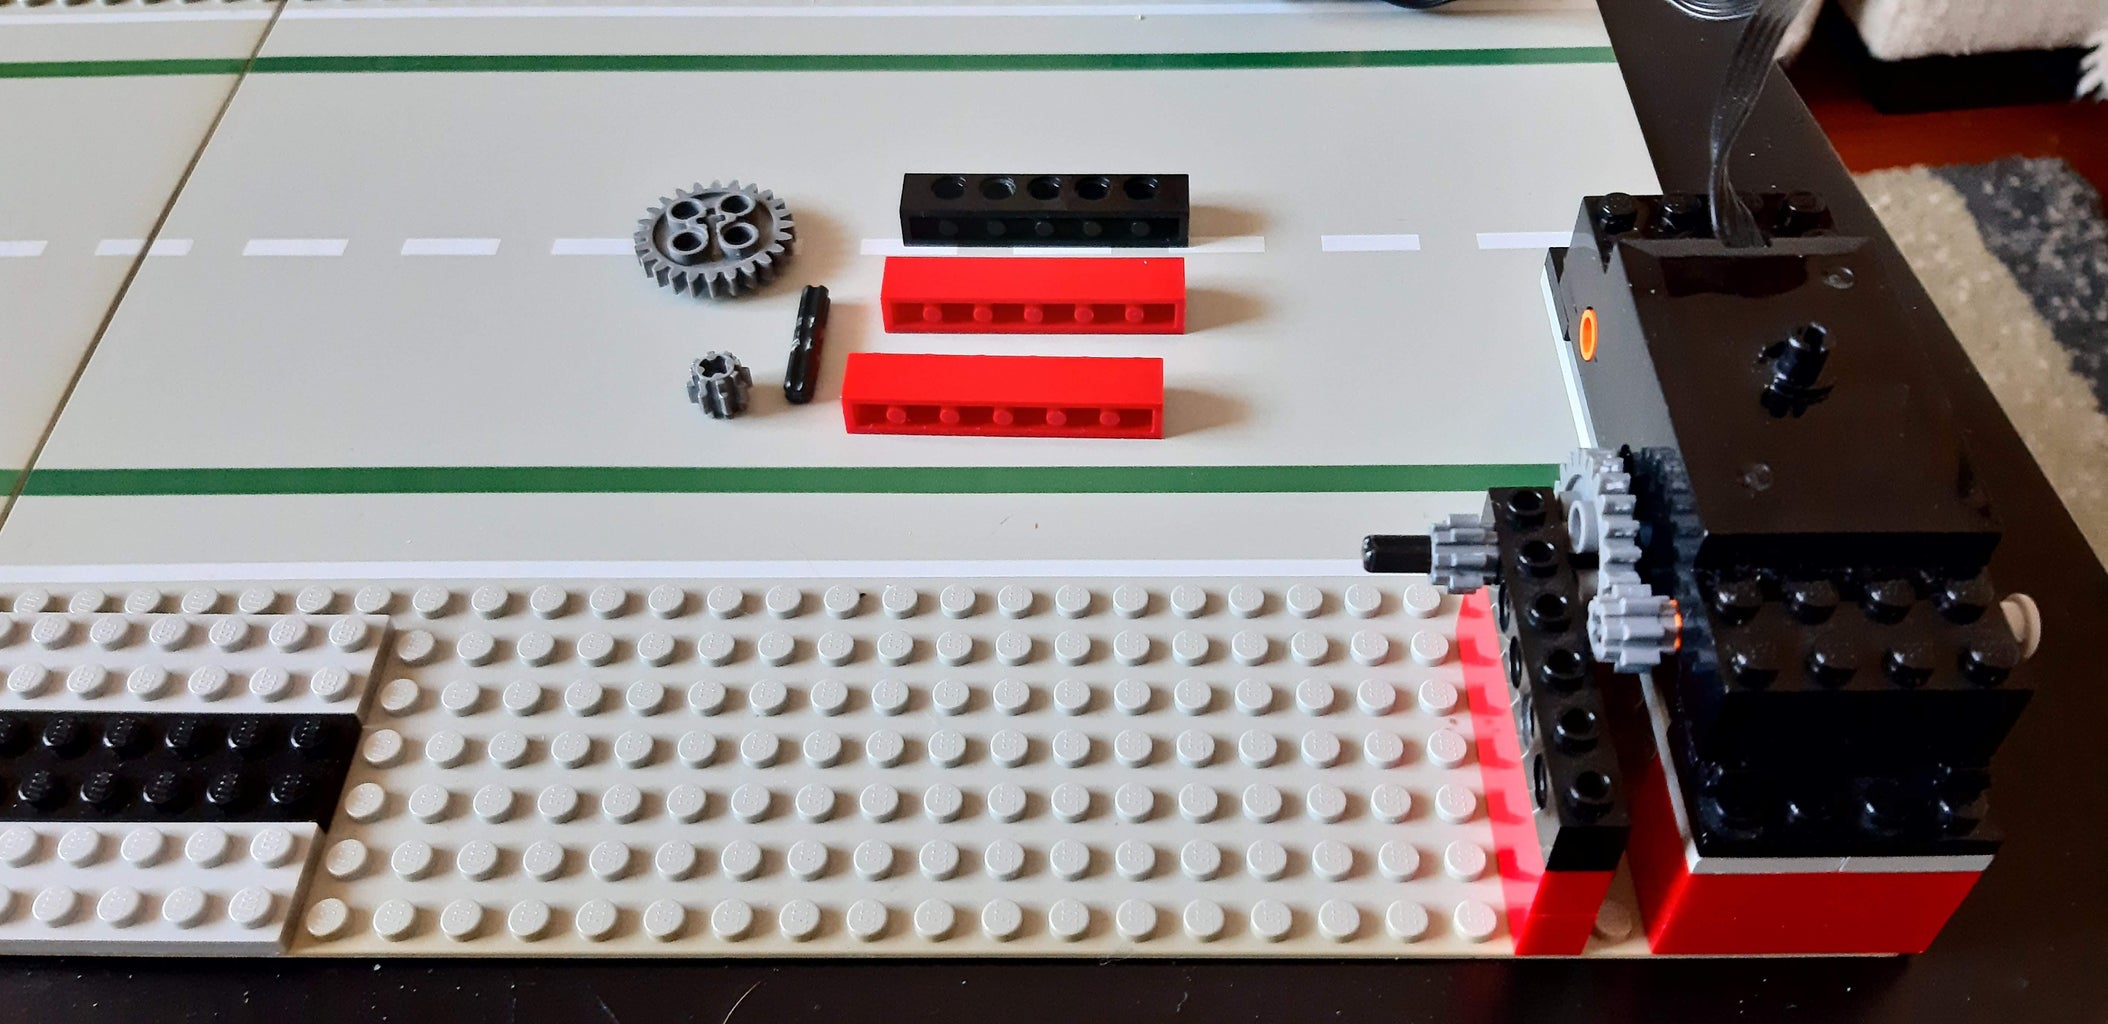
Supplies
- A hollow cylinder to wind the coil on. Here I used the hard cardboard nucleus of aluminum foil rolls - they are very sturdy and great for many projects; make sure to always intercept them from being thrown away!
- Enameled wire for the coil: 0.13mm is great, anything between 0.10 and 0.20mm will work. This gives 60 turns per cm, which makes 16cm for 1000 turns, and a good 80 meters of wire for a 2.5cm diameter cilinder. 100 grams will be enough for about 5 coils.
- A Lego motor. The rotation speed should be about 1 turn per second. But with gears you can modify it. We had the lego train motor, which is way too fast. But a 3-stage 3:1 gear ratio brings it down to the right speed. Of course you also need a matching battery box that can provide power bidirectionally. But all LEGO battery boxes that I know of have that function.
- Big base plates, if needed multiple plates attached together.
- Lego axes and wheels to fix the cylinder. The wheels should fit just inside the cylinder. Then with a piece of elastic it can be made such that the cylinder fits snugly but tightly
Step 1: Start Building


In the pictures are some intermediate steps of how we built the winder. No attention was given to aesthetics, but a lot to mechanical stability!
For practical applications of LEGO, the challenge is always the interface between the LEGO pieces and the real-world pieces, in this case the cardboard cylinder. We found that some wheels with a rubber band around it worked perfectly.
Step 2: Start Rolling
Attach one end of the wire inside the roll with some adhesive tape. Switch on the motor and keep the wire at constant tension and under a very small backward angle. That will result in perfectly neat snugly fitting wires.
At one turn per second, it will take about 20 minutes to complete a coil. It may take a few tries to get the hang of it, but you can always run backwards and unwind the coil back to the spool and start over.
Step 3: Results

We wanted to try multiple coils to see which gives the best sparks. Here we show the first one. Note that these coils have a fascinating sci-fi aesthetic by themselves and can be great as props or as part of costumes.

Participated in the
Automation Contest


