Introduction: Getting Started With Robots
Building robots is fun, easy, and can be done by nearly anyone. You don't need to be a genius and no prior engineering experience is necessary. The only thing required is a willingness to experiment, and learn. While it is easy to be intimidated by robotics because it incorporates a wide range of skills over a variety of disciplines, there is no reason to be. The fundamentals are actually quite -- well -- fundamental. In less than a month you can learn the basics necessary to begin building robots on your own. Whether you are a hobbyist, aspiring engineer, artist, scientist, or just plain curious, follows is a pathway you can use to begin your journey into wild world of robotics.
Step 1: What Is a Robot?
There are many schools of robotics, and many thoughts about what constitues a robot. For argument's sake, follows is the definition we will be using moving forwards.
A ROBOT IS:
Autonomous
It has motors (or other actuators) that enable it to move freely through space without human input.
Intelligent
It has a computer that allows it to reason, solve problems, and make decisions about its behavior and the environment.
Responsive
It has sensors which enables it to sense and respond to environemental stimuli.
Social
It can interact with other autonomous, intelligent and responsive beings.
Step 2: Required Tools
Tools on the other hand are fairly standard. You will need quite a few for this class, but most of them you may likely already have lying around. Please bear with me while I go over all of the tools we will be using.
Before we go over some of them in more depth below, here is a shopping list for the tools you may need when starting out with robotics:
(x1) Scissors
(x1) Razor blade
(x1) Hacksaw
(x1) Diagonal cutters
(x1) Multipurpose tool
(x1) Adjustable wrench
(x1) C-clamps
(x1) Bench vise
(x1) Power drill
(x1) Drill bits
(x1) Screwdrivers
(x1) Mini screwdrivers
(x1) Nuts and bolts
(x1) Zip ties
(x1) Ruler
(x1) Marker
(x1) Hammer
(x1) Soldering iron kit
(x1) Wire cutters
(x1) Snippers
(x1) Heat gun
(x1) Shrink tube
(x1) Jumper cables
(x1) Solid core 22 AWG wire
(x1) Stranded core 22 AWG wire
(x1) Breadboard
(x1) Arduino Uno
(x1) USB cable
(x1) Multimeter
(x1) Battery holders
(x1) LEDs
(x1) Resistors
Step 3: Cutting
Let's start with something simple. You will need a pair of scissors. You should already have one of these lying about, and learned how to use them if you ever attended Kindergarten. So... Moving on...

The other razor sharp tool you should have is a razor blade. It is recommended you get something with a nice safe handle like a box cutter.

When a razor blade just won't cut it, you can be sure a hacksaw will. With enough patience you can cut through most anything with a hacksaw. This hand saw will be extremeley handy to have around.

Diagonal cutting pliers, or put simply, diagonal cutters, are an extremely useful tool to have at your disposal. It's recommended you get a good solid pair of these, and not one of those discount ones. These will be used a lot to cut through plastic, metal sheets, and rods. This tool is a bit like scissors for plastic parts. No - it is exactly like scissors for plastic parts.
Step 4: Grabbing
Speaking of pliers, you are probably more familiar with the kind that don't cut. You should get at least one pair of general use snub nose pliers. Pictured here is a multipurpose tool centered around a pair of pliers. If you have the income at your disposal, you may as well invest in a nice multipurpose tool. The added functionality always comes in handy and it will make you seem more legit to have one of these in your arsenal. A big part of practicing robotics is looking like you know what you are doing.

Adjustable wrenches come in a wide range of sizes. You are likely not building truck-sized robots and will be fine with just a small one (or two). These are largely used for tightening and loosening nuts and bolts, and it is best to have one for each side.

Having a couple small C-clamps around can't hurt. In fact, they are meant to hold things down so you don't get hurt. It's good to have a few of these about for holding things when drilling or smashing things. Using your hand for this purpose can end in disaster.

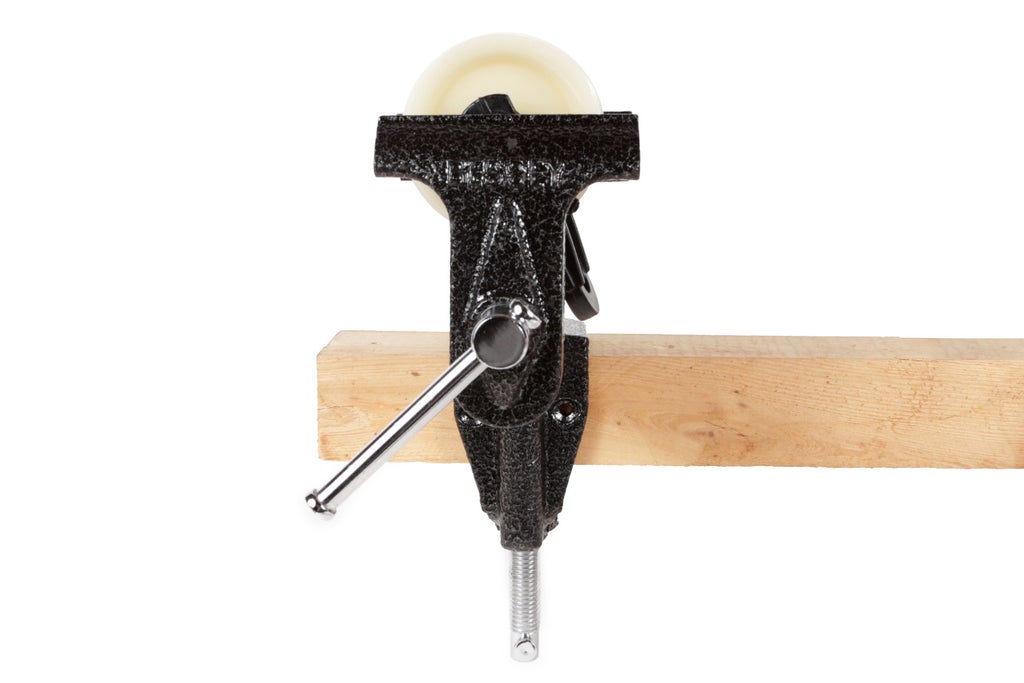
Sometimes you really want to hold something right where it is. This is when a bench vise comes in handy. It's a bit like a C-clamp, but attaches to your workbench and has a wider grabbing surface. It is quite useful for holding something down really well while drilling it.
Step 5: Drilling
Go get a drill. This can be a cordless or corded drill. It does not matter. Cordless drills are more convienient in some ways, but corded drills are cheaper and just as (or sometimes more) effective. Either will do the job. We are only going to be drilling through plastic parts and some soft metal like aluminum.
It is not important to get anything too fancy. Just about any drill will do for the purposes of this class. Albeit, it couldn't hurt to spend a little extra dough if you plan on continuing building things after this class. Nevertheless, the most important part is to find something aesthetically pleasing. I can't stress how important it is to look good while building robots.

Get a set of standard sized multipurpose drill bits. If this is your first time doing something like this, any old set will do. Don't spend a lot of money. You will likely destroy them and need to buy another set at some point anyhow. As you start to figure out what you are doing, then you can invest in the fancy expensive drill bits.
Step 6: Fastening
Even though you can technically screw things very tight with your power drill, sometimes you just want to screw things the old fashioned way. It's good to have a range of screwdrivers in your arsenal. While I am not going to dive too deep into this, I will say that you should get a set of mini screwdrivers. These will come in particularly handy when dealing with robotics.

Nuts and bolts are used for fastening things together. It's good to have an assortment lying about. That said, I will specify the ones you need before each project.

Zip ties are the greatest. They are quick, strong, reliable, and dirt cheap. If you make a mistake, they are exceptionally easy to undo. Building things using zip ties lets you iterate quickly and try out different solutions. You can chain them together, or trim them down. They can wrap around strange angles and be used to solve all kinds of problems. If you have not already deduced by my effusive praise, they will be the fastener of choice in this class. It is important that you get a lot of zip ties in a variety of sizes.
Step 7: Measuring
Aside from making great construction material, it is very helpful to have a few rulers around. As they say, 'measure twice - cut once.'

And, of course, if you are going to be employing rulers in your robot-building activities, you got to have some permanent markers to go along with them. We will be making a lot of cut and drill marks, and your marker will get a lot of mileage.
Step 8: Smashing
When all else fails, smash things.
We are only using one smashing tool - the trusty hammer.
On occasion we will need to smash things. It is unavoidable.
Step 9: Electronics
Working with electronics requires its own unique set of tools. Foremost, the tools you will need before anything else is a soldering setup. This includes a soldering iron, soldering iron stand (or holder), cleaning pad, solder, and desoldering braid. When purchasing a soldering iron, the only important thing to keep in mind is you want one with a fine tip suitable for electronics. For instance, a soldering iron for automotive or home wiring is not ideal. Otherwise, you are just getting started with this so any cheap-o iron will do. You can upgrade to a nicer soldering setup later when you are more comfortable working with electronics. You can likely find a soldering kit that includes all of the things I listed. I recommend taking this route to begin with.

Electronics also has its own set of cutting tools. You will want both a wire cutter and a pair of mini diagonal cutting pliers or "snippers." The wire cutter used for cutting and stripping insulation off of wires. The snippers are used for trimming away excess wire leads after you solder. When you are doing this for a while and become more legit, you can use snippers for everything (in place of the wire strippers).


Another indespensible set of tools is heat gun and shrink tube. These are used for insulating soldered wire connections and small components. You might be thinking that electrical tape can do the same thing and is much cheaper. Just - NO! Get that horrible thought out of your head. Electrical tape is dumb and unreliable. If you want your robots to break in mysterious ways, use electrical tape. If you want to make working robots, then you should purchase shrink tube in a variety of colors and sizes. Shrink tube is exponentially more reliable and aesthetically pleasing. In terms of a heat gun, they all basically work the same. Just get something that makes you look cool. For instance, this black and green Kawasaki one is fairly rad.

Jumper cables (or test leads) are used for connecting wires together without soldering and are important for prototyping. They have insulated alligator clips on both ends which allow you to easily grab onto most electrical contacts. It is important to have these lying about to easily test things before making more permanent connections. Get a set of about a dozen-or-so to start.

We are going to go over wire more thoroughly in the next lesson. For now, let's just talk about what you should have on hand. You should have a set of 100' spools of solid core 22AWG red, green, and black wire. You should also have a set of 100' spools of stranded 22AWG red, green, and black wire. Both stranded and solid core wire will be used throughout this class. These three colors are particularly important to have because they are the standard within electronics and used for color-coding.

Again, the breadboard is something we are going to go over more thoroughly later. For now, let's just say that you should get one that ideally looks approximately like this picture.

I'm not going to explain this one too much right now either. Don't worry if you are confused by what this thing is. We will get deeper into that. The Arduino has an entire lesson dedicated to it. In the meantime, pick up two Arduino Uno boards. One will be used for prototyping and the other will live in our telepresence robot.

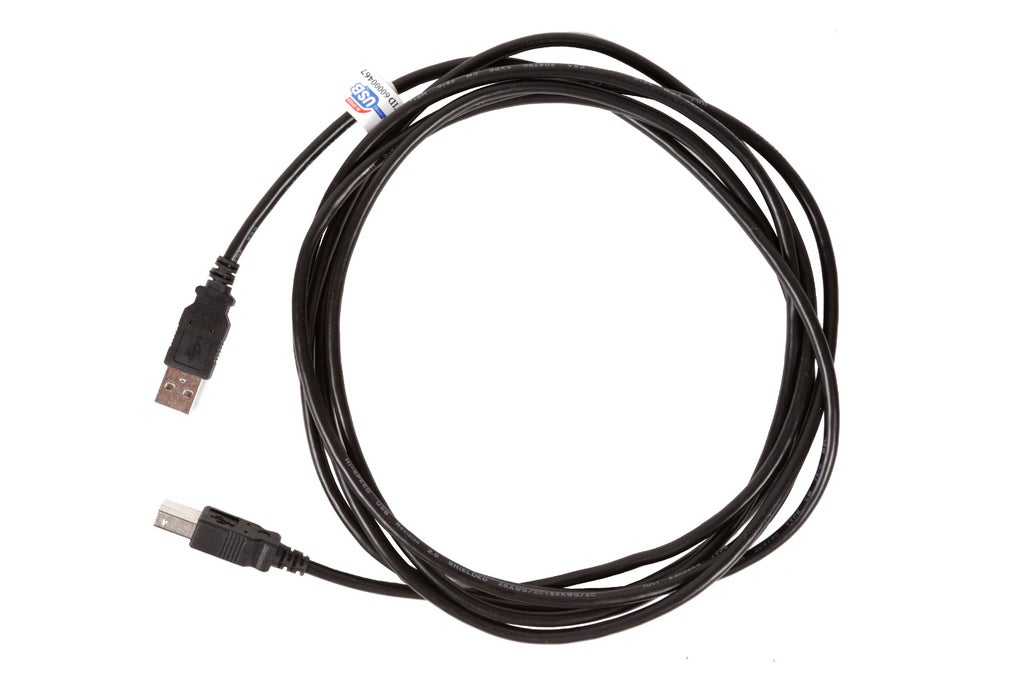
While you are at it, you may as well pick up a USB-A to USB-B cable. This is otherwise known as a USB printer cable. You may even have a spare one lying about. This is necessary to program the Arduino.

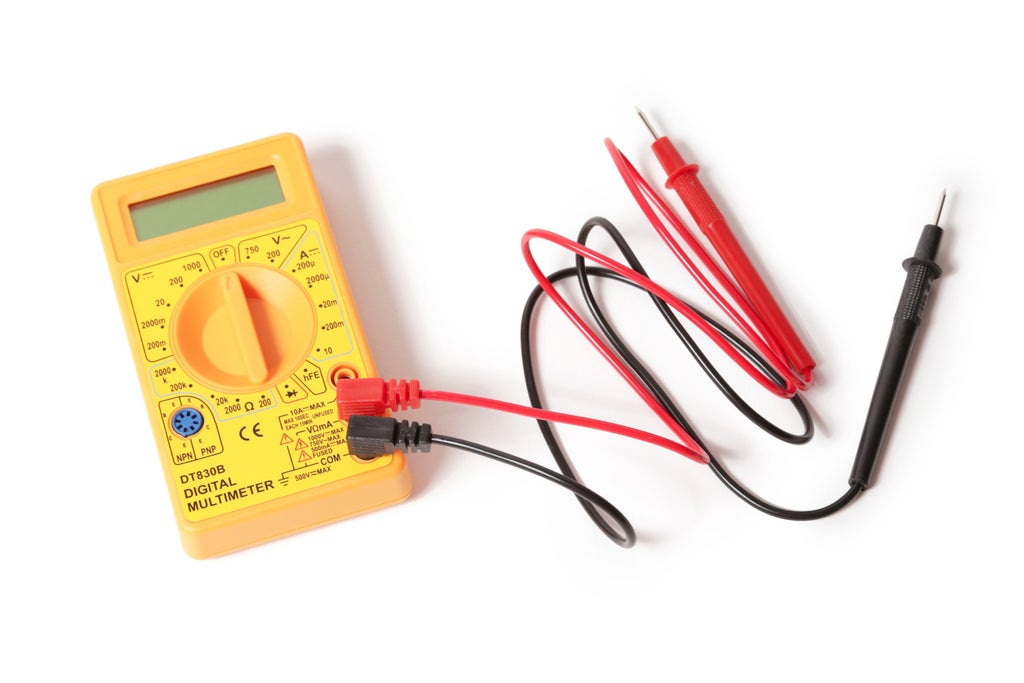
Continuing with the theme of things I will explain much more later, I bring you the multimeter. Like most tools there is a wide range of multimeters from the extremely basic cheap ones to the extremely fancy expensive ones. To get started, I recommend buying a cheap one. Make sure it at least has a digital display. Otherwise, they all typically have the same basic features.

Battery holders are used to power your projects. Typically, when one is required it is specified in the list of materials. However, in some of the lessons we use them for testing and experimenting. That said, it is recommended that you pick up a few extra 3 X AA and 4 X AA battery holders.

LEDs are a helpful component to have around, and you will want a mix of those at your disposal.

Lastly, you will want an assortment of resistors. These are one of the most basic electronic components, and you will be using these throughout the class.
Step 10: Preparing to Start
Before getting started, there are a few basic things that need to be done.
Go get all of the tools and materials listed (if you have not done so already), and find a clear table or workbench on which to work.

Get a drink of water. You are not a robot, and it is always important to stay hydrated.


